- Downloading the app
- Installing the app
- Launching the app
- Registering for an account
- Logging in
- Activating access codes
- Downloading a book
- Updating a book
- Deleting a book
- Archiving a book
- Adding books to Collection
- Removing books from Collection
- Searching for a specific book
- Expiry Dates
- Logging out
- Accessing a book
- Navigating within a book
- Changing the page
- Bookmarking a page/Saving a note
- Doodling, highlighting and sticky note functions
- Removing doodling, highlighting and sticky notes
- Back to My Books
- Downloading the app
- Installing the app
- Launching the app
- Registering for an account
- Logging in
- Activating access codes
- Downloading a book
- Updating a book
- Deleting a book
- Archiving a book
- Adding books to Collection
- Searching for a specific book
- Expiry Dates
- Logging out
- Accessing a book
- Navigating within a book
- Changing the page
- Bookmarking a page/Saving a note
- Doodling, highlighting and sticky note functions
- Removing doodling, highlighting and sticky notes
- Back to My Books
Click on this link to start downloading your Windows Application.
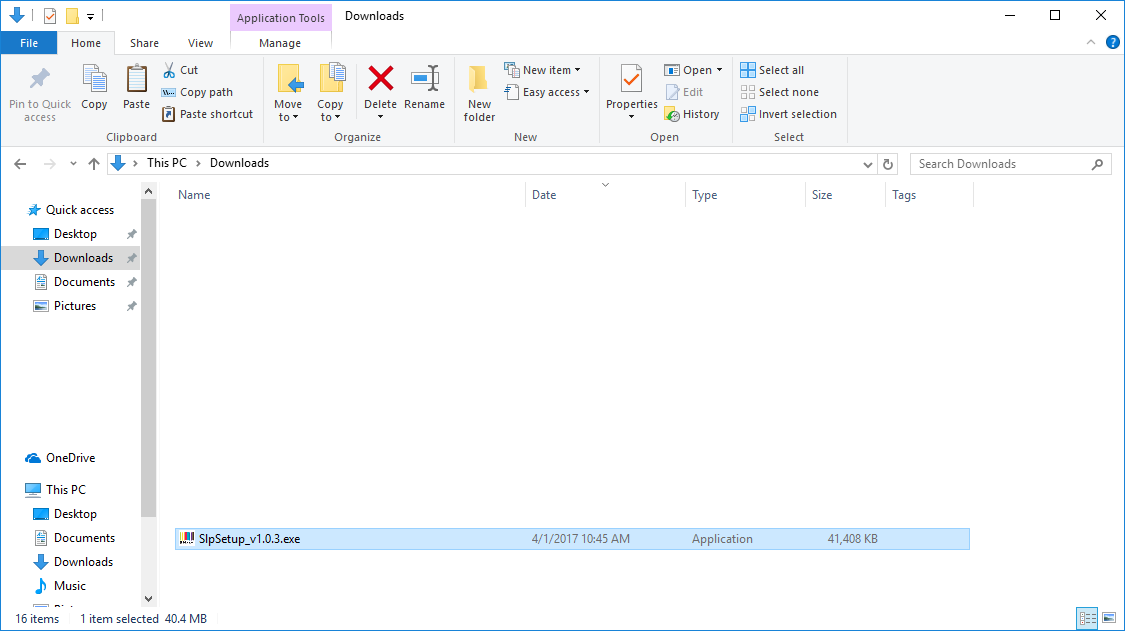
Upon successful download, double-click on the downloaded .exe file to start installation.
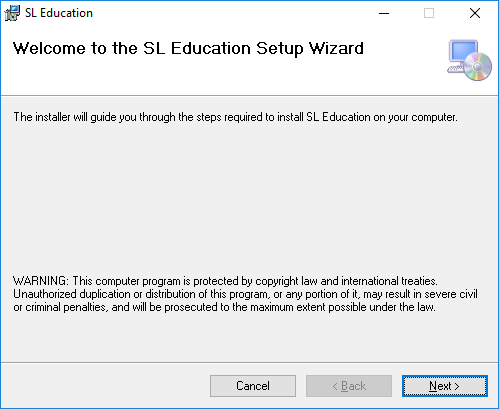
You will be shown the following image. Click on Next multiple times to complete installation.
Note: You might be prompted with a pop-up: User Access Control to allow installation, please click Yes to allow the installation to continue.
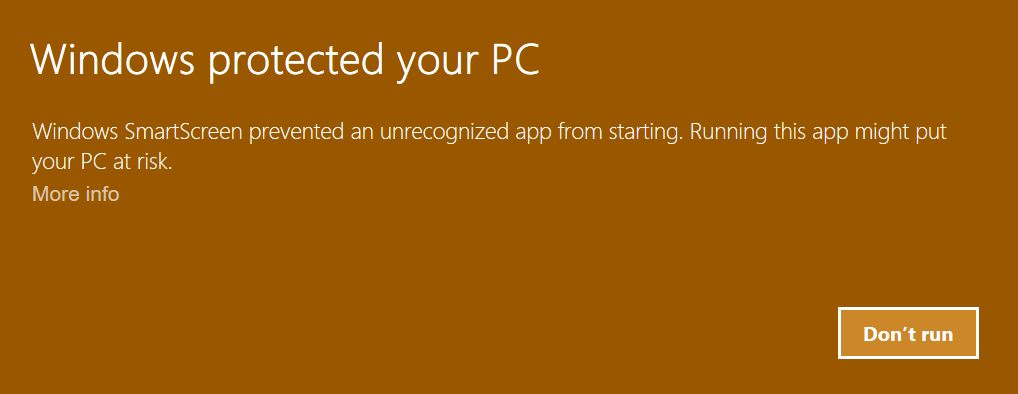
Note: You might also be prompted with a security risk pop-up: please click on More Info > Run Anyway to proceed.
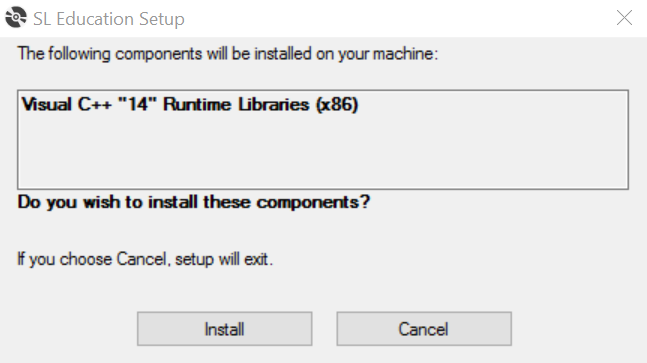
Note: You might be prompted with an installation request for C++ Runtime, please install accordingly or your eBook Reader might not work as intended.
Double-click on the App Icon named SL Education on your Desktop.

Click here to register for a Shing Lee account.
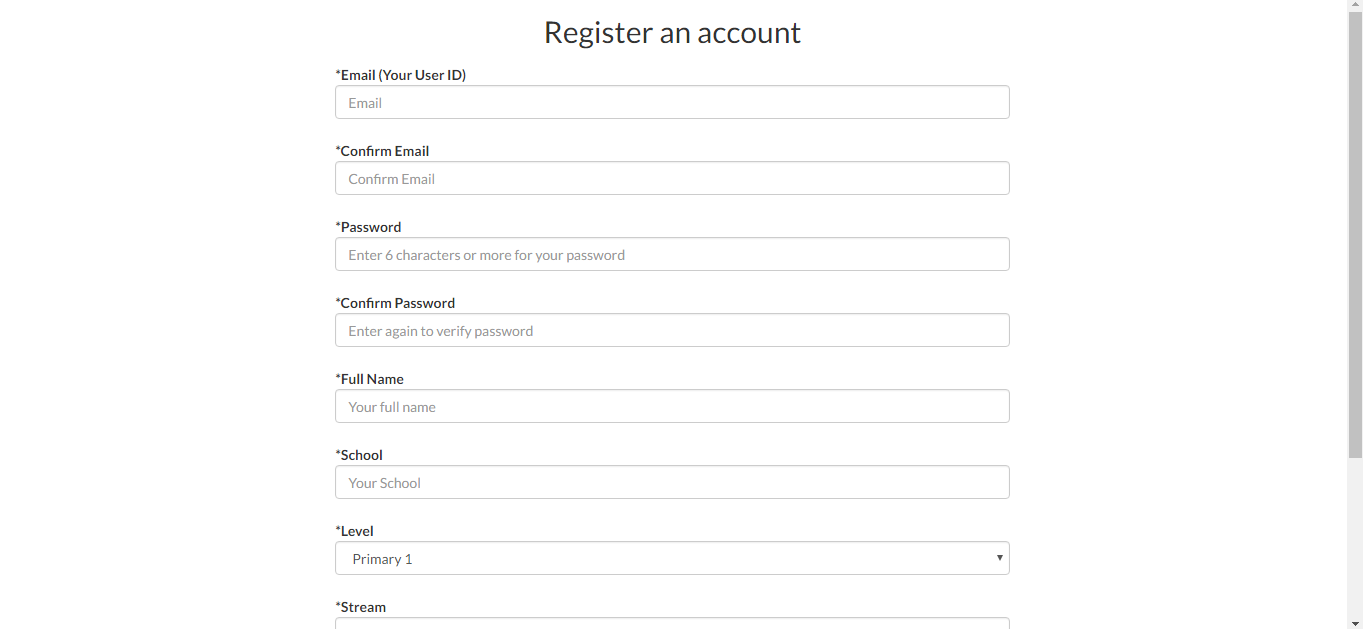
Fill in all the details as requested. Click OK upon completion. All fields are mandatory.
You will see the following screen if you have registered successfully.
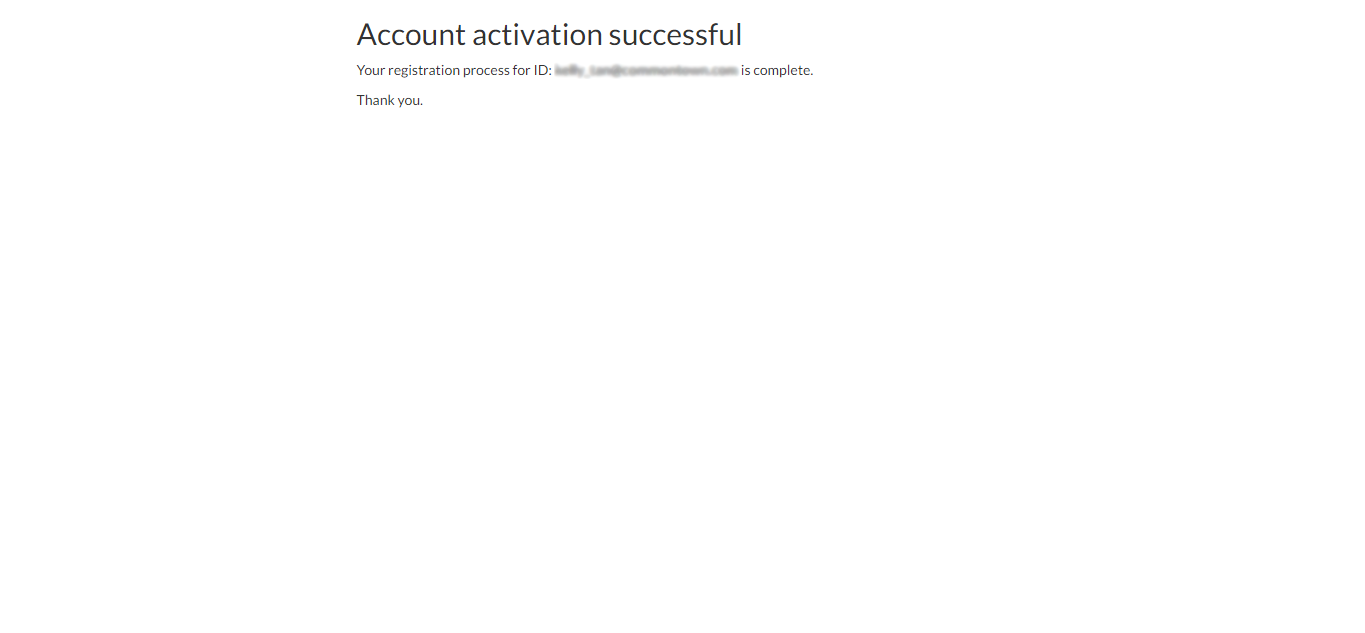
Please check your mail box to complete the account verification.
Upon successful verification, you will see the following page:

Note: Account ID refers to your email address.
You will be prompted with a login screen to key in your account ID and password.
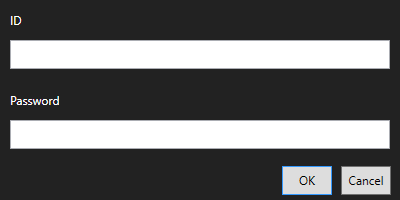
Key in your assigned/registered account ID and password and you will be directed to this screen, which means you have logged in successfully.
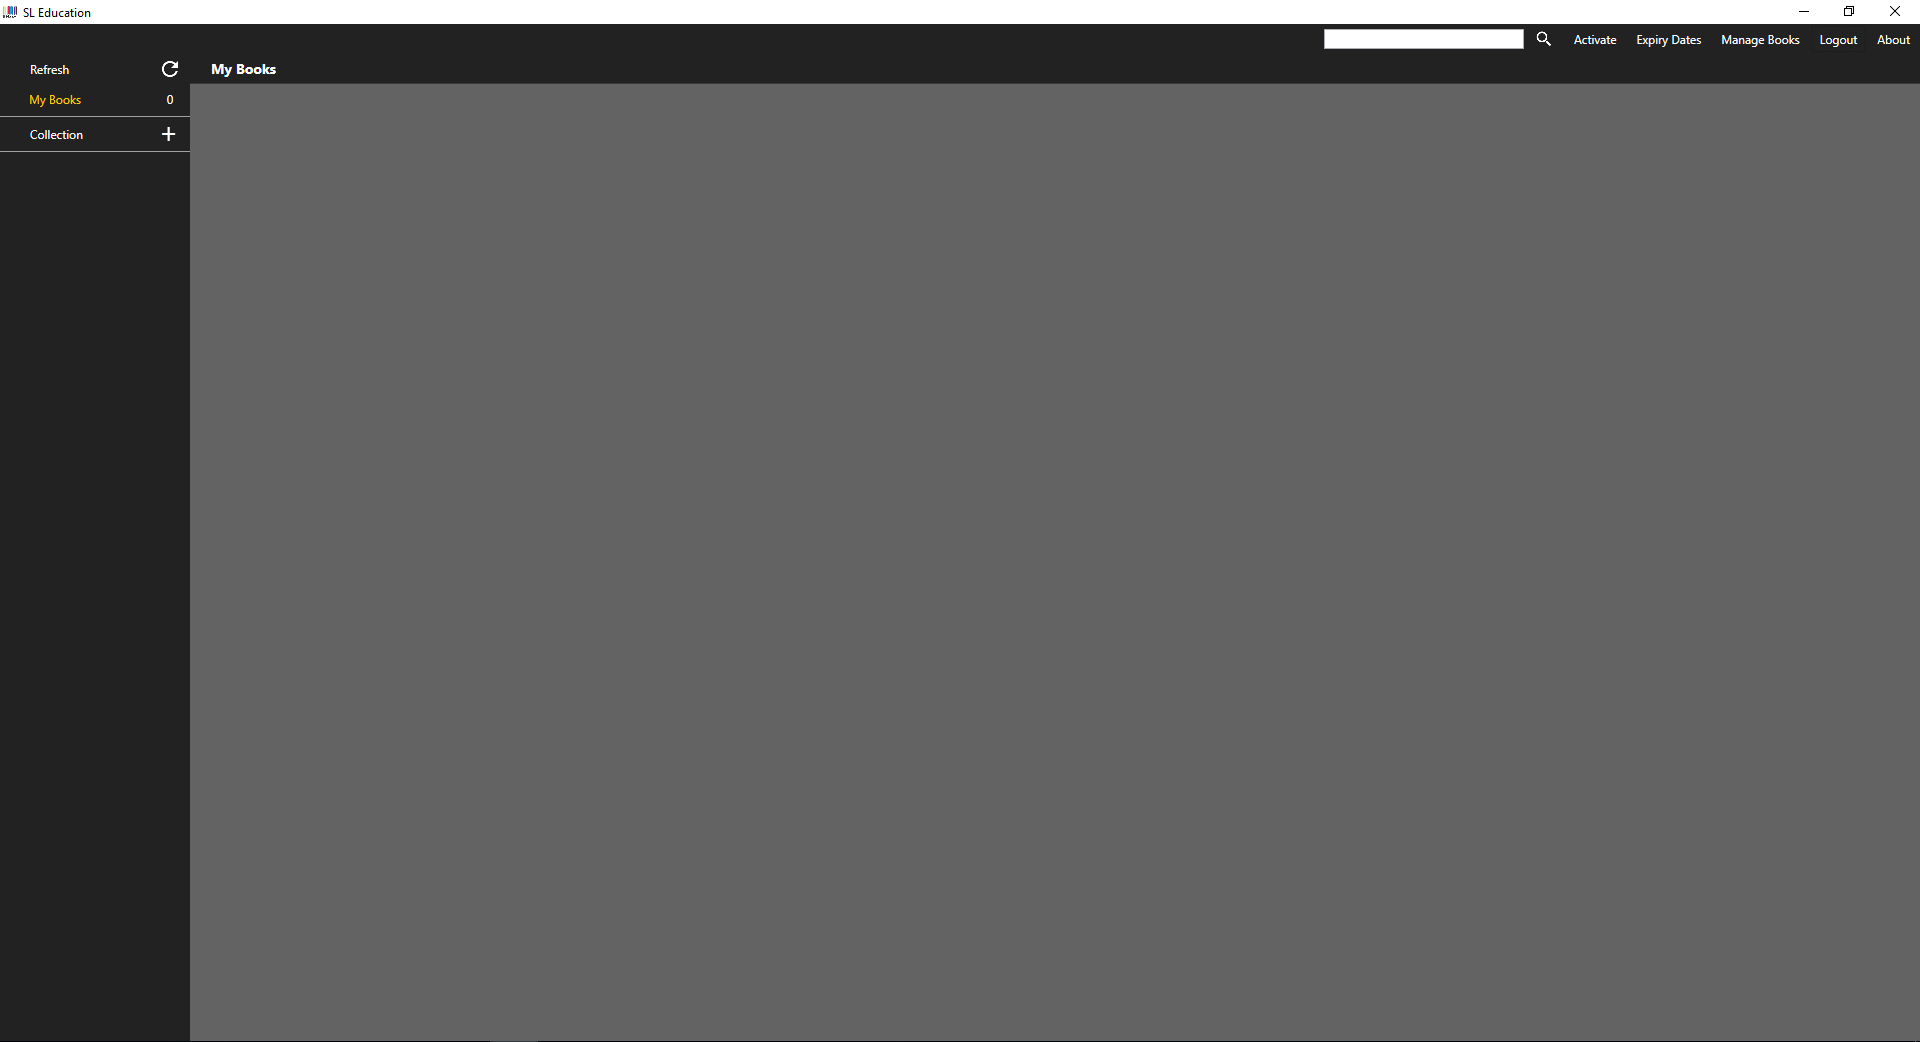
To activate a book with an assigned access code, please click on Activate. You will be prompted with a pop-up screen to insert your access code.
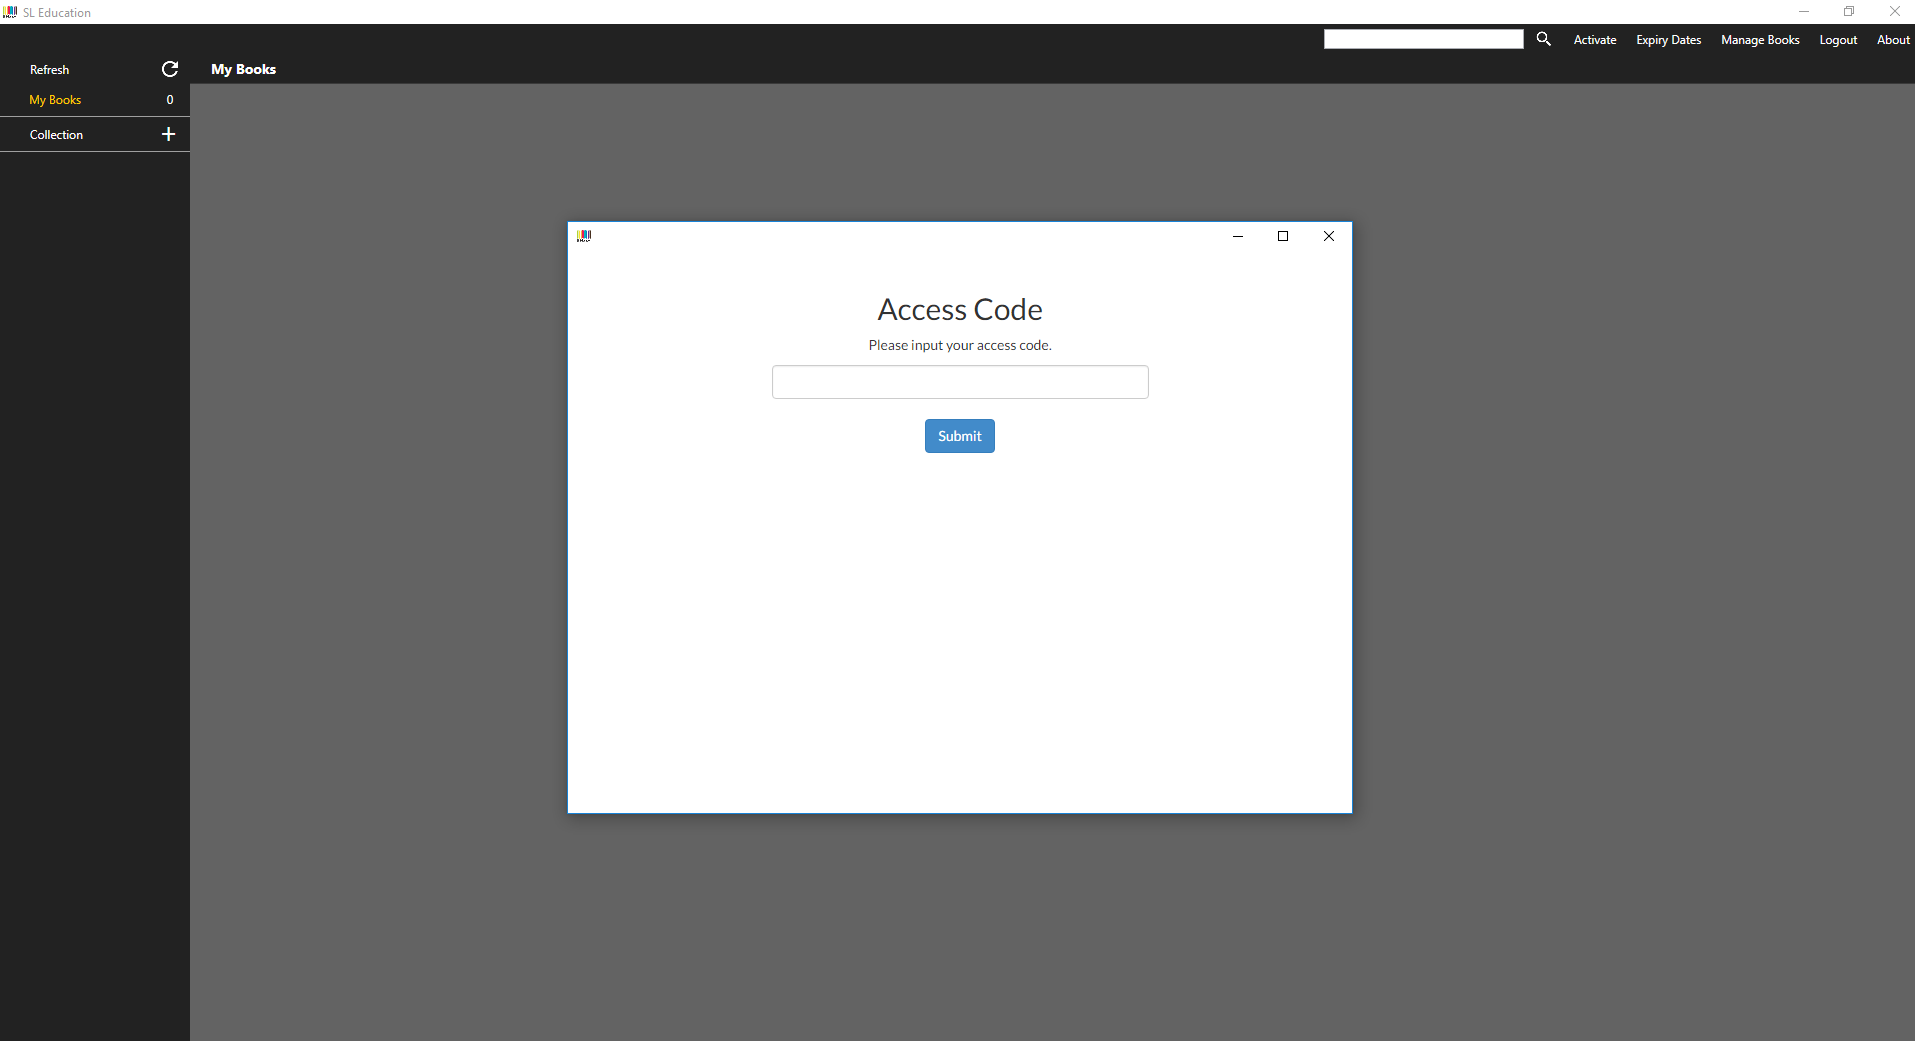
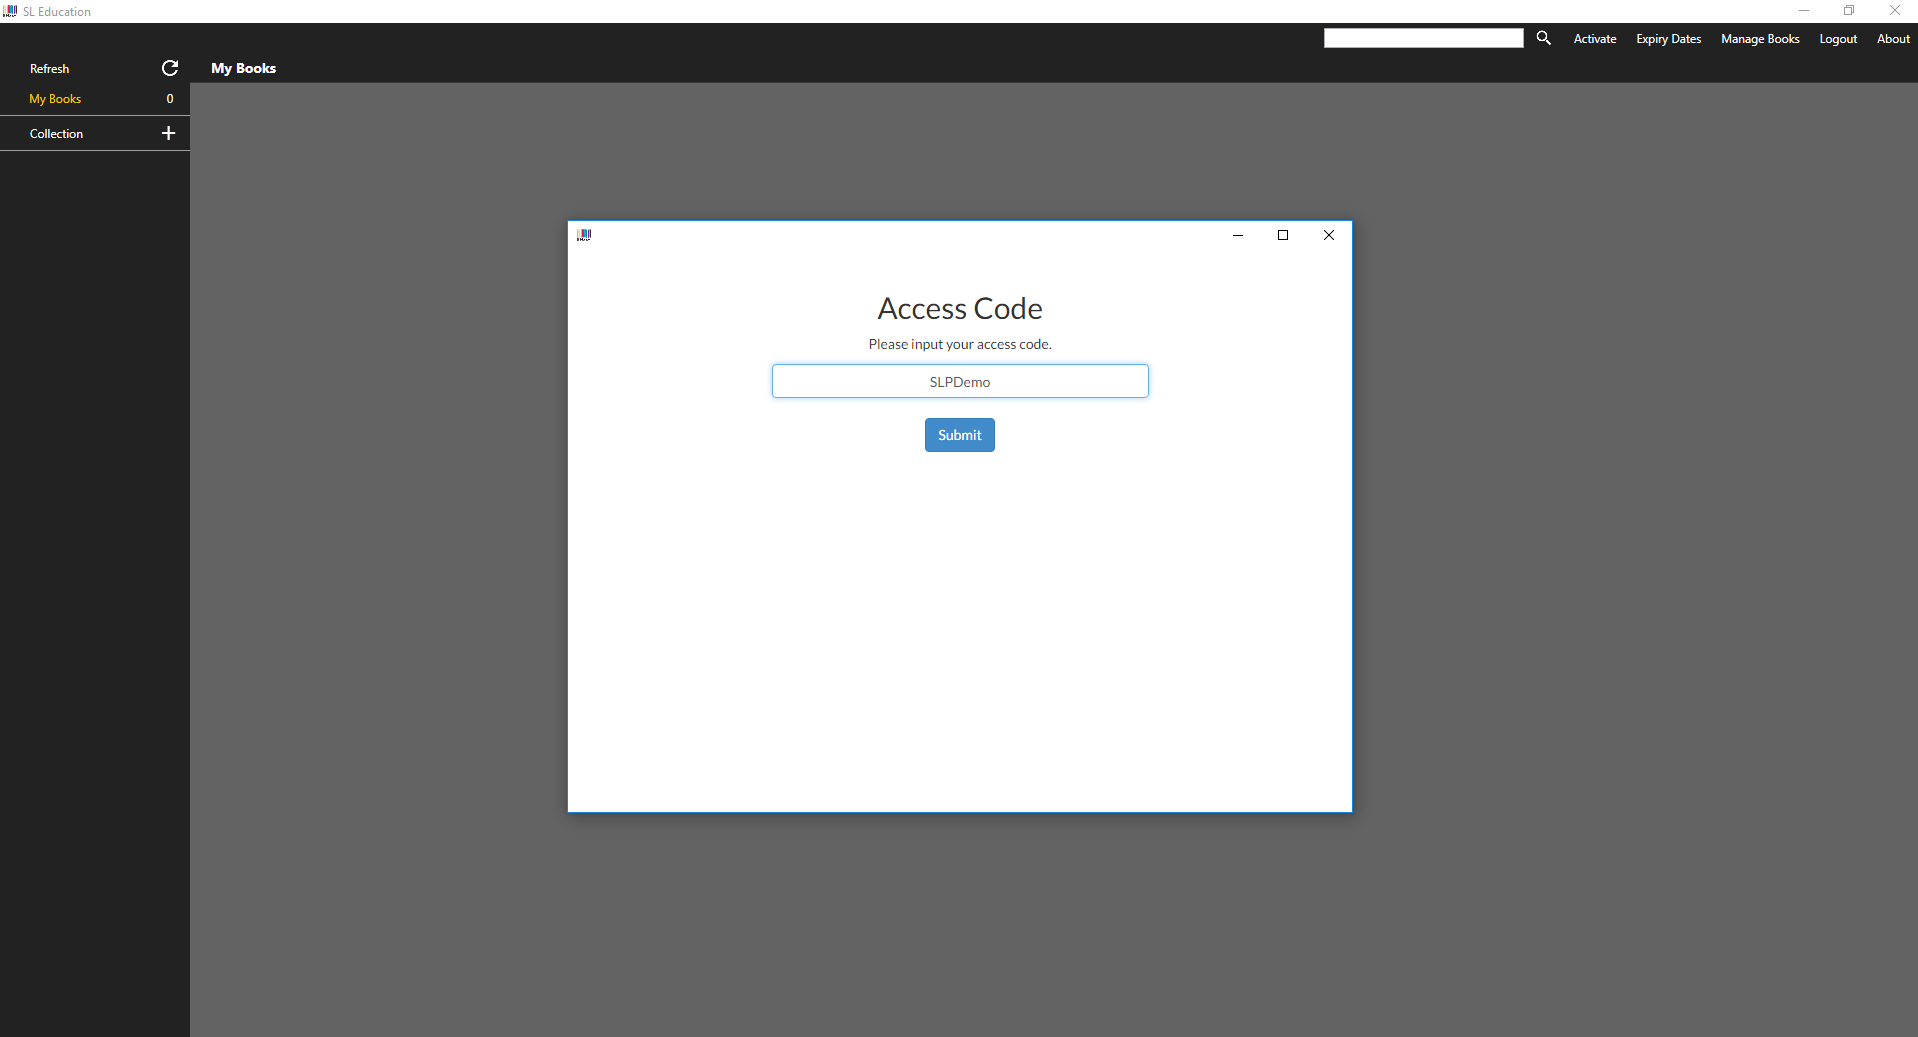
Input your access code and click on Submit.
If your code is correct and valid, you will be brought to the next page with all the books you are going to activate.
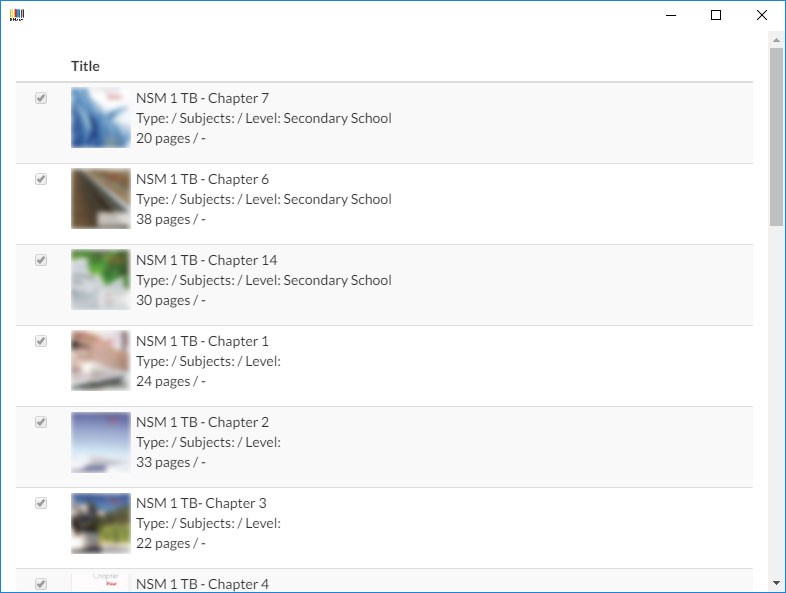
Scroll to the bottom and click on Confirm to activate your books.
Once done, close the pop-up window (the window which you input your access code previously) to access your books.
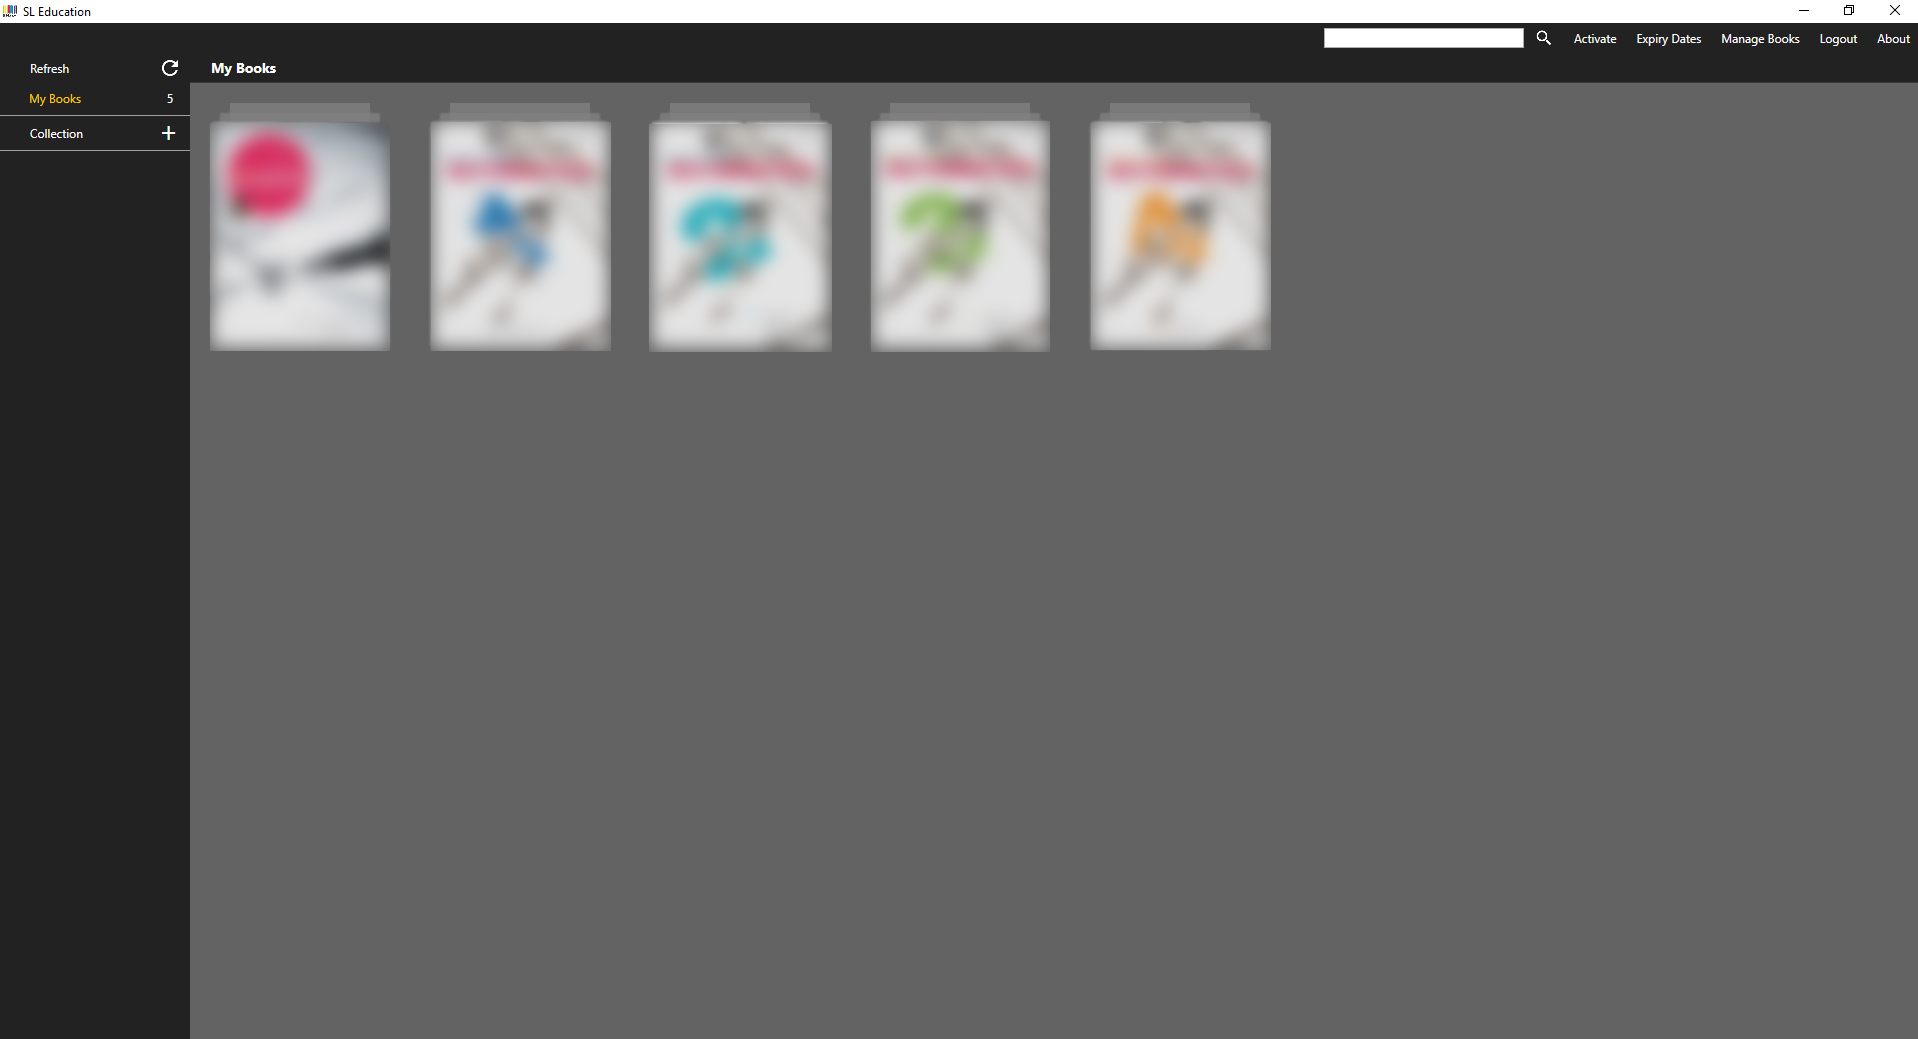
All newly activated books will be shown in My Books tab.
To access the books, click on the desired book to download a copy. Alternatively, you can right-click on the desired book to access the various options available.
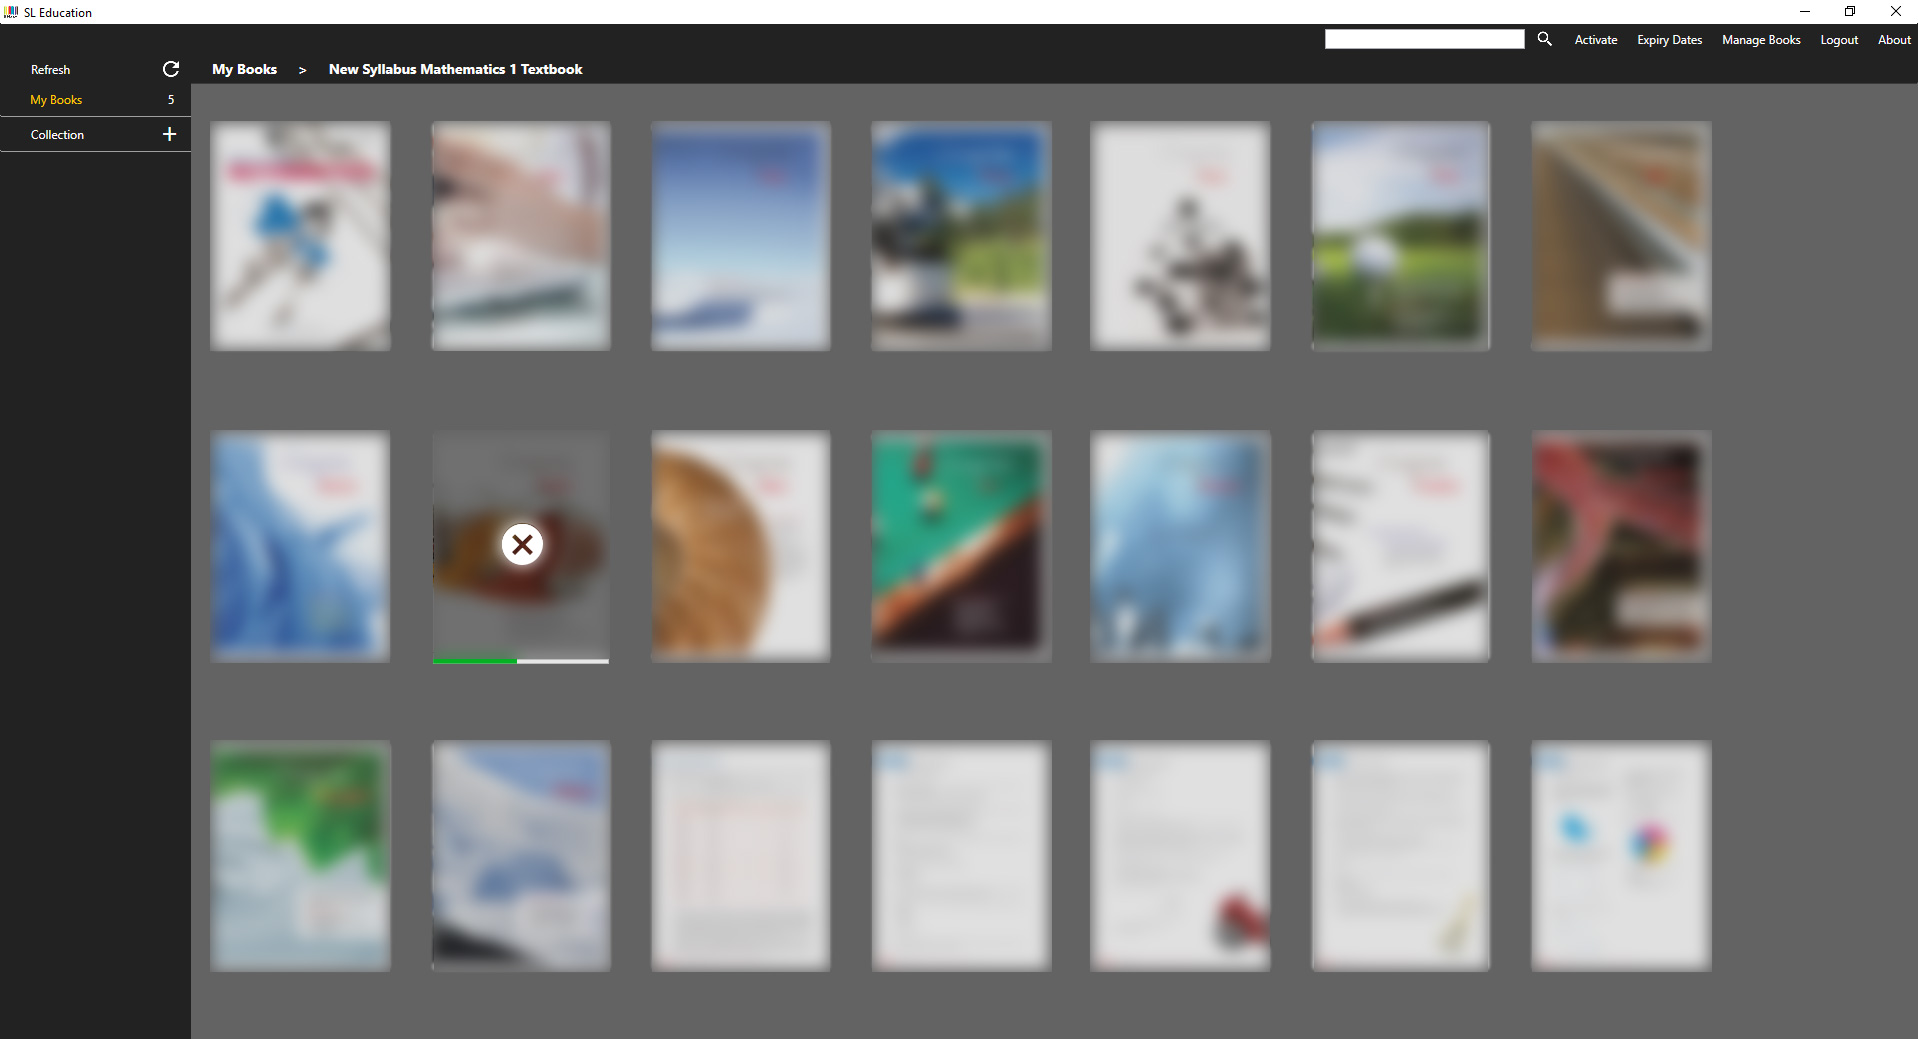
Note: You are only allowed to download 3 books at any one time.
A cloud icon with a green tick at the bottom right-hand corner of a book denotes that the book has been downloaded.
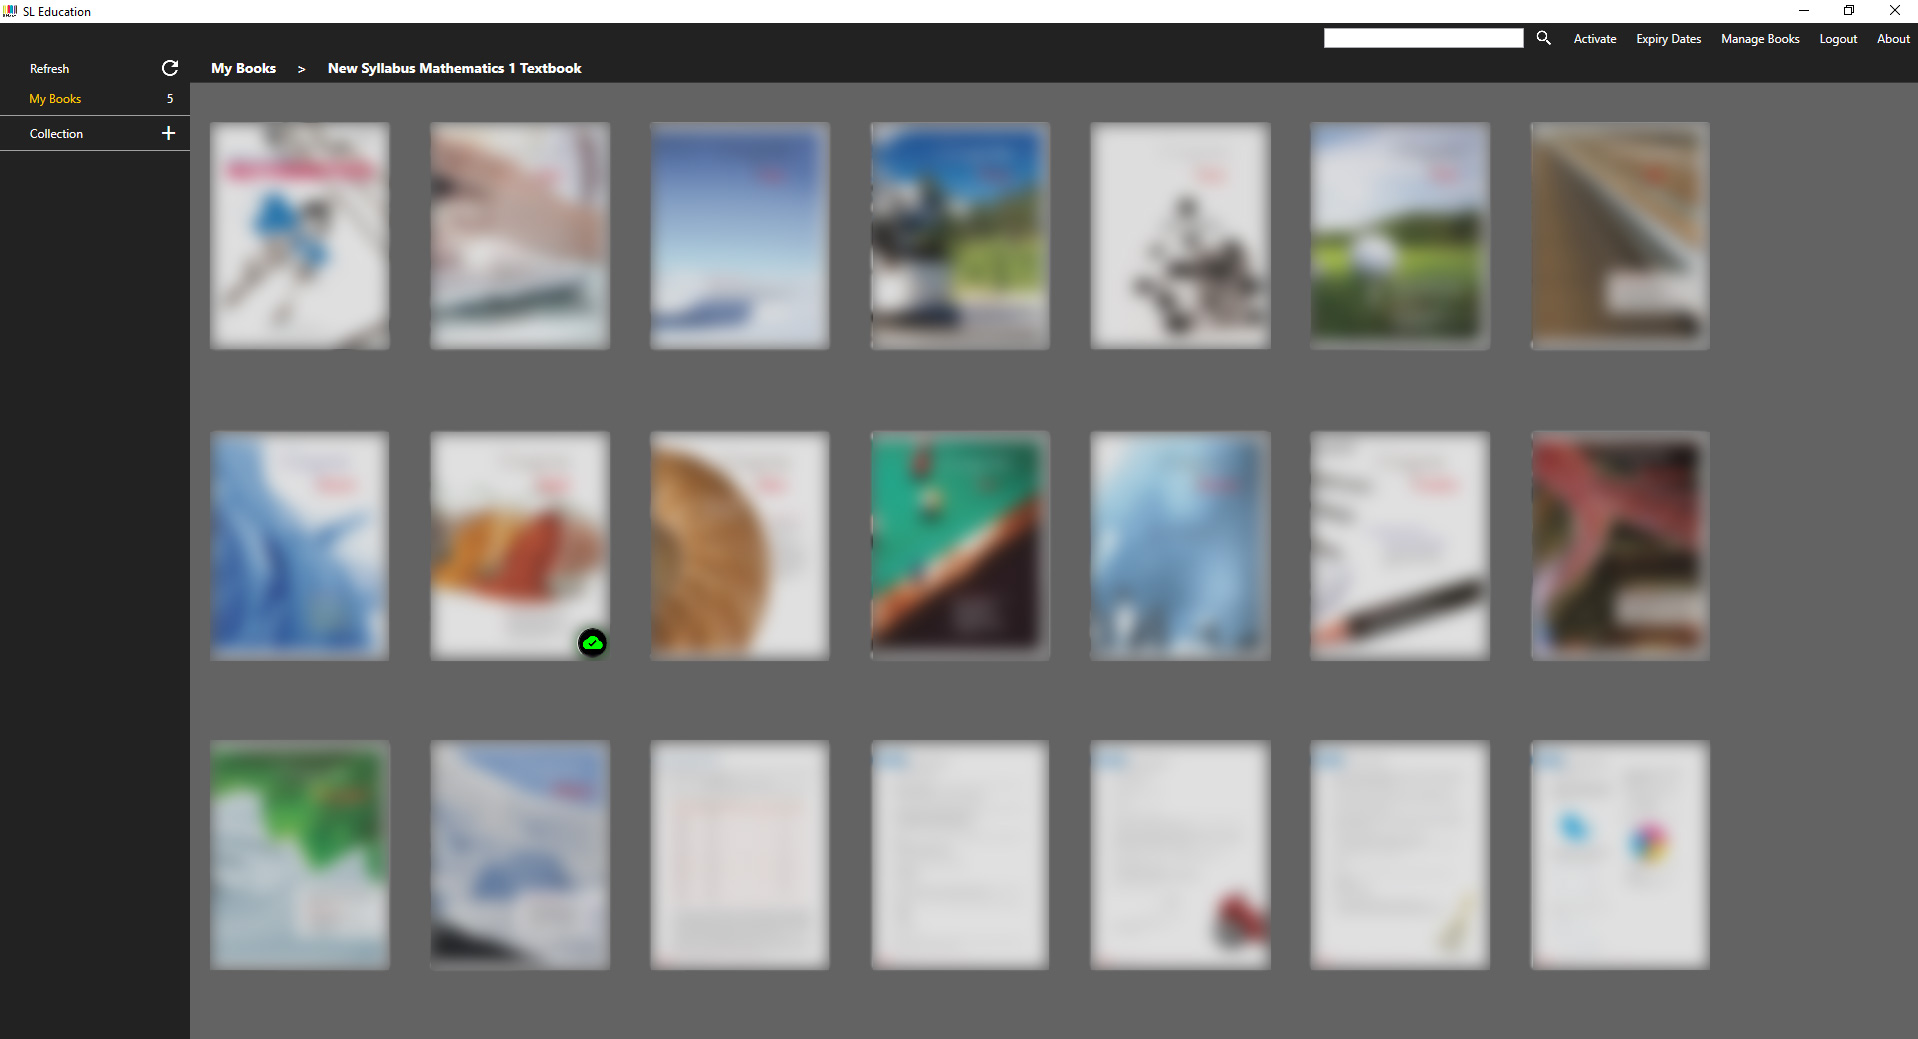
Click on the ‘Refresh’ button.
If a specific book needs an update, the specific book will have an bicon of a blue cloud at the bottom right-hand corner.
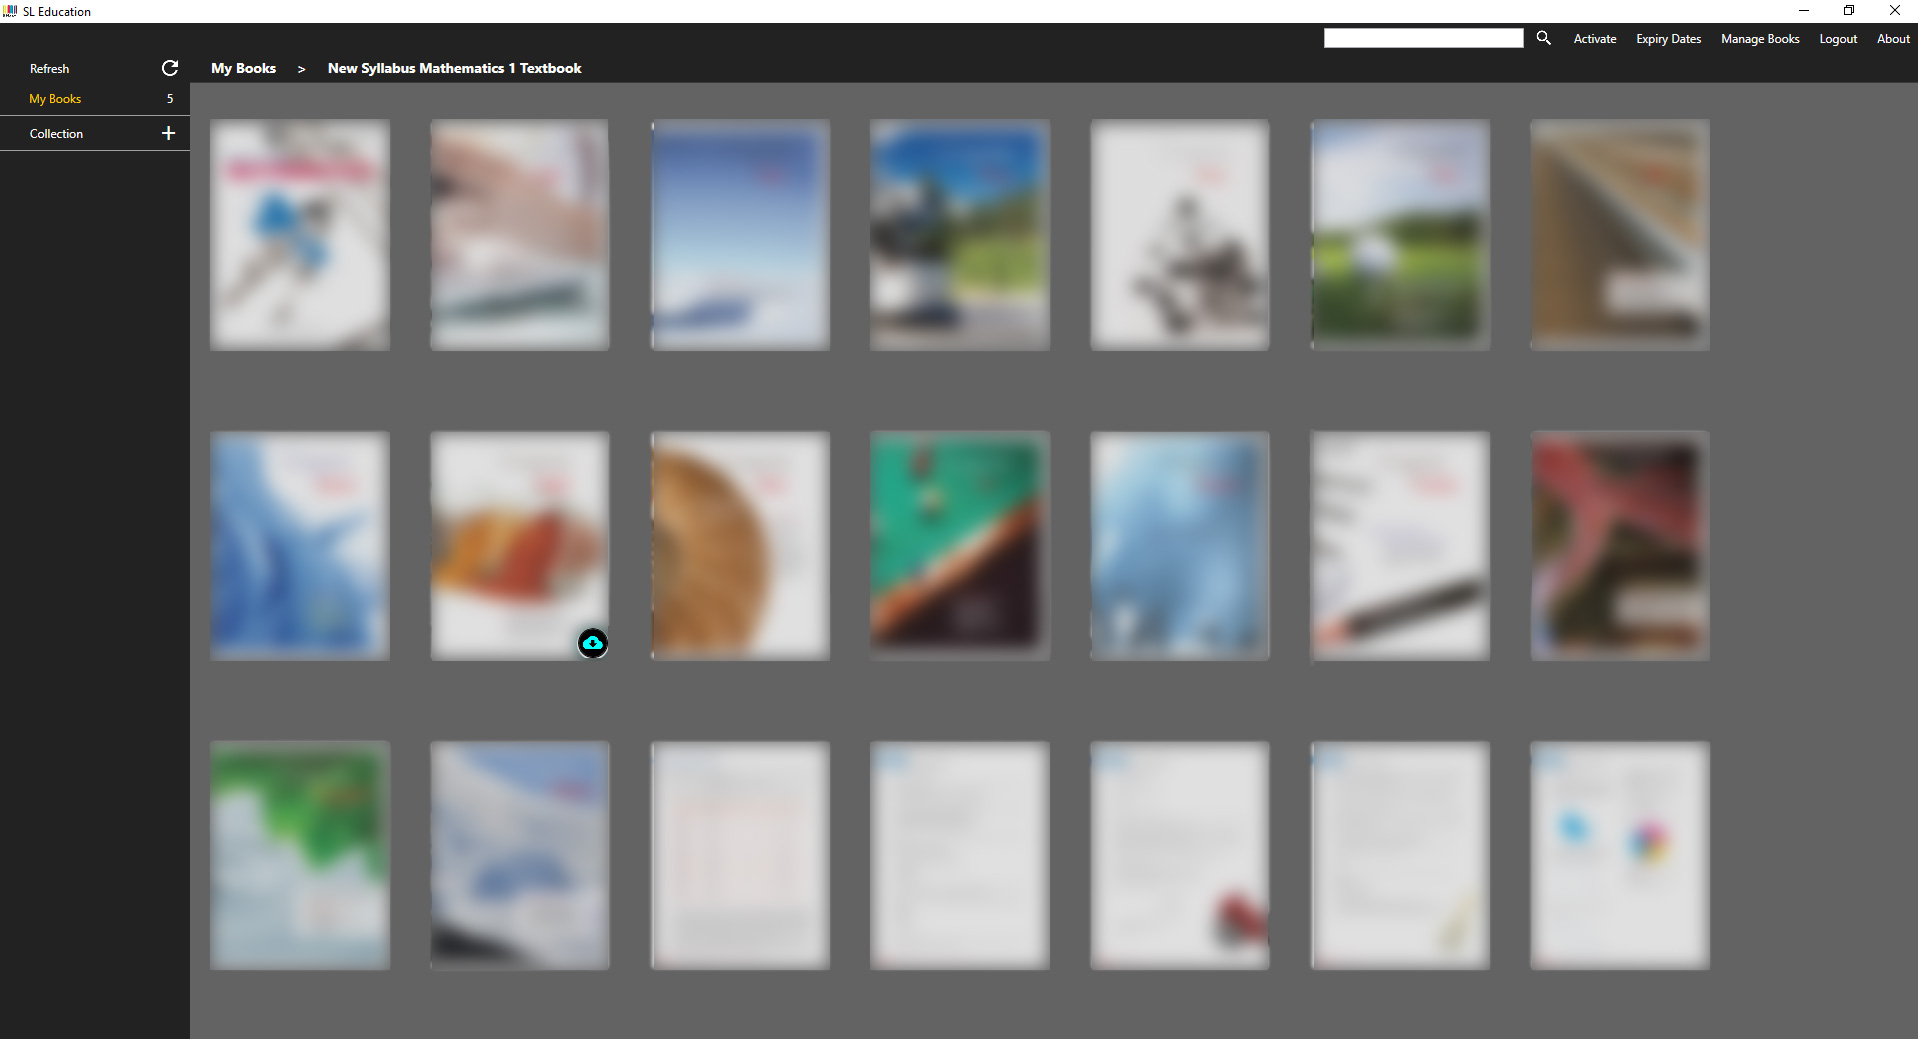
Click on the specific book to download the updated book. If you do not have internet access but would like to read the book, you may right-click on the book to access the ‘Read’ menu. You may resume the update when you have internet access.
You may delete a specific book by right-clicking on it, and choose ‘Delete’ to save your device’s disk space.
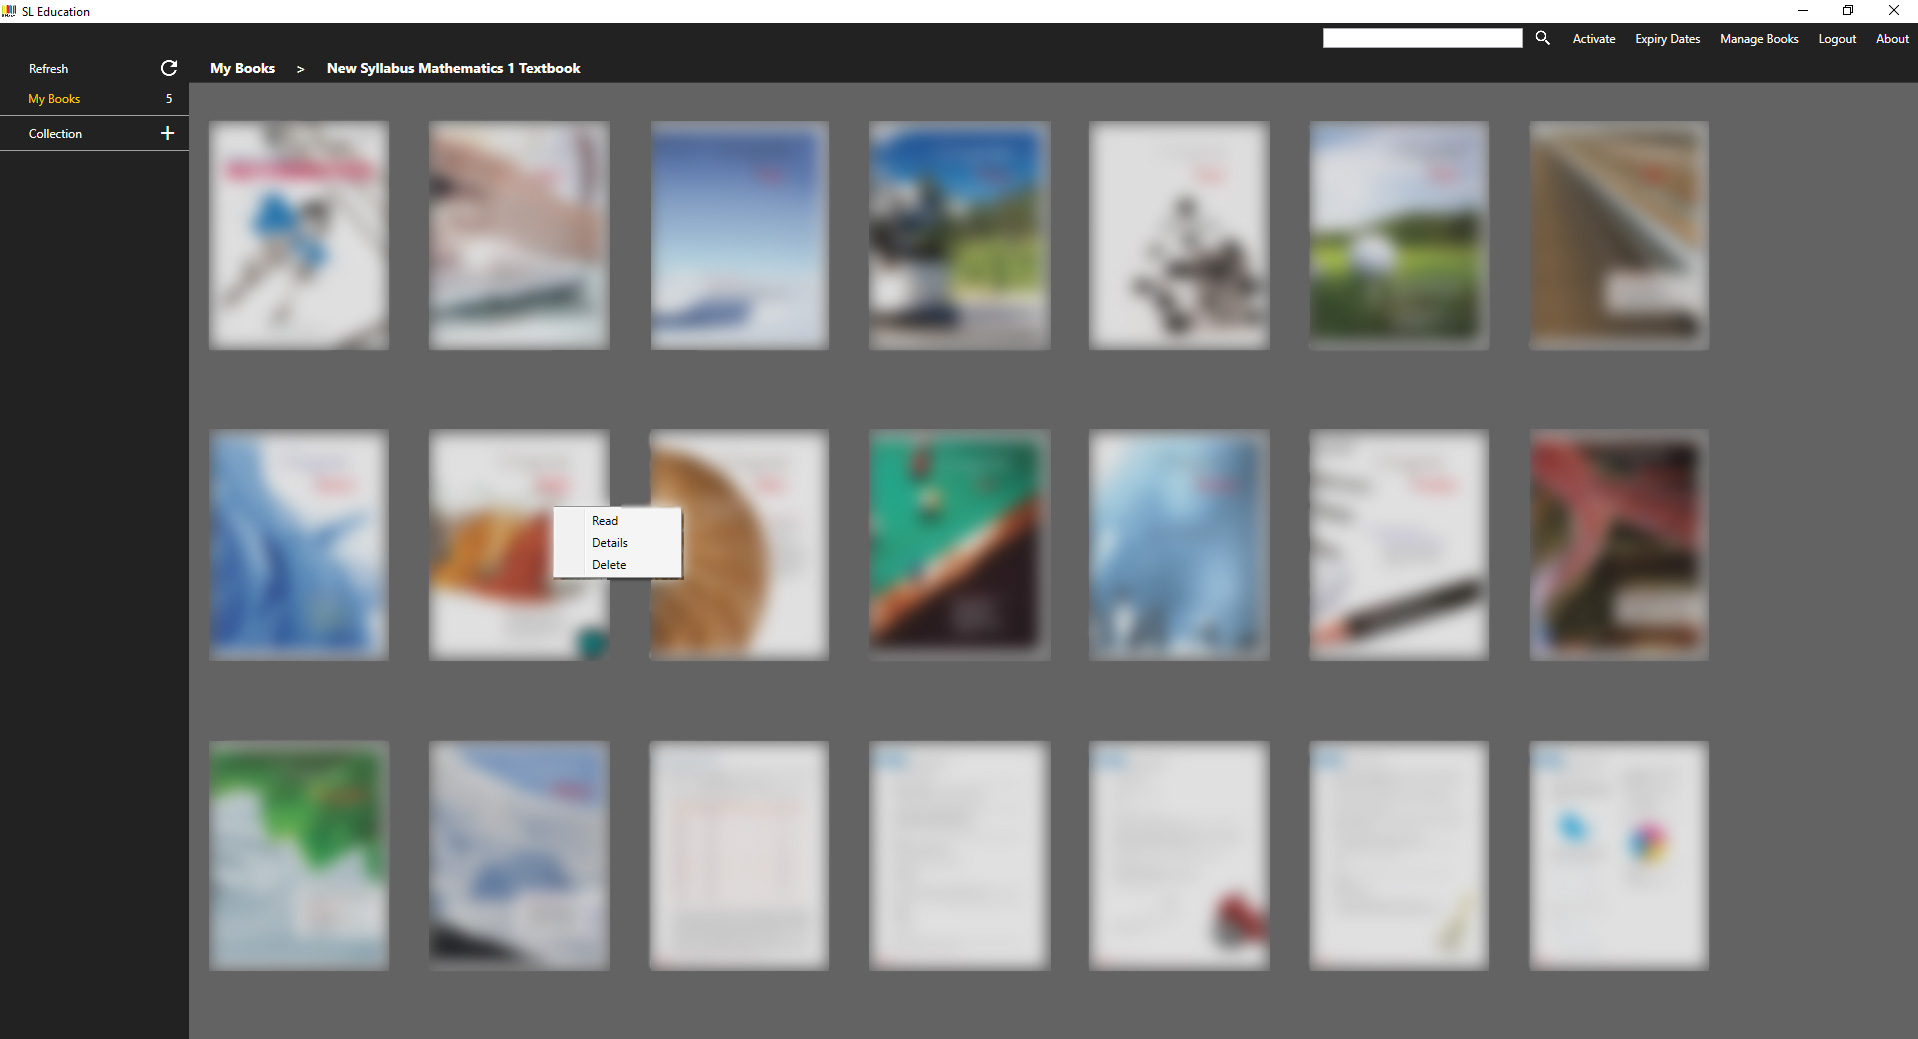
Note: Deleting a book will not deactivate the validity of the book. It will only delete the hard copy on your device. You may still download the book again under ‘My Books’ tab.
You may archive a book so that it will not appear in the ‘My Books’ tab. Doing so will not deactivate the validity of the book.
The book has to be deleted before you have the option to archive, thus, please refer to deleting a book for more information. Upon deletion of a specific book, you can right-click it to access the ‘Archive’ menu. Click on ‘Move to Archive’ to archive the specific book.
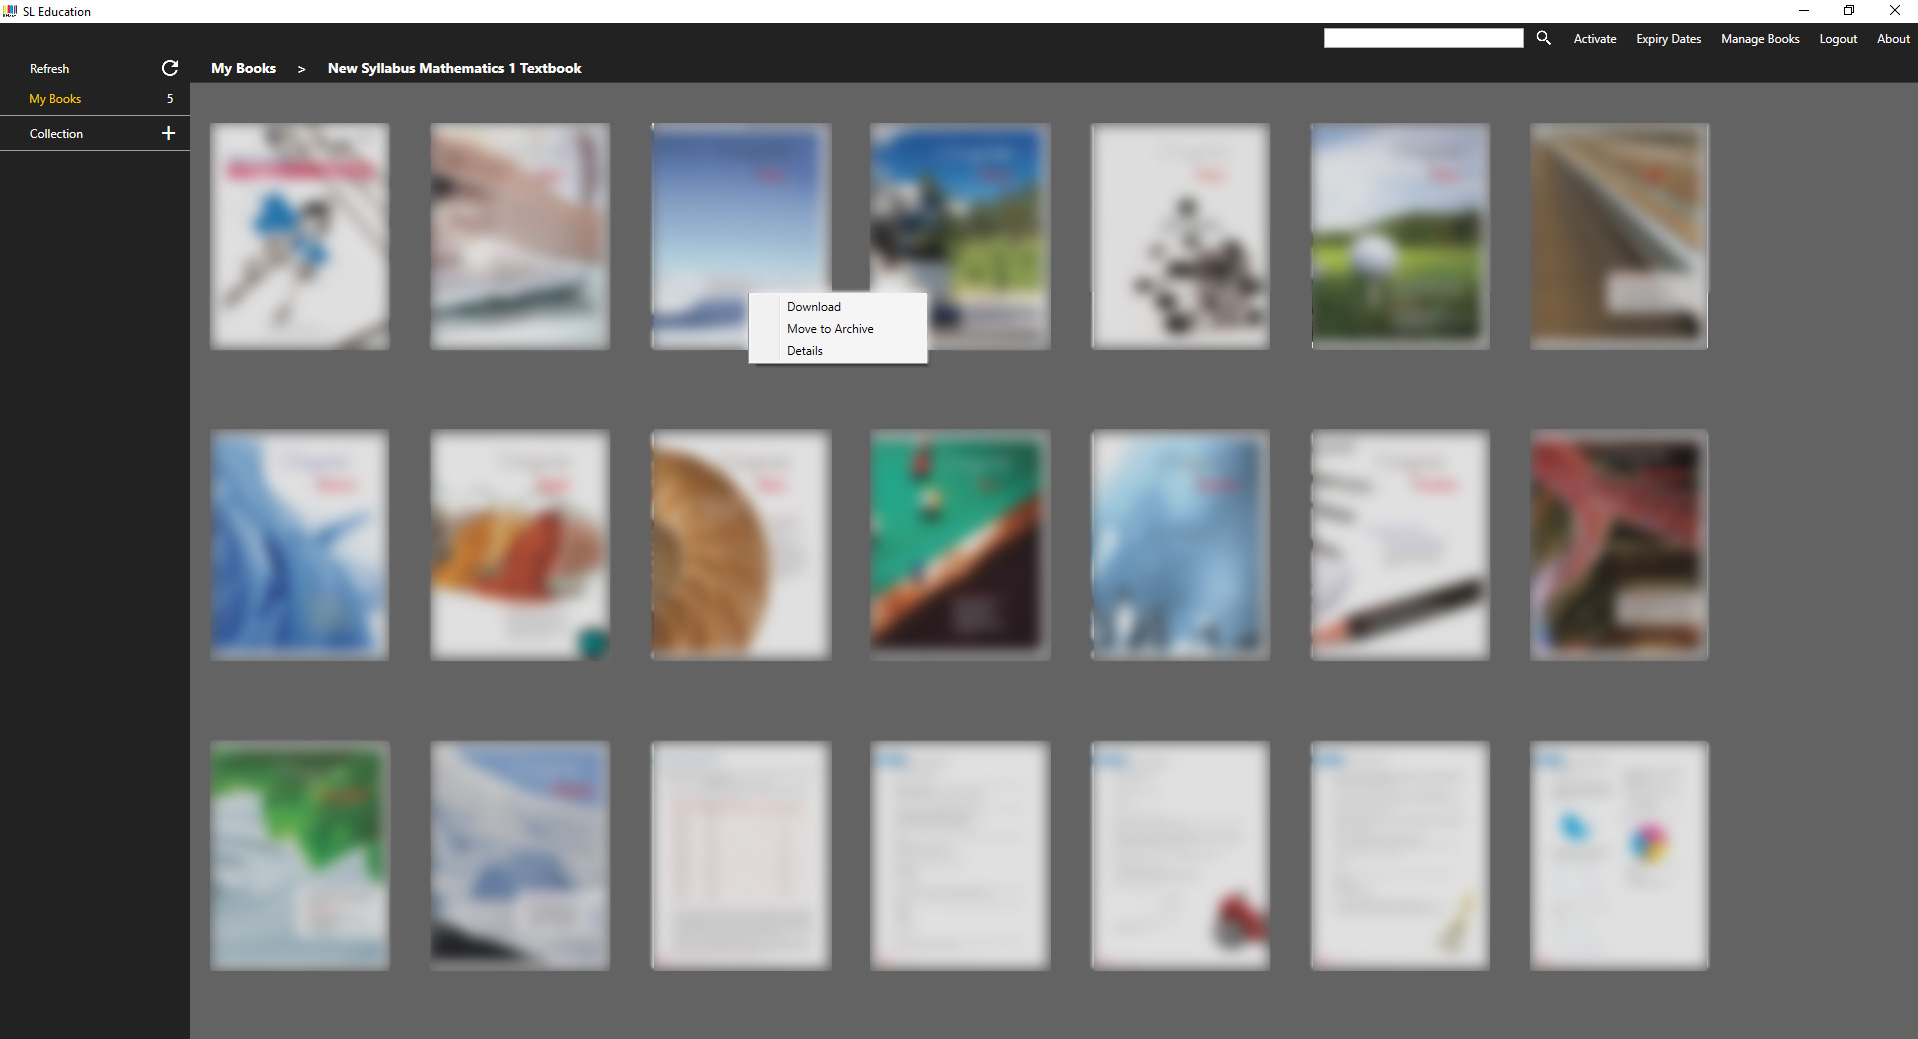
Note: You will not be able to archive a book if your device has the hard copy of the book or if there is a cloud icon with a green tick at the bottom right-hand corner of the book.
Upon archiving, you will be able to see the archived books under ‘Manage Books’ menu. Click on ‘Manage Books’ at the top right-hand corner of the window.
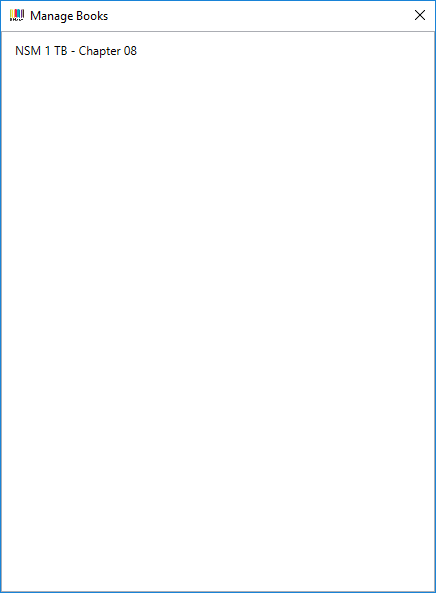
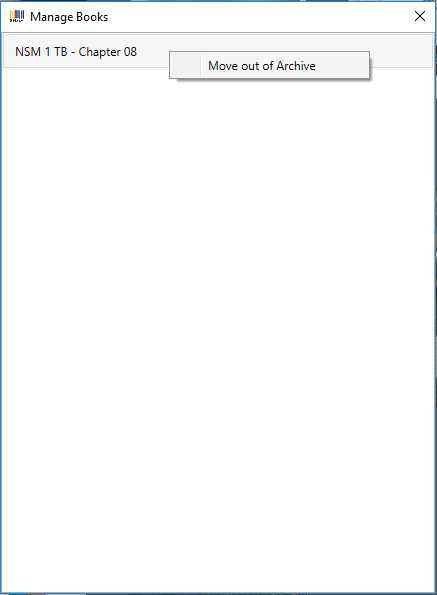
To move the book back to 'My Books', right-click on the specific book under ‘Manage Books’, and click on 'Move out of Archive'.
You may also create a customised folder for certain books/chapters. Click on the ‘+’ to create a new folder, name your folder according to your preference and press 'Enter' to save.
You will see an empty page upon successful creation of a folder.
Click on 'My Books', right-click a specific book, select 'Add to' and choose the folder you wish to add it into.
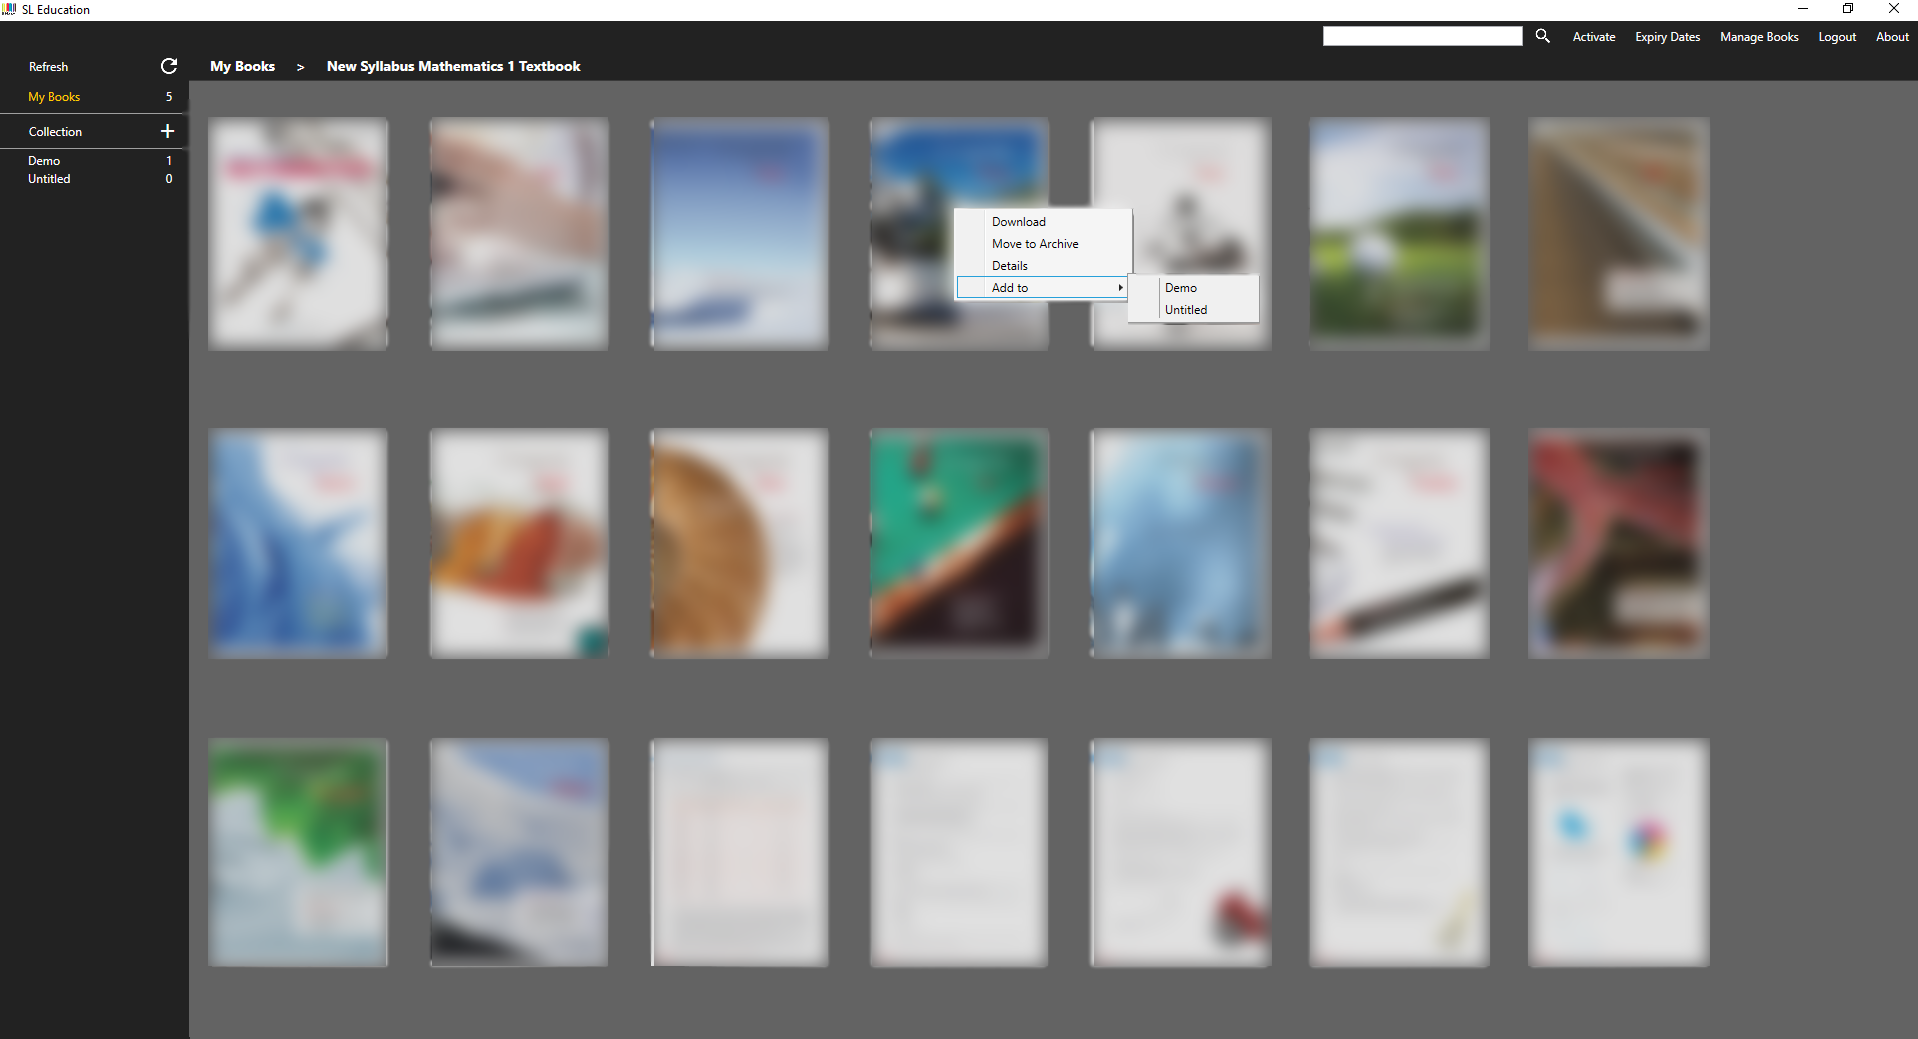
Note: You may also add an entire book into the collection by clicking on the book cover of the desired book.
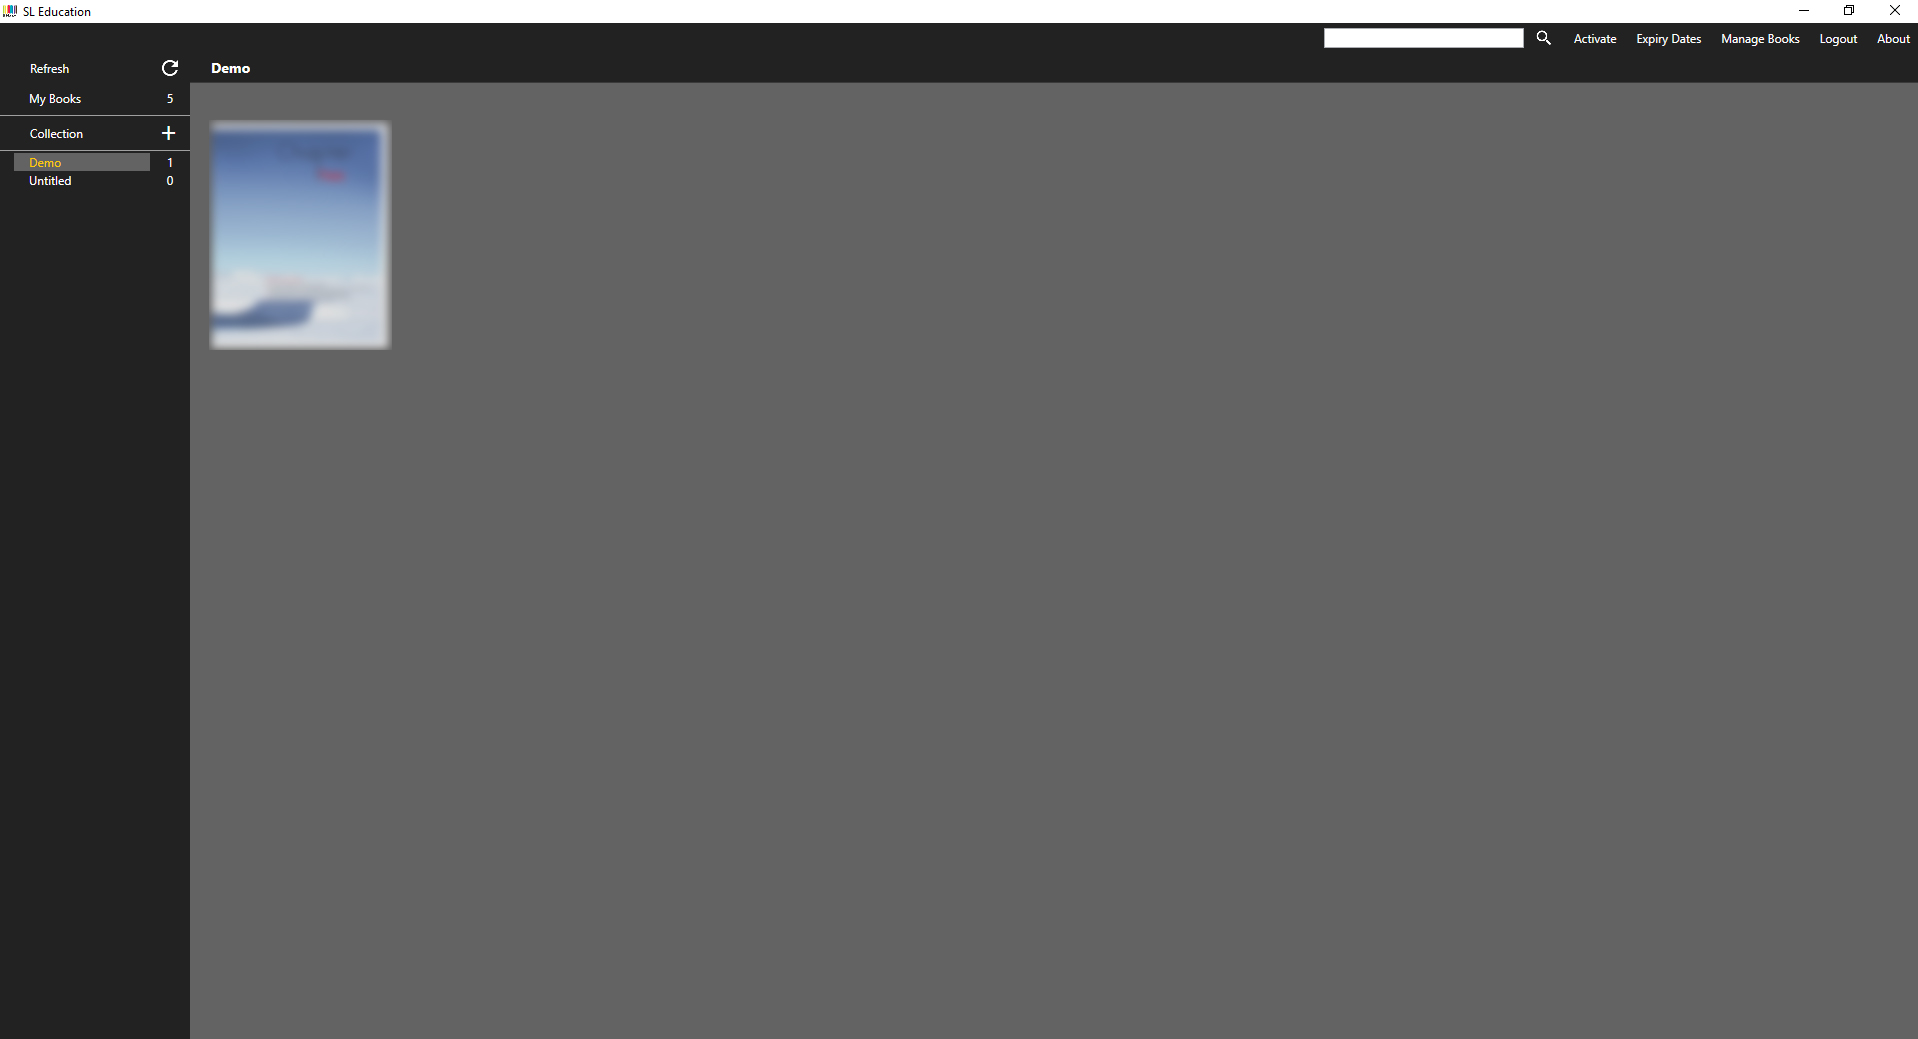
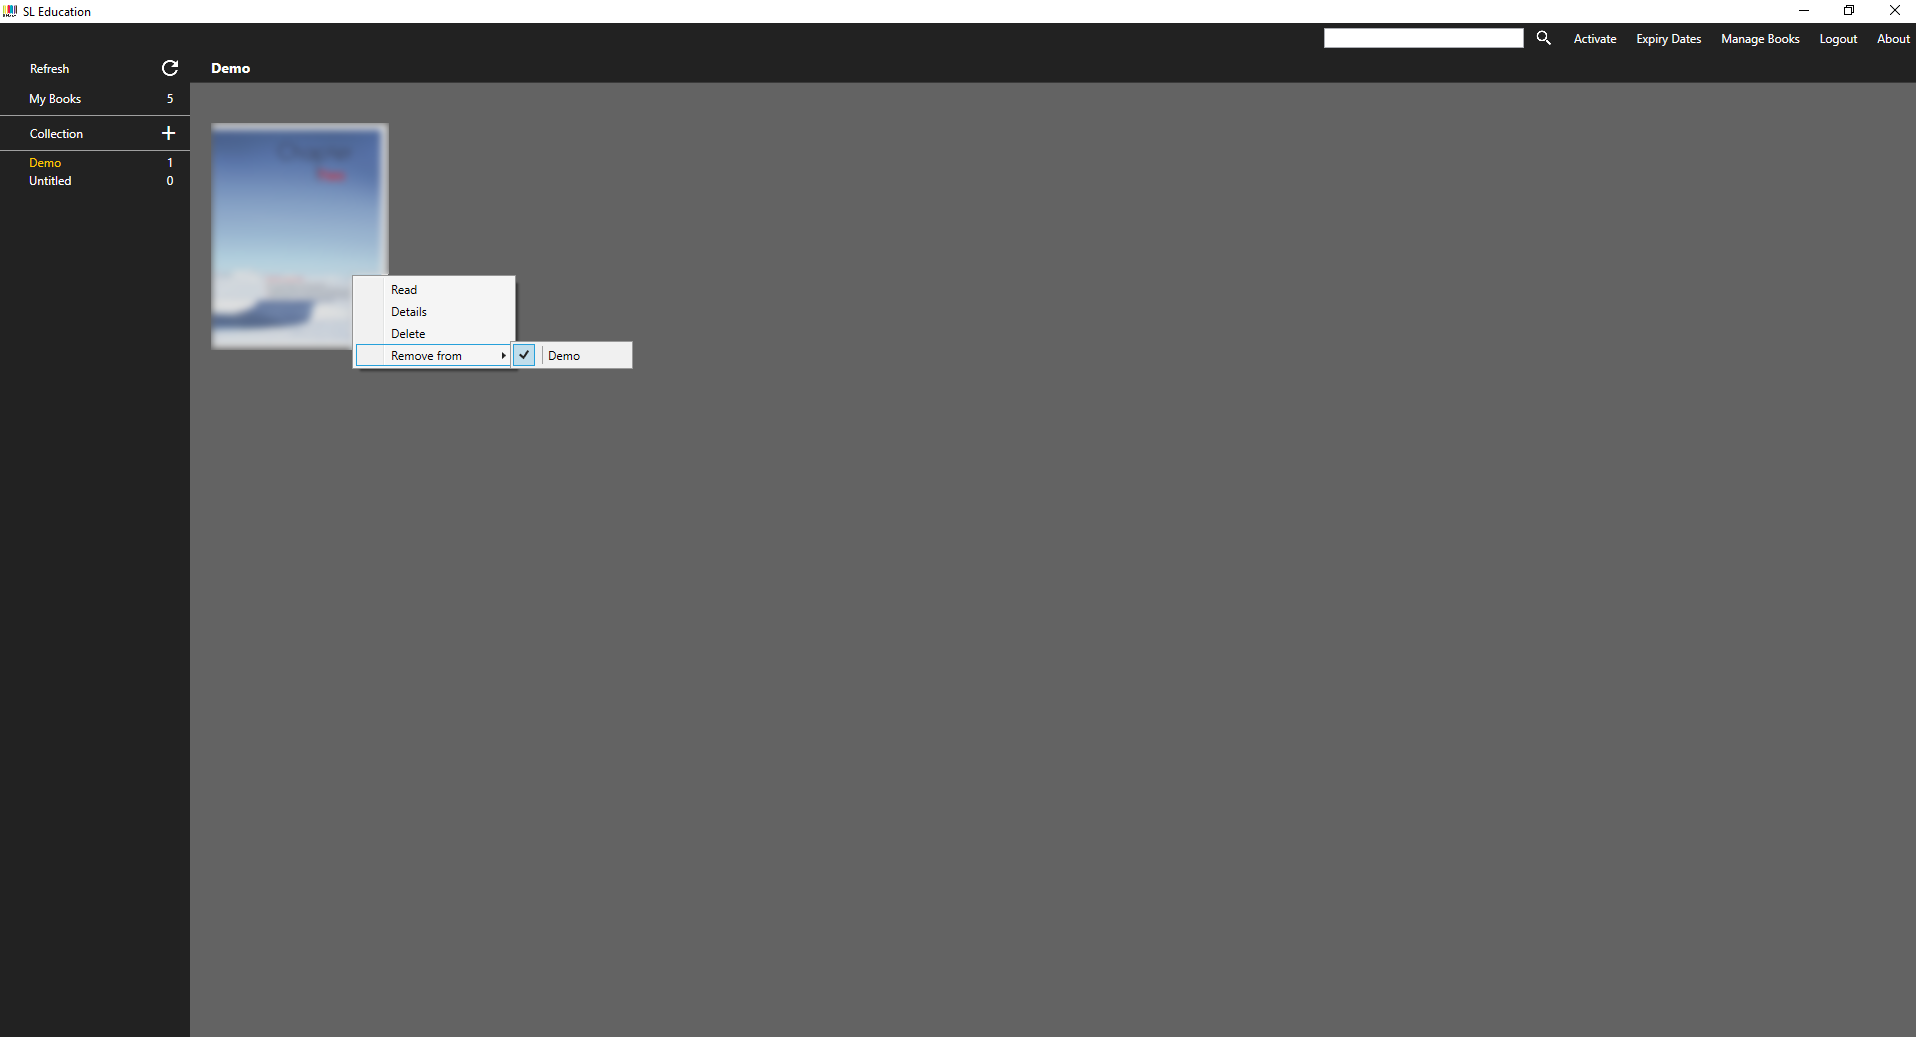
Click on the desired collection, right-click a specific book/chapter, select ‘Remove from’ and choose the folder you wish to remove it from.
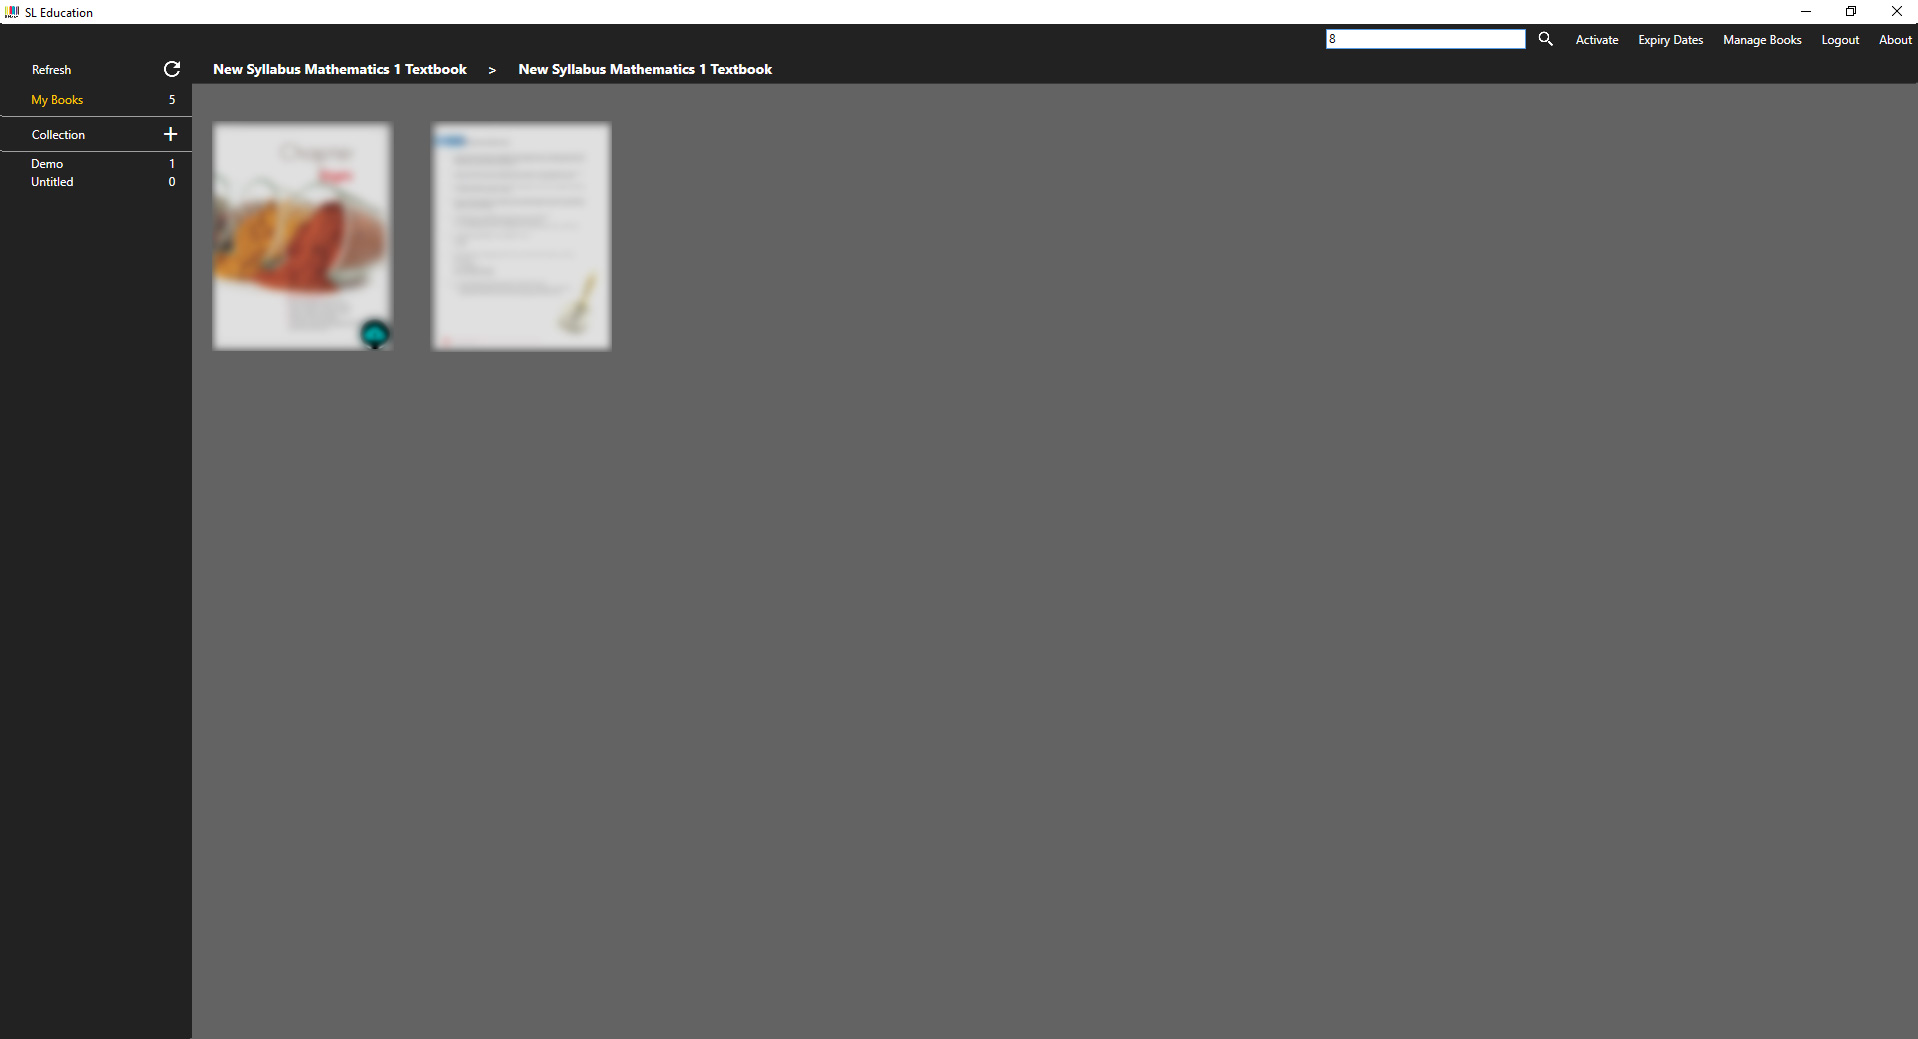
To search for a specific book, you may type in the desired keyword into the text box located at the top navigation bar.
Note: System will only search the page you are in. If you would like to search for chapters, please click on the book you would like to perform the search on.
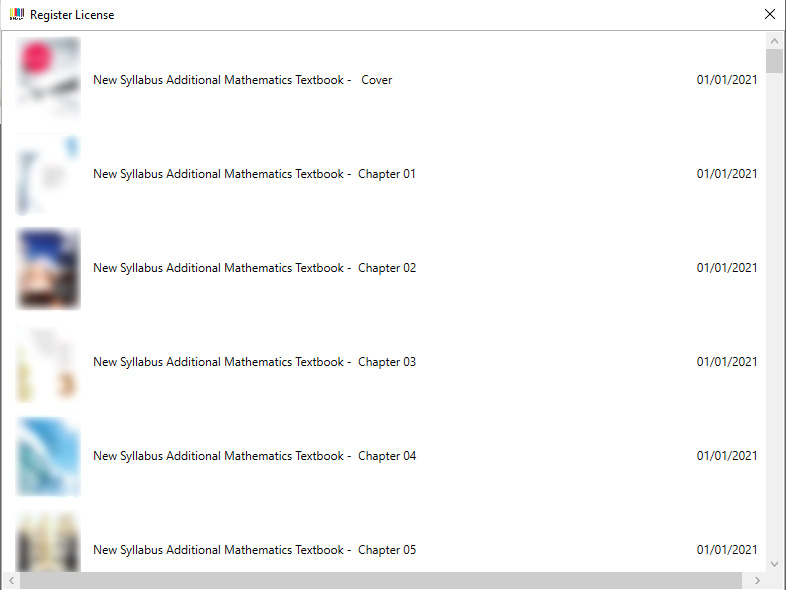
You may check the expiry dates of all books by clicking ‘Expiry Dates’ located at the top navigation bar.
You are encouraged to log out of the application if your device is a shared device to prevent discrepancies. Click ‘Log out’ button located at the top navigation bar.
To read a book, simply click on the downloaded book to launch it. Alternatively, you may access the menu by right-clicking the specific book.
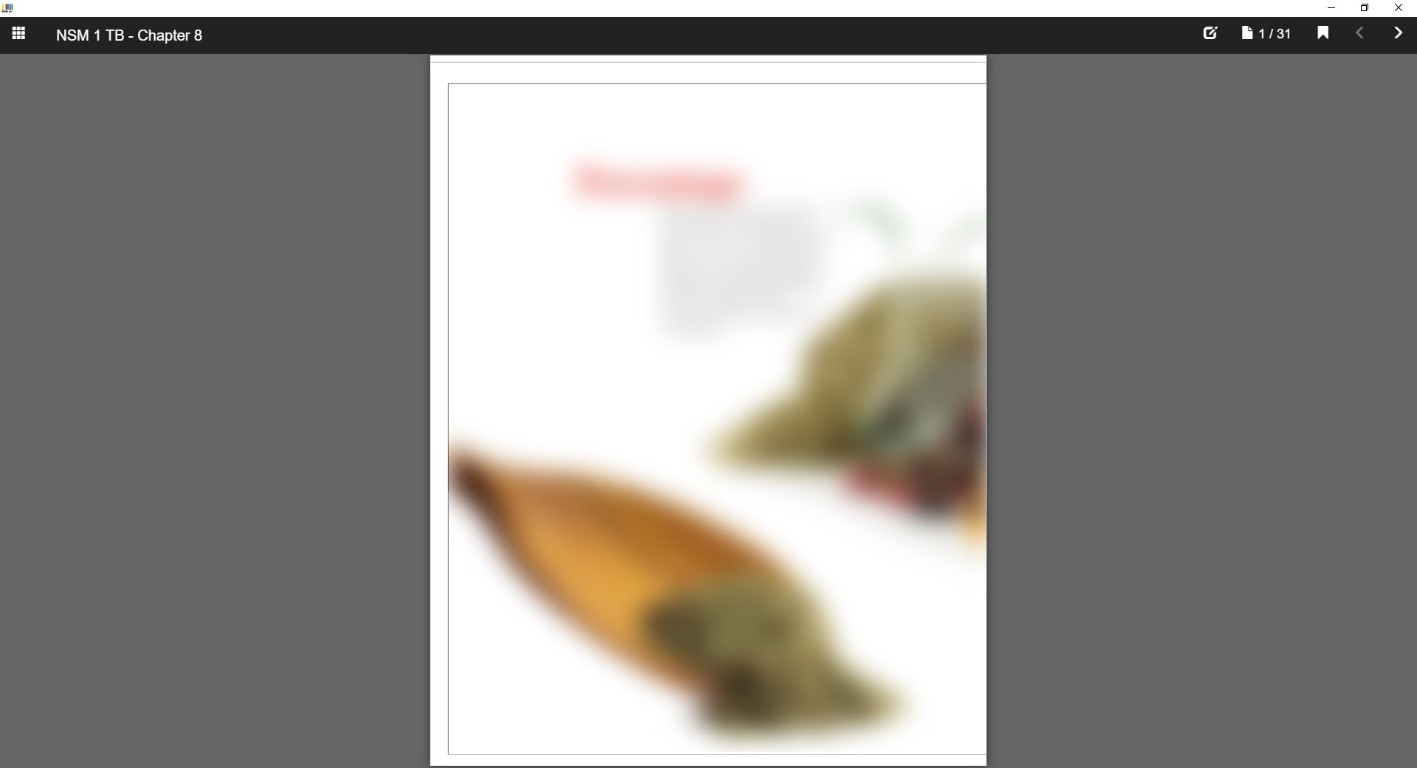
Click on the arrow ‘<’ which denotes previous page or ‘>’ which denotes next page. Alternatively, you may use touch gesture or a mouse to swipe the page towards the left which directs you to the previous page, and swipe towards the right which flips to the next page.
You can also access any of the pages directly by clicking on the ![]() icon, and click on the page you wish to access.
icon, and click on the page you wish to access.
Some pages come with a Table of Contents.
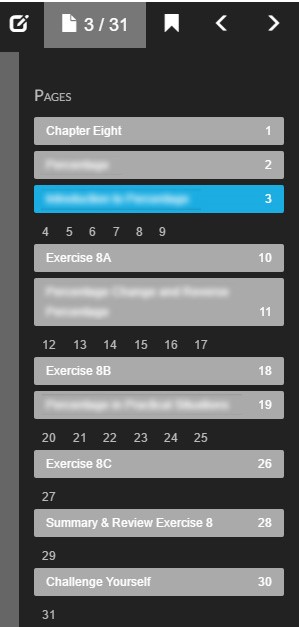
You are able to bookmark a page by clicking on the ![]() icon and click on ‘Bookmark this page’ to save a bookmark.
icon and click on ‘Bookmark this page’ to save a bookmark.
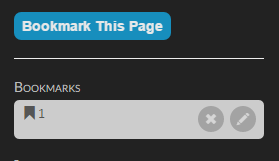
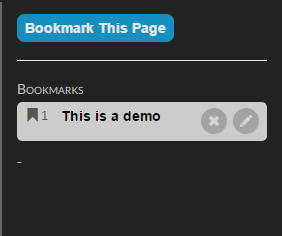
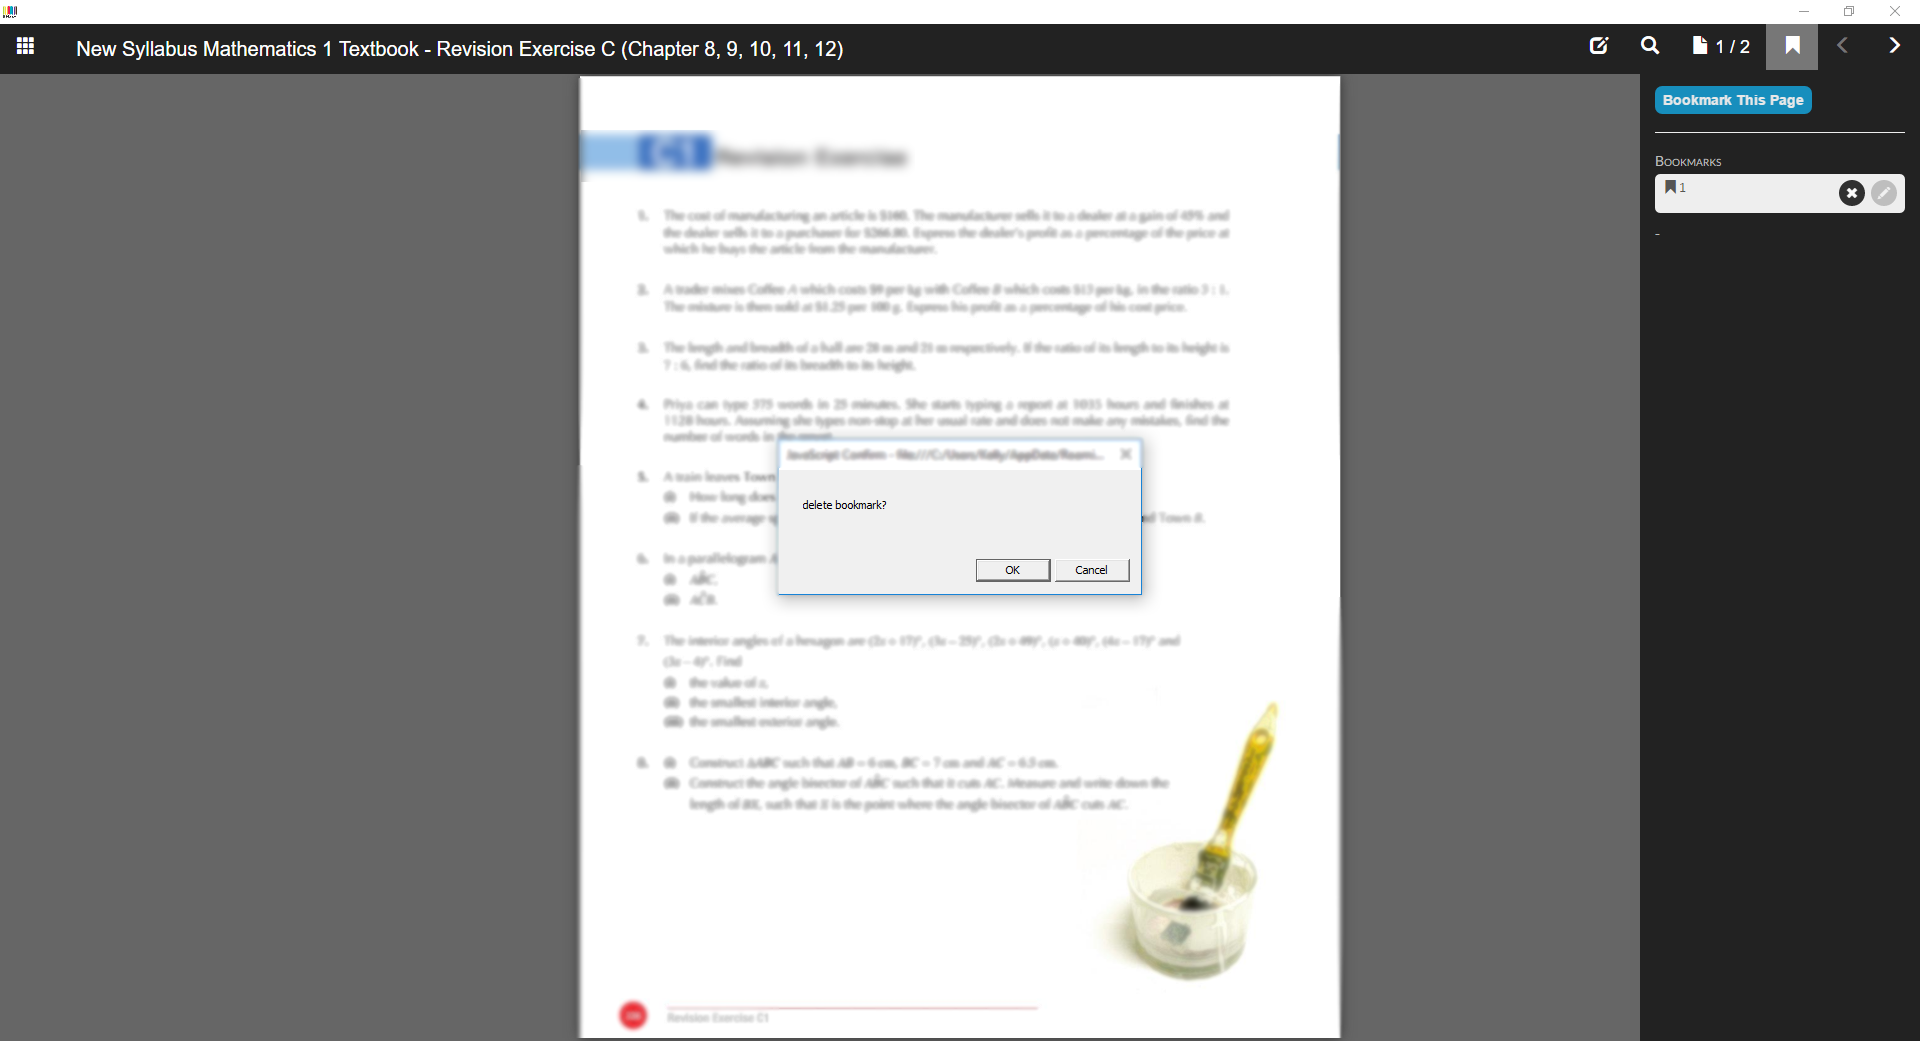
You are also able to save customised notes into the Table of Contents, click on the ‘Pencil’ icon to input your notes, click on it again to modify and click on ‘X’ to remove the entire bookmark.
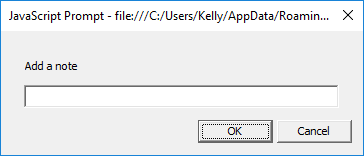
Input the desired notes and click on ‘OK’ to save.
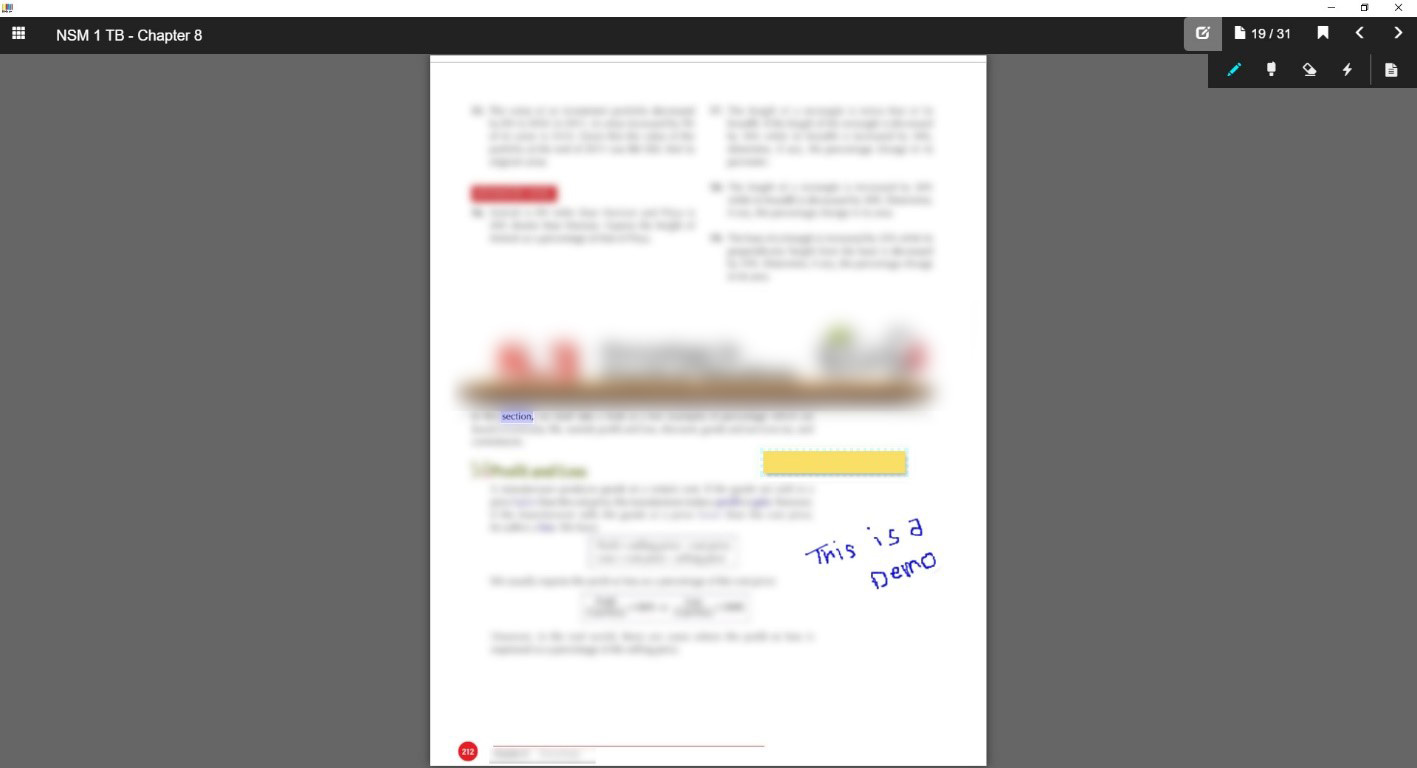
You will be able to doodle, highlight a word/phrase and even put a sticky note on the page which will then be saved locally upon usage.
To doodle, click on the ![]() icon and select the
icon and select the ![]() icon to start doodling. You may also change the colour of the doodle by clicking on the
icon to start doodling. You may also change the colour of the doodle by clicking on the ![]() icon again. You will be prompted with a selection of different coloured pencils at the top left-hand corner, select the desired colour and start doodling.
icon again. You will be prompted with a selection of different coloured pencils at the top left-hand corner, select the desired colour and start doodling.

To highlight a word, select the ![]() icon. Likewise, click on the
icon. Likewise, click on the ![]() icon again to change the colour of the highlighter. Select the desired colour and left-click your mouse over the word/phrase/sentence you wish to highlight.
icon again to change the colour of the highlighter. Select the desired colour and left-click your mouse over the word/phrase/sentence you wish to highlight.

To add a sticky note, select the ![]() icon and click anywhere on the page you would like to have your sticky note placed at. To change the background colour of the sticky note, click on the sticky note, and select the desired background colour from the list. To delete a sticky note, click on the sticky note you wish to delete and click on ‘Delete’ button.
icon and click anywhere on the page you would like to have your sticky note placed at. To change the background colour of the sticky note, click on the sticky note, and select the desired background colour from the list. To delete a sticky note, click on the sticky note you wish to delete and click on ‘Delete’ button.

To remove parts of a doodle or highlighted words, click on the ![]() icon and left-click to remove the desired portion.
icon and left-click to remove the desired portion.
To remove all doodles and highlights, click on the ![]() icon to clear them.
icon to clear them.
You will be able to go back to the main screen where ‘My Books’ is located by clicking on the ![]() icon located at the top left-hand corner.
icon located at the top left-hand corner.
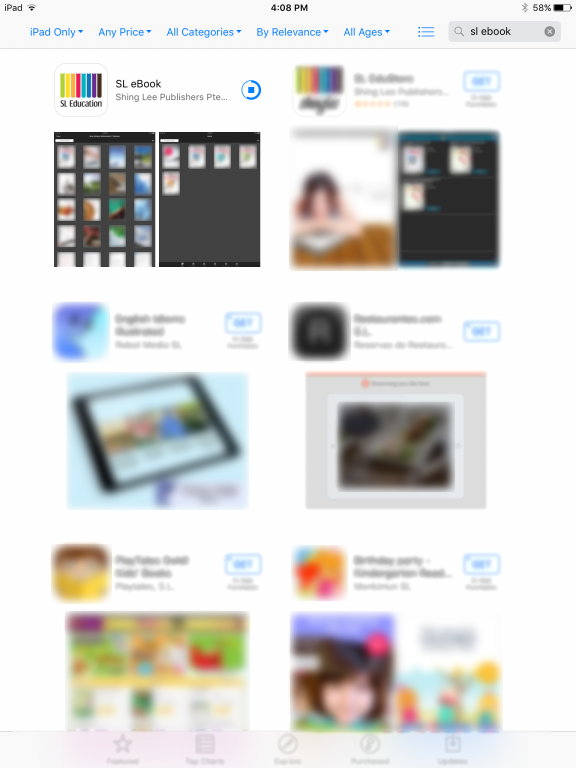
Launch App Store on your iPad and search for ‘SL eBook’. Alternatively, you may click on this link to download the app from App Store.
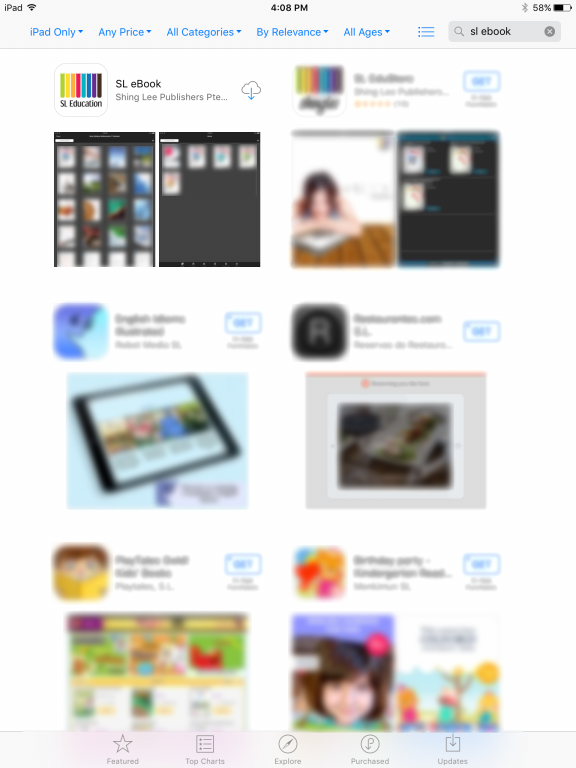
Tap on ‘Get’ to start downloading the app. The app will be automatically installed upon successful download.
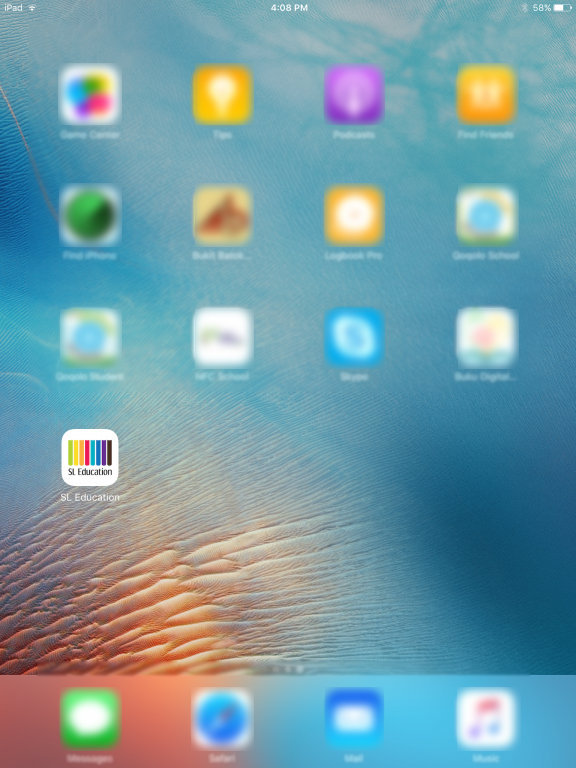
Tap on the ‘SL Education’ app to launch the app.
Click here to register for a Shing Lee account.

Fill in all the details as requested. Click OK upon completion. All fields are mandatory.
You will see the following screen if you have registered successfully.

Please check your mail box to complete the account verification.
Upon successful verification, you will see the following page:

Note: Account ID refers to your email address.
You will be prompted with a login screen to key in your account ID and password.
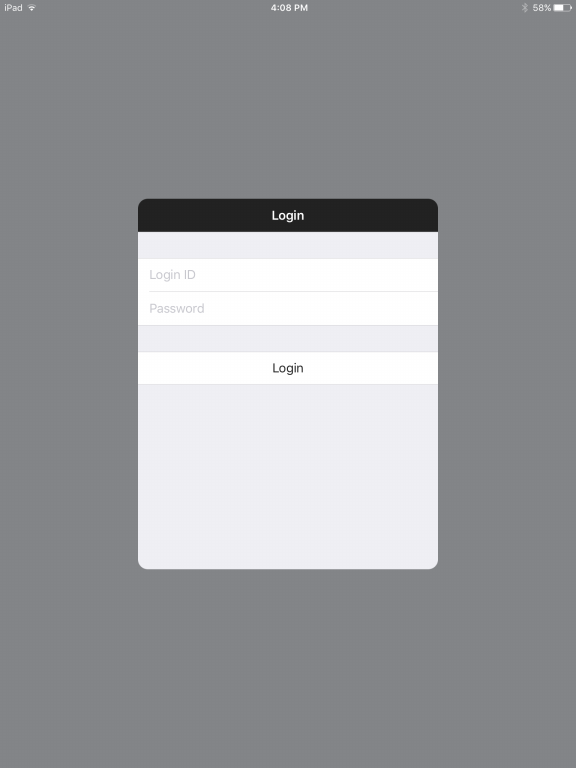
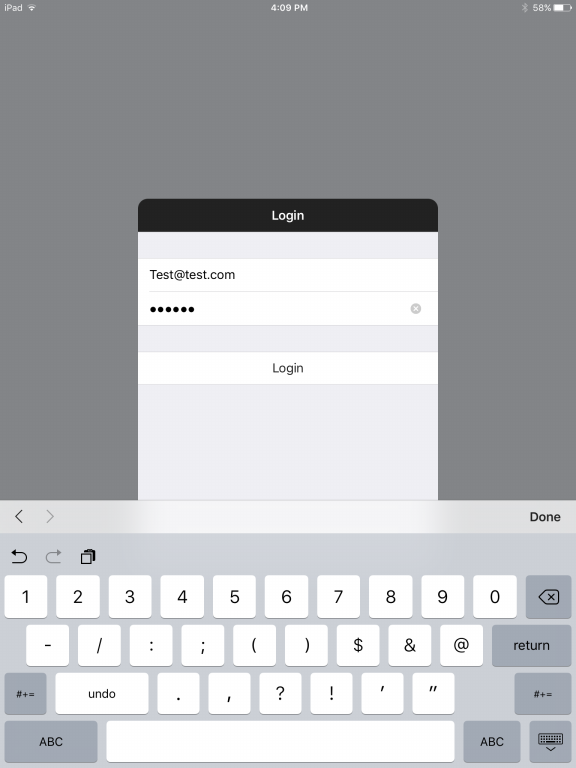
Key in your assigned/registered account ID and password and you will be directed to this screen, which means you have logged in successfully.

To activate a book with an assigned access code, please tap on Activate.

Input your access code and click on Submit.
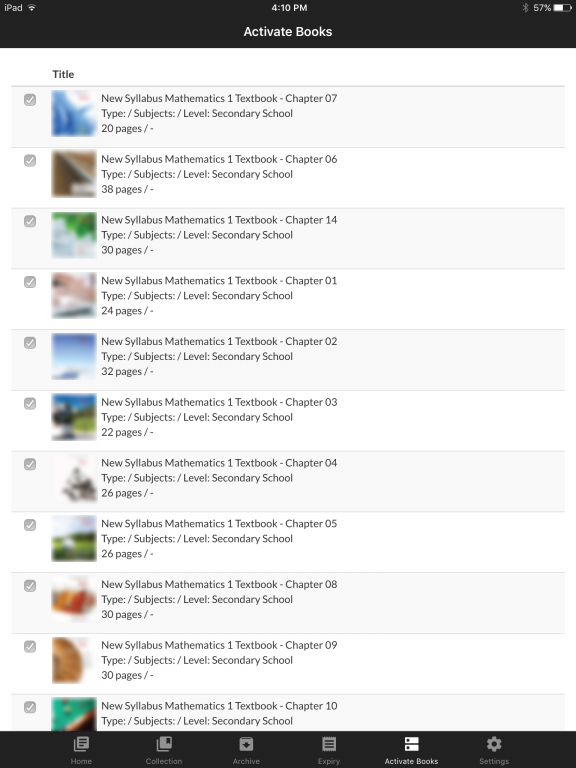
If your code is correct and valid, you will be brought to the next page with all the books you are going to activate.
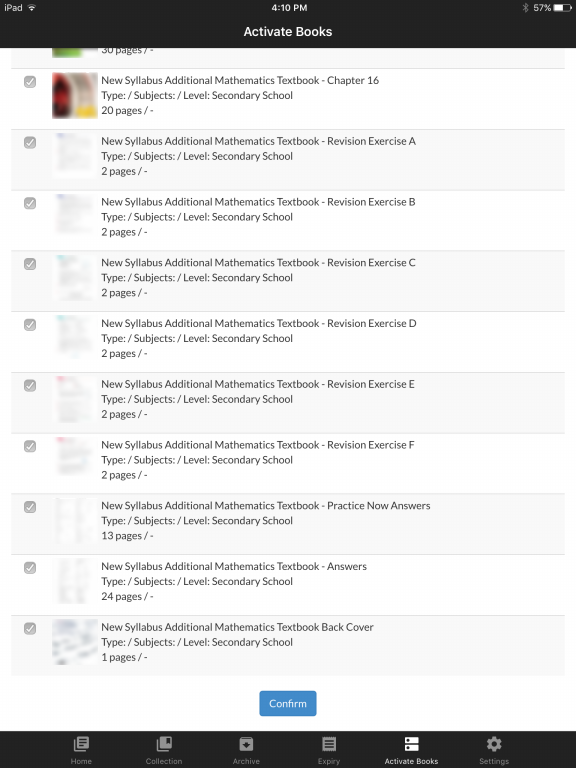
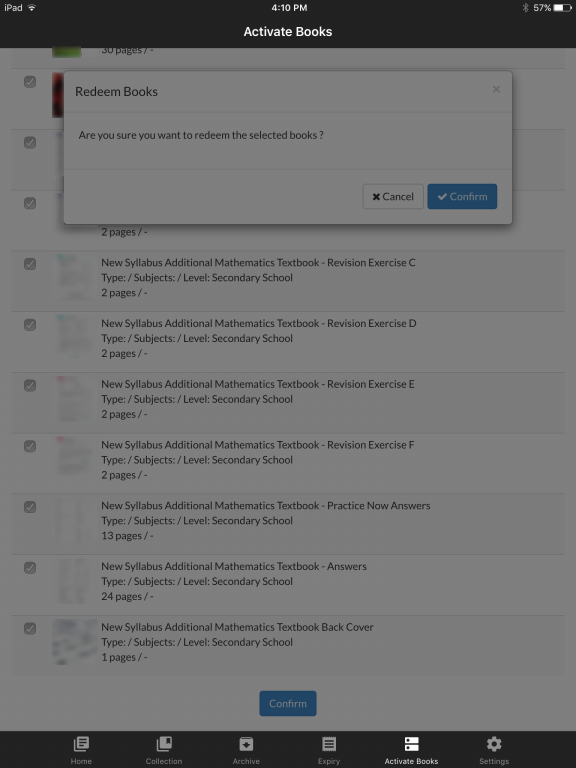
Scroll to the bottom and tap on Confirm to activate your books. Tap Confirm. Upon successful activation, you will be prompted with a green bar at the top:
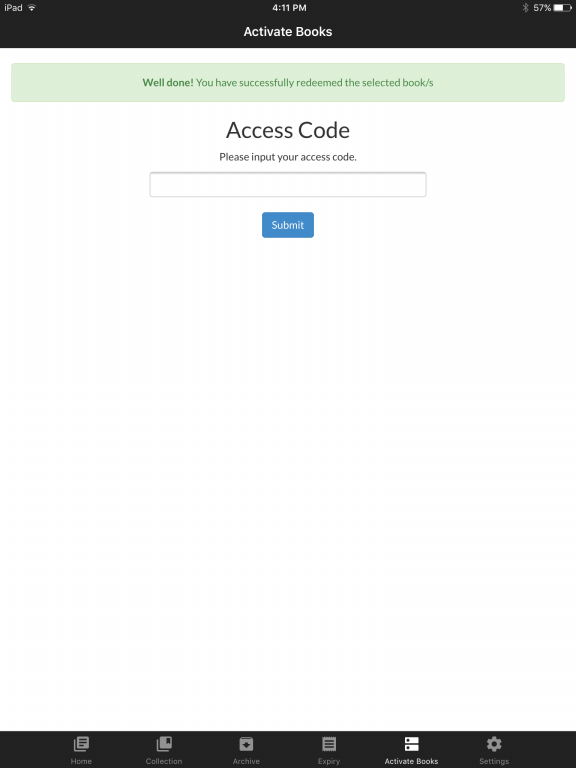
Tap on ‘Home’ to access your books. (If the app did not refresh automatically, please pull the screen to refresh.)

All newly activated books will be shown in the ‘Home’ tab, tap on the book covers to access the chapters.
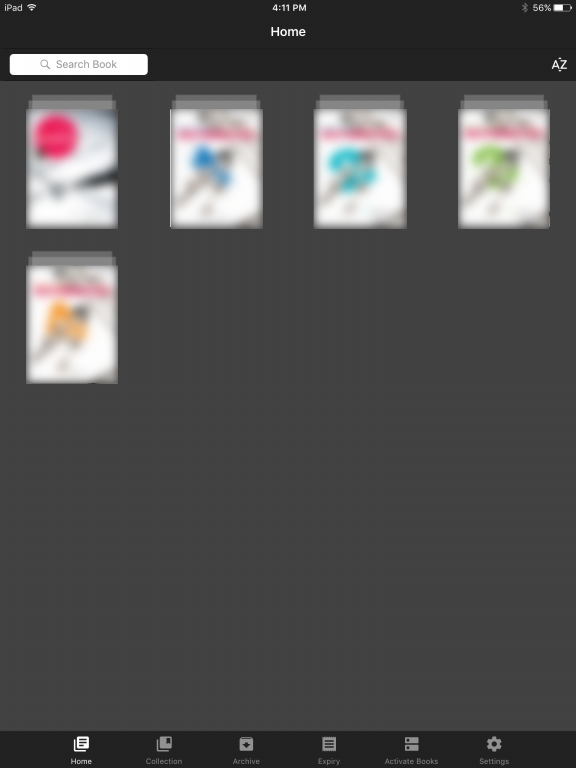
To access the chapters, tap on the desired book(s) to download a copy to your device for offline reading. Alternatively, you can tap and hold on the desired book to access the various options available.
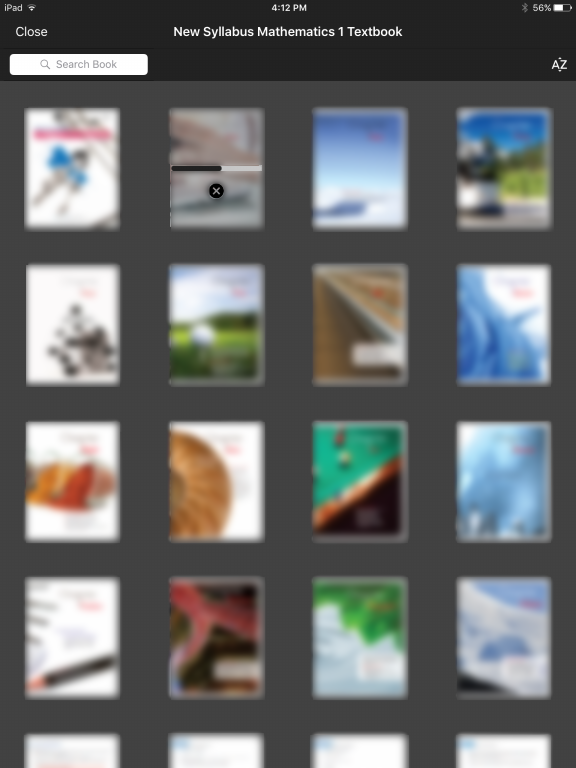
Note: You are only allowed to download 3 books at any one time
A cloud icon with a green tick at the bottom right-hand corner of a book denotes that the book has been downloaded.
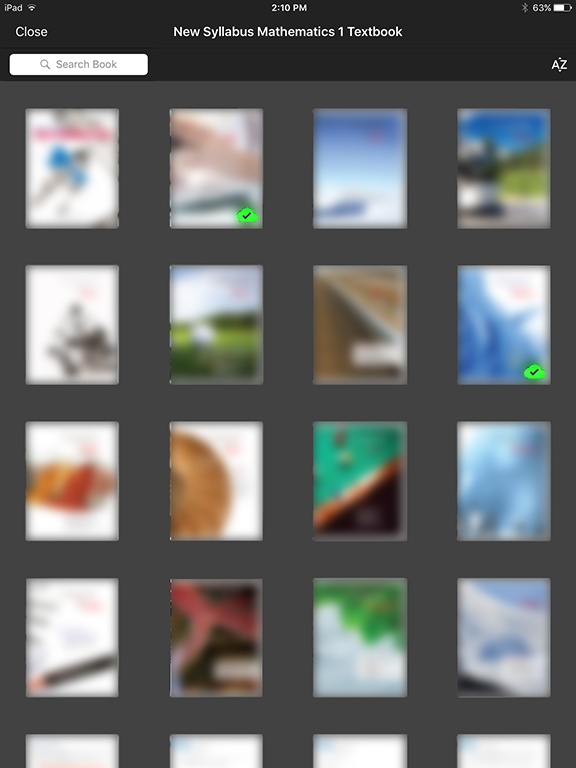
Pull the screen downwards to refresh the page.

If a specific book needs an update, the specific book will have anicon with a blue cloud at the bottom right-hand corner.
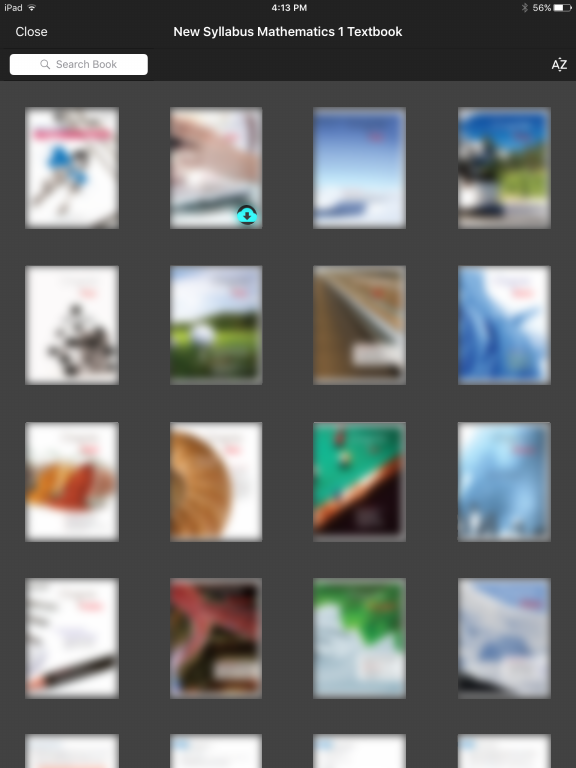
Tap on the specific book to download the updated book. If you do not have internet access but would like to read the book, you may tap and hold on the book to access the ‘Read’ menu. You may resume the update when you have internet access.
You may delete a specific book by tapping and holding on the specific it, and choose ‘Remove book’ to save your device’s disk space.
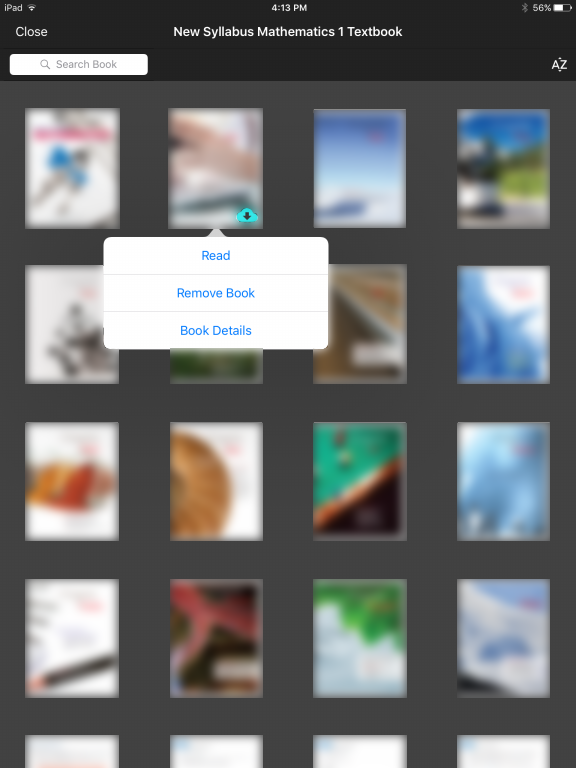
Note: Deleting a book will not deactivate the validity of the book. It will only delete the hard copy on your device. You may still download the book again under Home tab.
You may archive a book so that it will not appear on your Home tab. Doing so will not deactivate the validity of the book.
The book has to be deleted before you have the option to archive, thus, please refer to deleting a book for more information. Upon deletion of a specific book, you can tap and hold it to access the ‘Archive’ menu. Click on ‘Archive Book’ to archive the specific book.
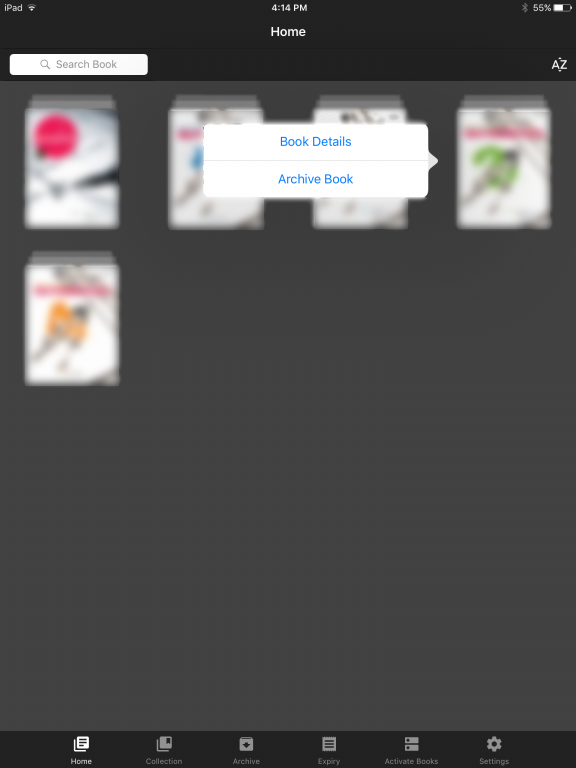
Note: Deleting a book will not deactivate the validity of the book, it will only delete the hard copy on your device. You may still download the book again under Home tab.
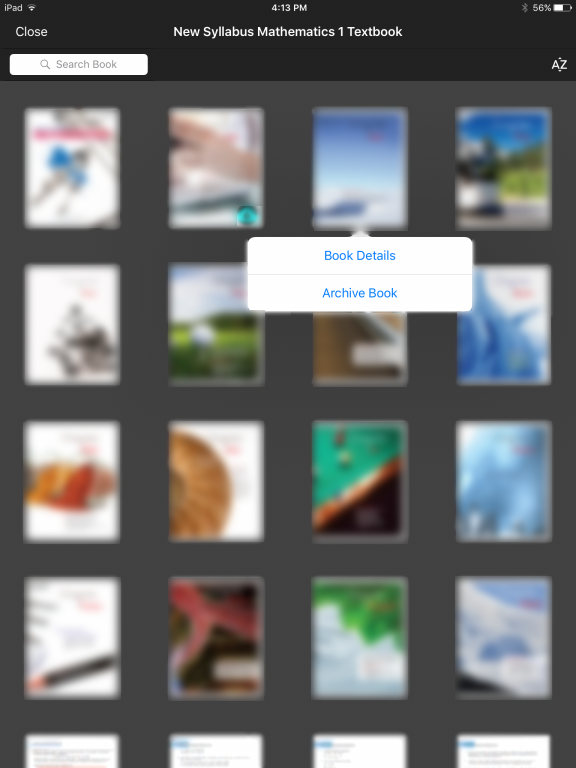
Note: You will not be able to archive a book if your device has the hard copy of the book or if there is a cloud icon with green tick at the bottom left-hand corner of the book. If you choose to archive entire book without deleting the chapters within, the books might still take up a lot of space in your device.
Upon archiving, you will be able to see the archived books under ‘Archive’ menu. Tap on ‘Archive’ located at the bottom navigation bar.

To move the book back to Home, tap and hold on the specific book under ‘Archive’, click on ‘Unarchive’.

You may also create a customised folder for certain books/chapters. Tap on the ‘Collection’ then ‘Add Collection’ at the top right-hand corner, name your folder according to your preference and press ‘Ok’ to save.

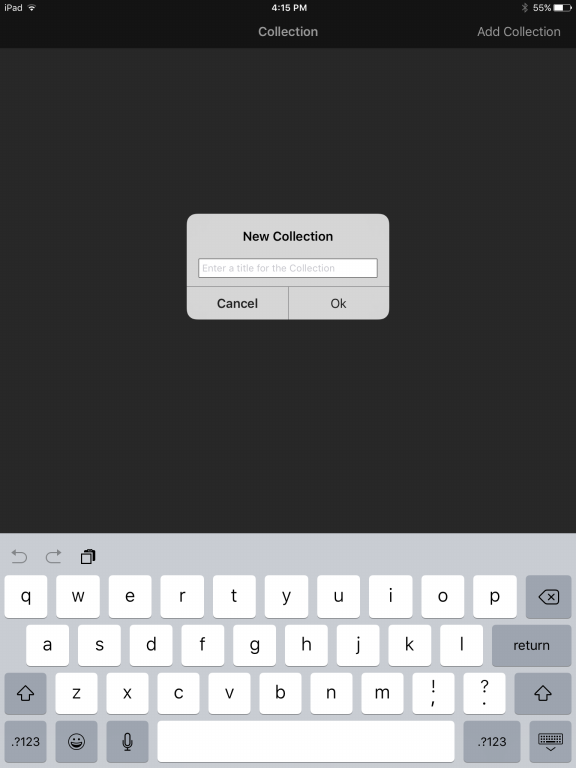
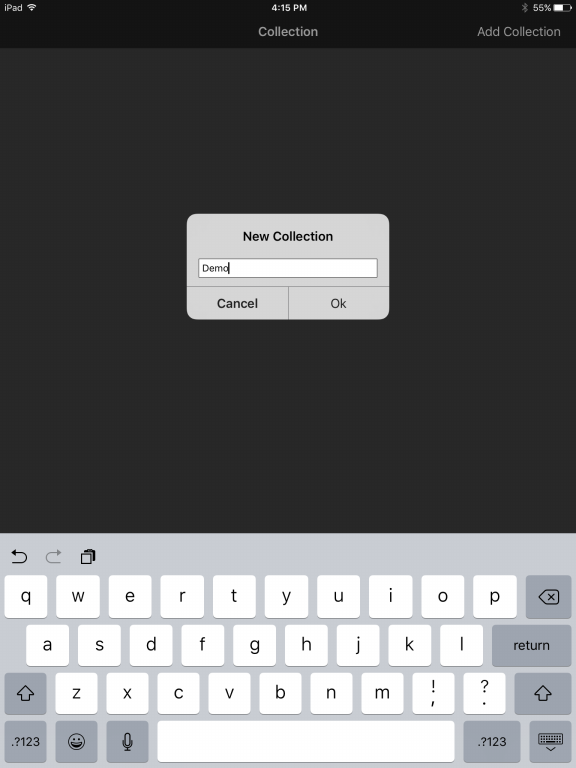
You will see an empty folder upon successful creation of a collection.
Tap on ‘Add/Remove Books’, navigate to the book you wish to add to this collection, select the book by tapping it, and click on ‘Done’ when you have finished selecting. Selected books have green ticks at the bottom right-hand corner.
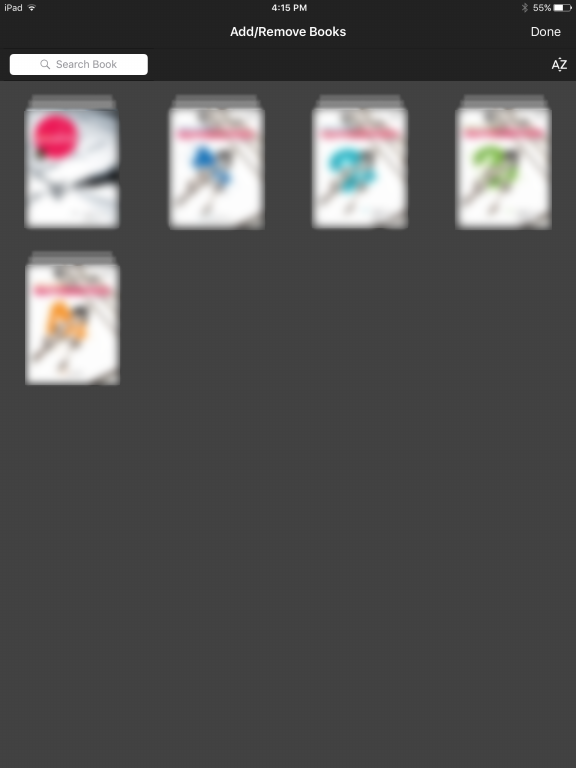
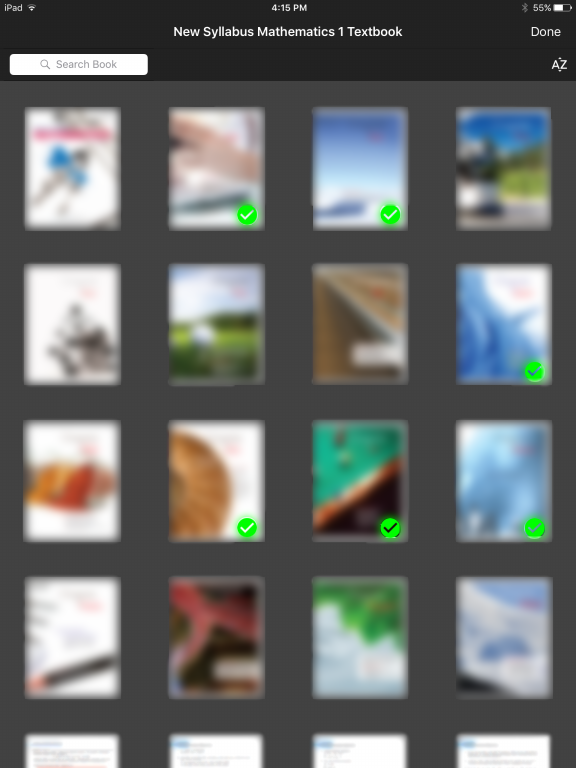
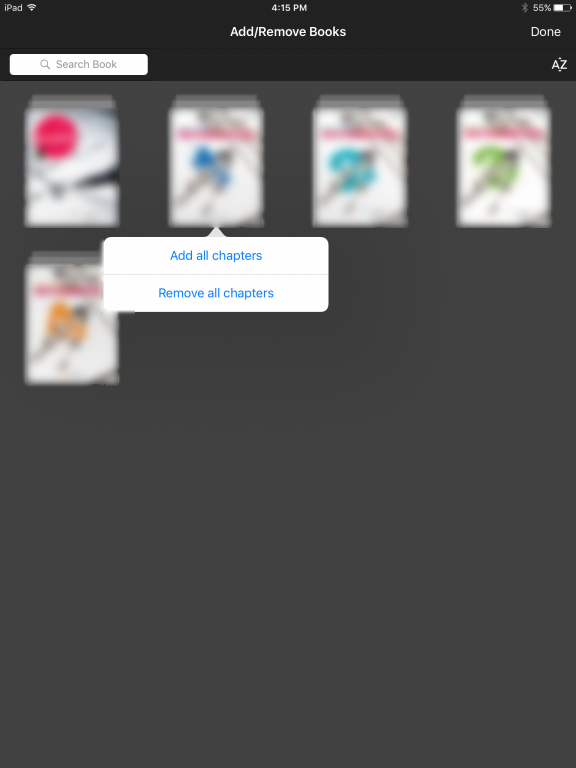
Tips: You can select multiple chapters and books at one go. You can also add and remove all chapters by tapping and holding on to the specific book.
Tap on ‘Close’ when you are done with creating collections.
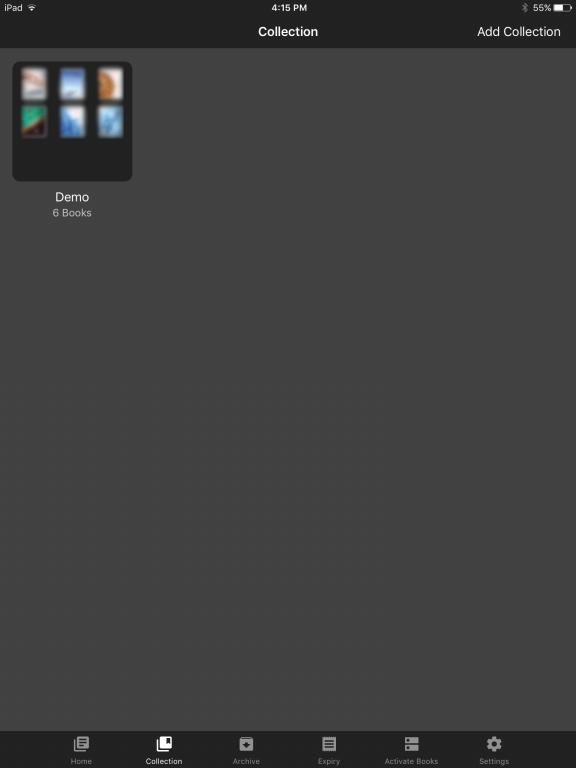
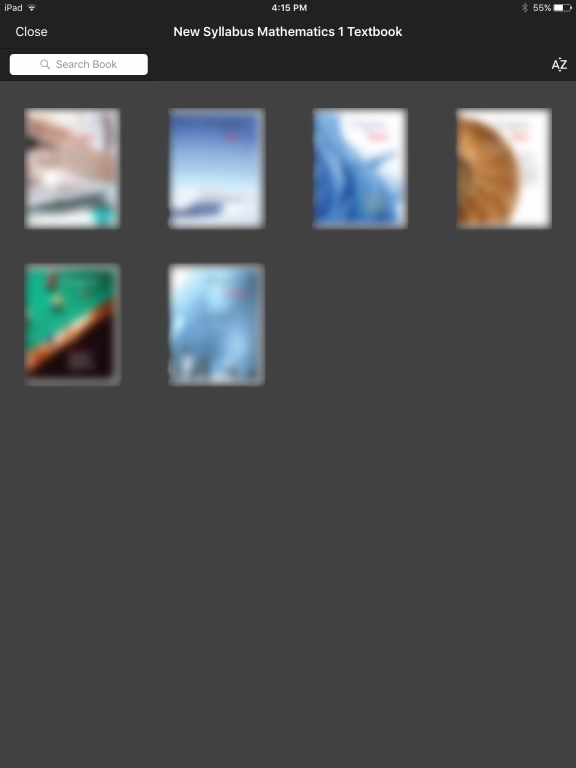
Similarly to adding of books, tap on the desired collection, tap on ‘Add or Remove Books’, navigate to a specific book, select ‘the specific book’ to deselect it. (Green ticks will be removed upon deselecting)
Tap on ‘Done’, then ‘Close’ when you have completed.
To search for a specific book, you may type in your search keyword into the text box located at the top navigation bar.
Note: System will only search the page you are in. If you would like to search for chapters, please click on the book you would like to perform the search on.
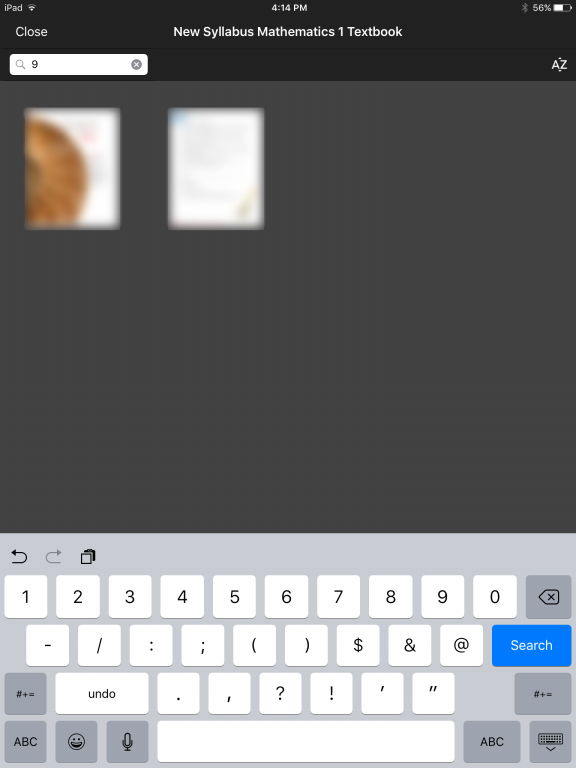
You may check the expiry dates of all books by tapping on ‘Expiry’.
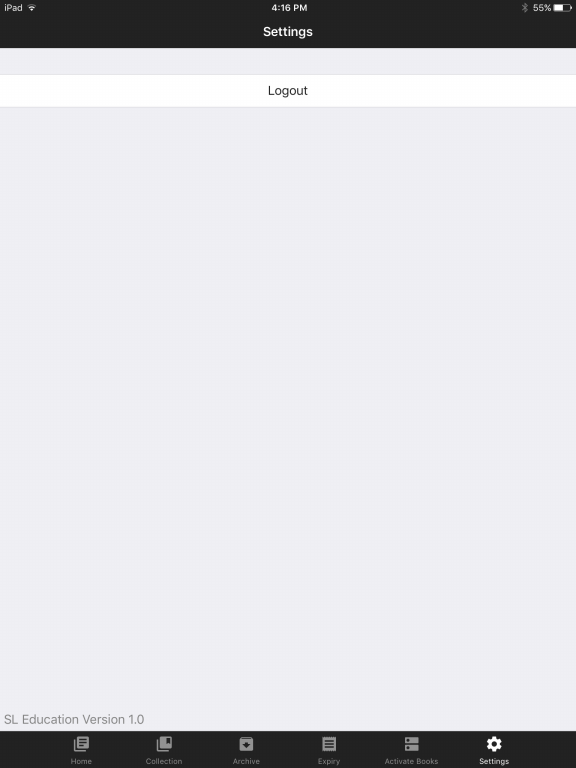
You are encouraged to log out of the application if your device is a shared device to prevent discrepancies. Tap on ‘Log out’ button located under ‘Settings’ tab.
To read a book, simply tap on the downloaded book to launch it. Alternatively, you may access the menu by tapping and holding on to the specific book.
Tap on the arrow ‘<’ which denotes previous page or ‘>’ which denotes next page. Alternatively, you may use touch gesture to swipe the page towards the left which directs you to the previous page, and swipe towards the right which flips to the next page.
You can also access any of the pages directly by clicking on the ![]() icon, and tap on the page you wish to access.
icon, and tap on the page you wish to access.
Some pages come with a Table of Contents.

You are able to bookmark a page by clicking on the ![]() icon and tap on ‘Bookmark this page’ to save a bookmark.
icon and tap on ‘Bookmark this page’ to save a bookmark.

You are also able to save customised notes into the Table of Contents, tap on the ‘Pencil’ icon to input your notes, tap on it again to modify and ‘X’ to remove the entire bookmark.
Input the desired notes and tap on ‘OK’ to save.


You will be able to doodle, highlight a word/phrase and even put a sticky note on the page which will then be saved locally upon usage.
To doodle, tap on the ![]() icon and select the
icon and select the ![]() icon to start doodling. You may also change the colour of the doodle by clicking on the
icon to start doodling. You may also change the colour of the doodle by clicking on the ![]() icon again. You will be prompted with a selection of different colour pencils at the top left-hand corner, select the desired colour and start doodling.
icon again. You will be prompted with a selection of different colour pencils at the top left-hand corner, select the desired colour and start doodling.

To highlight a word, select the ![]() icon. Likewise, tap on the
icon. Likewise, tap on the ![]() icon again to change the colour of the highlighter. Select the desired colour and tap, hold and drag over the word/phrase/sentence you wish to highlight.
icon again to change the colour of the highlighter. Select the desired colour and tap, hold and drag over the word/phrase/sentence you wish to highlight.

To add a sticky note, select the ![]() icon and tap anywhere on the page you would like to have your sticky note placed at. To change the background colour of the sticky note, tap on the sticky note, and select the desired background color from the list. To delete a sticky note, tap on the sticky note you wish to delete and tap on ‘Delete’ button.
icon and tap anywhere on the page you would like to have your sticky note placed at. To change the background colour of the sticky note, tap on the sticky note, and select the desired background color from the list. To delete a sticky note, tap on the sticky note you wish to delete and tap on ‘Delete’ button.


To remove parts of a doodle or highlighted words, tap on the ![]() icon and tap to remove the desired portion.
icon and tap to remove the desired portion.
To remove all doodles and highlights, tap on the ![]() icon to clear them.
icon to clear them.
You will be able to go back to the main screen where ‘My Books’ is located by tapping on the ![]() icon located at the top left-hand corner.
icon located at the top left-hand corner.
Launch Mac App Store on your Mac and search for ‘SL eBook’. Alternatively, you may click on this link to download the app from Mac App Store.
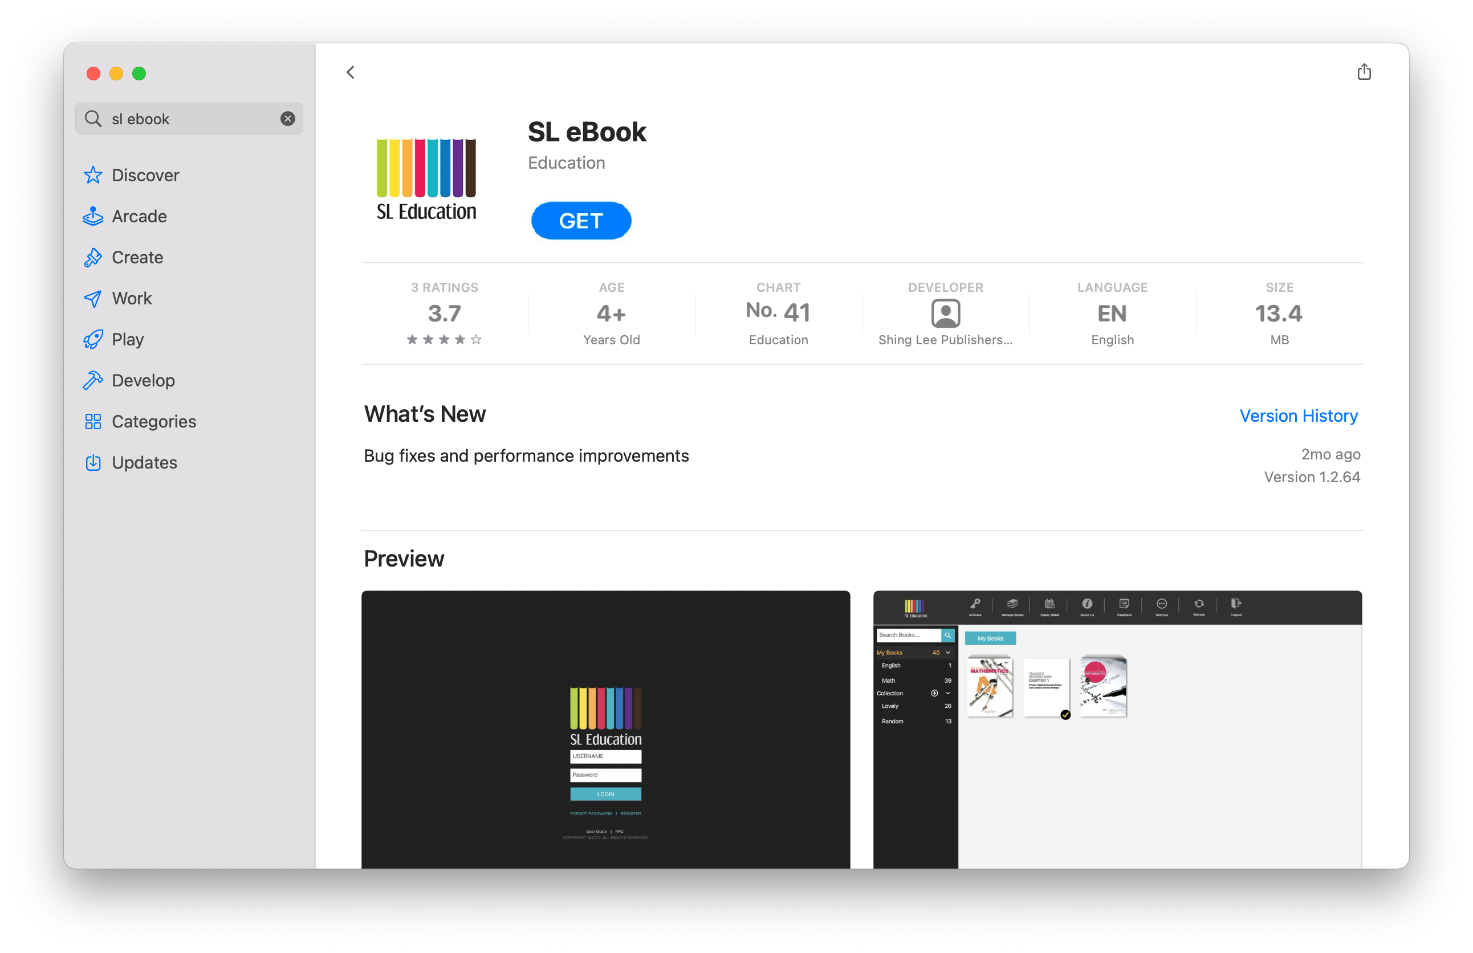
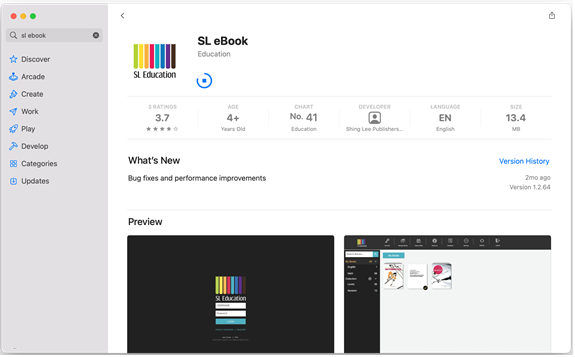
Click on ‘Get’ to start downloading the app. The app will be automatically installed upon successful download.
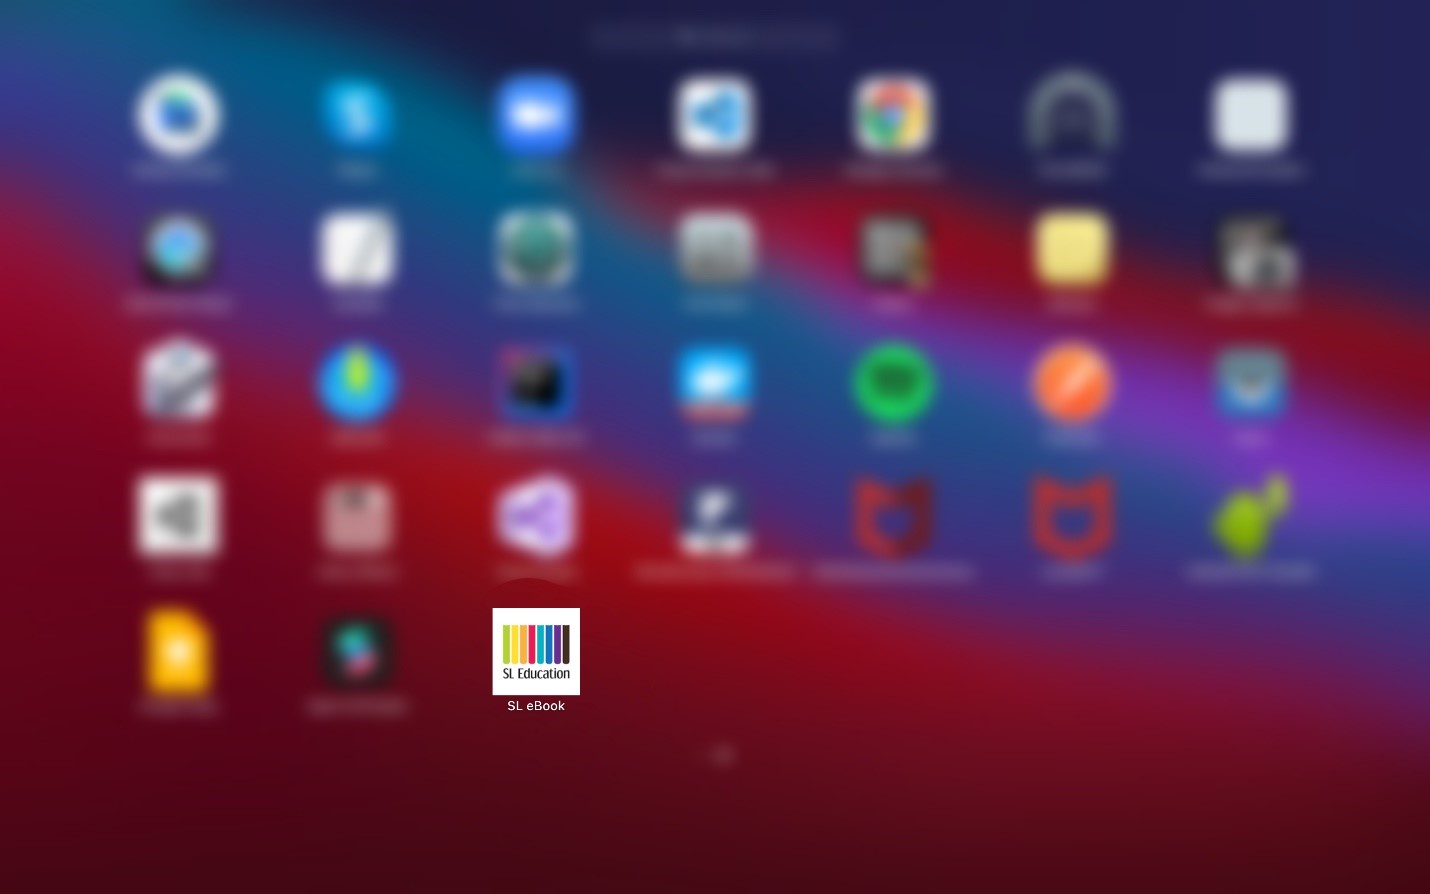
Click on the ‘SL Education’ app to launch the app.
Click here to register for a Shing Lee account.

Fill in all the details as requested. Click OK upon completion. All fields are mandatory.
You will see the following screen if you have registered successfully.

Please check your mail box to complete the account verification.
Upon successful verification, you will see the following page:

Note: Account ID refers to your email address.
On the login screen, key in your account ID and password.
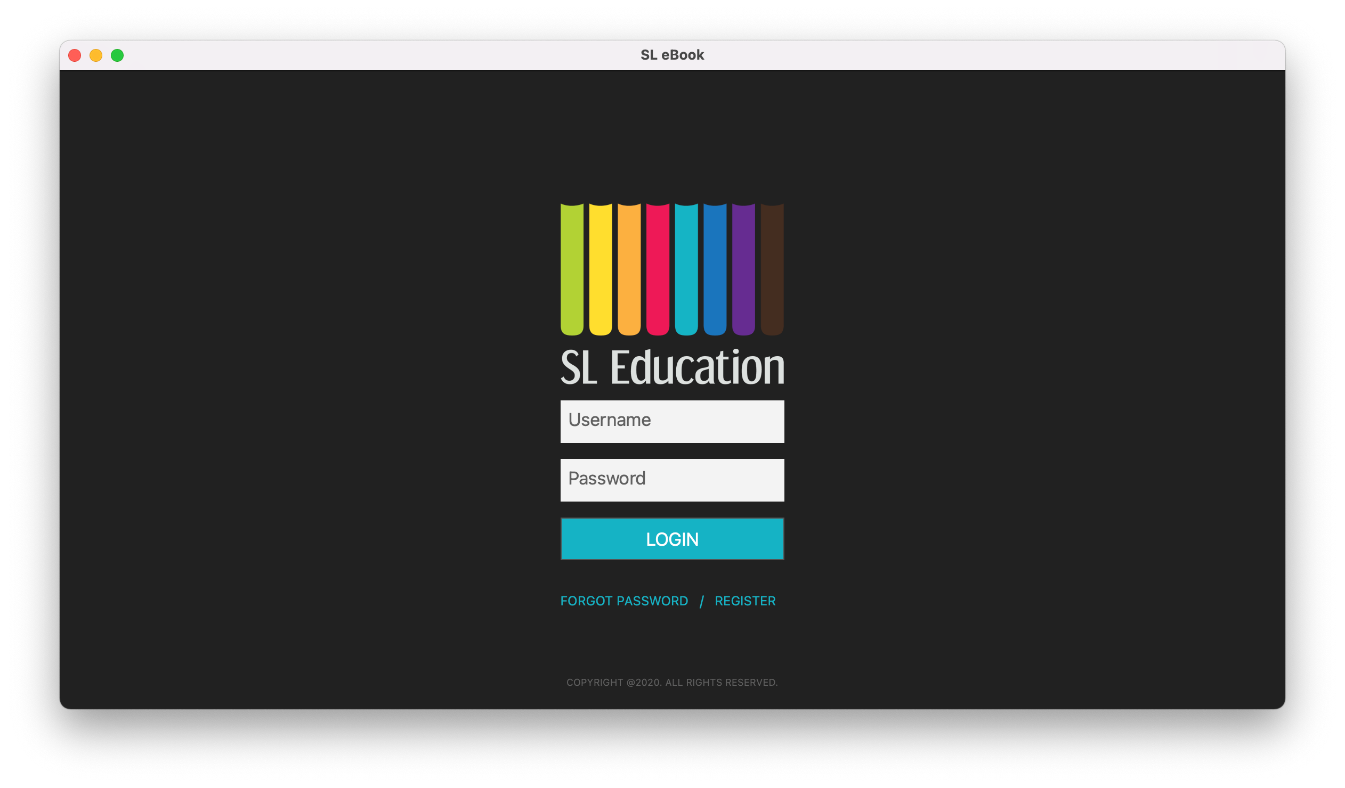
You will be directed to this screen, which means you have logged in successfully.
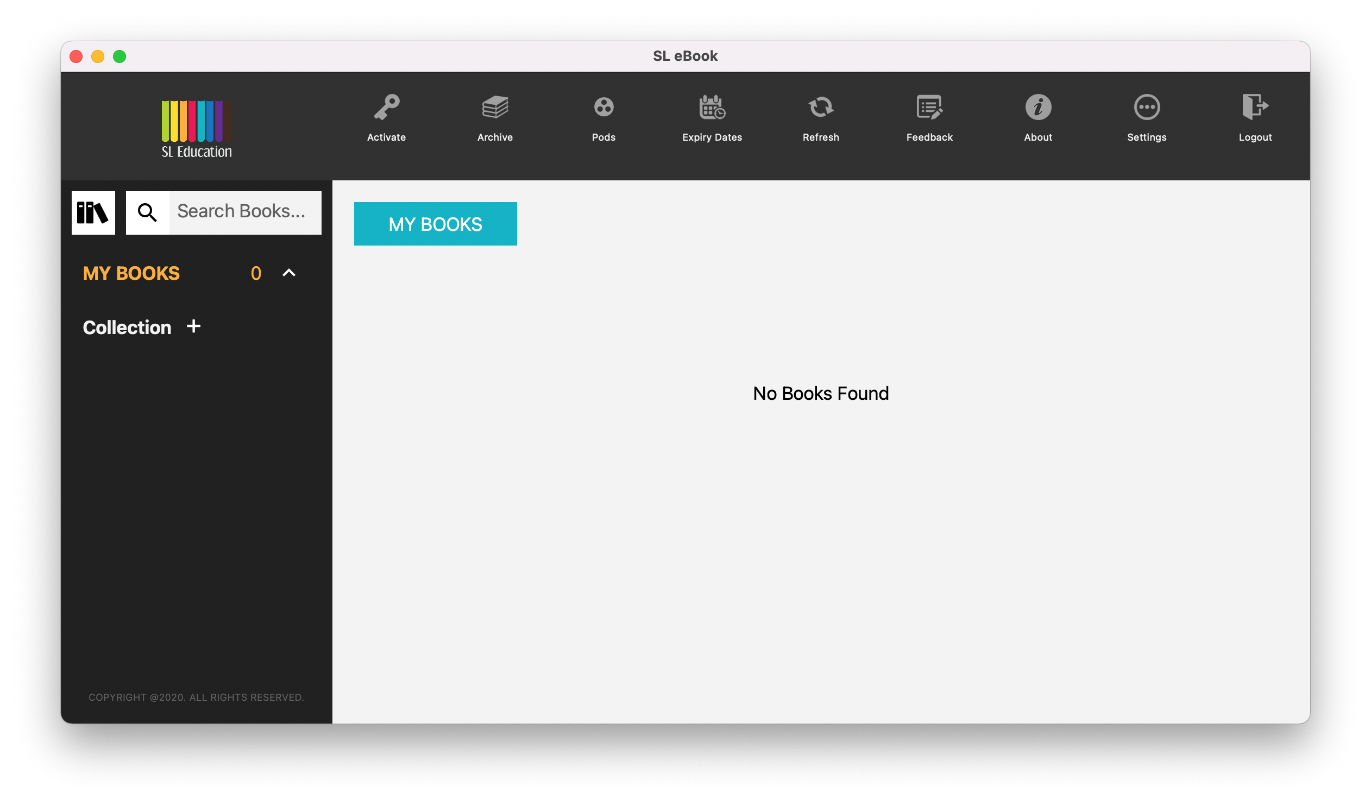
To activate a book with an assigned access code, go to Activate on top menu.
Input your access code and click on Submit.
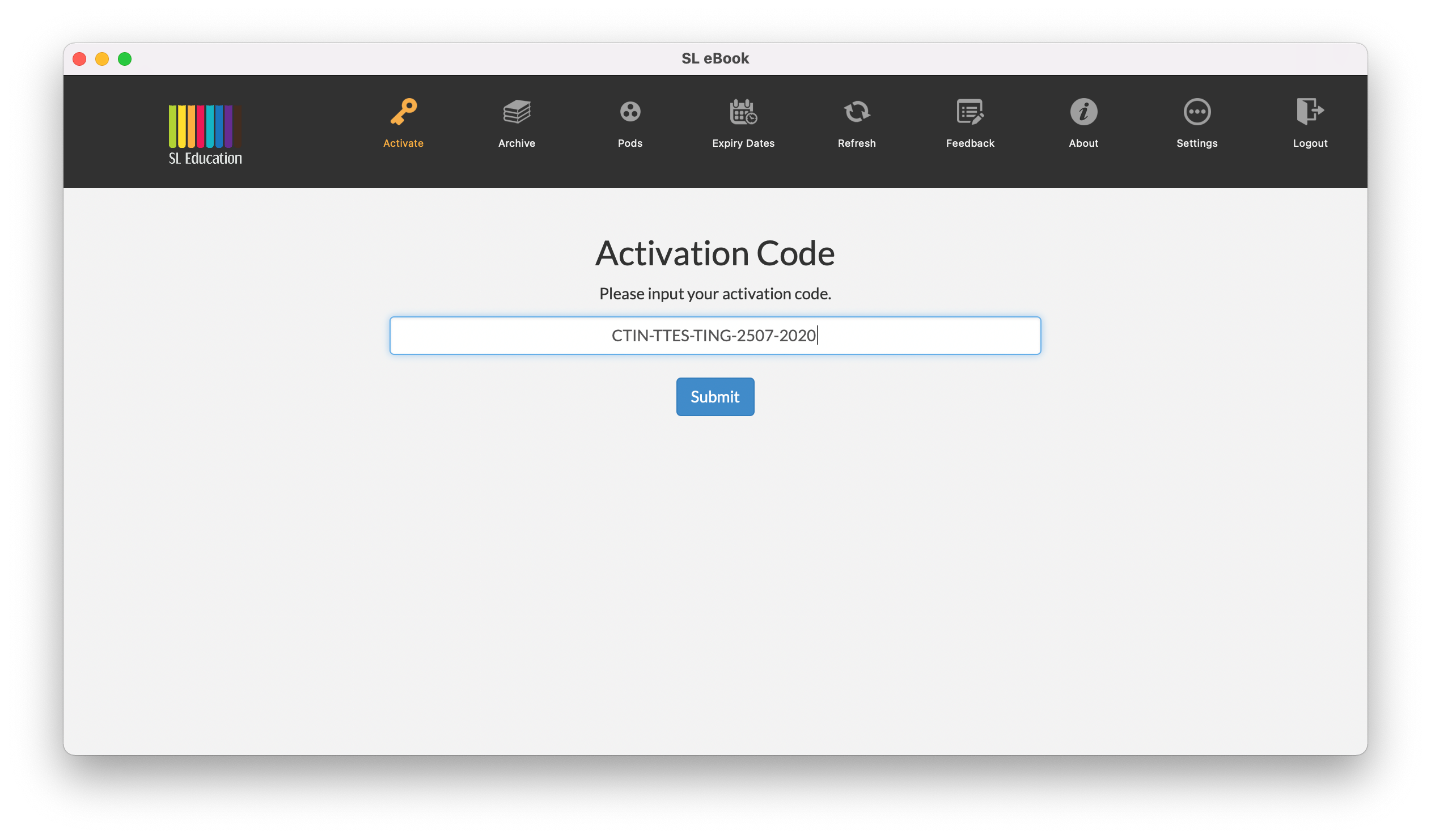
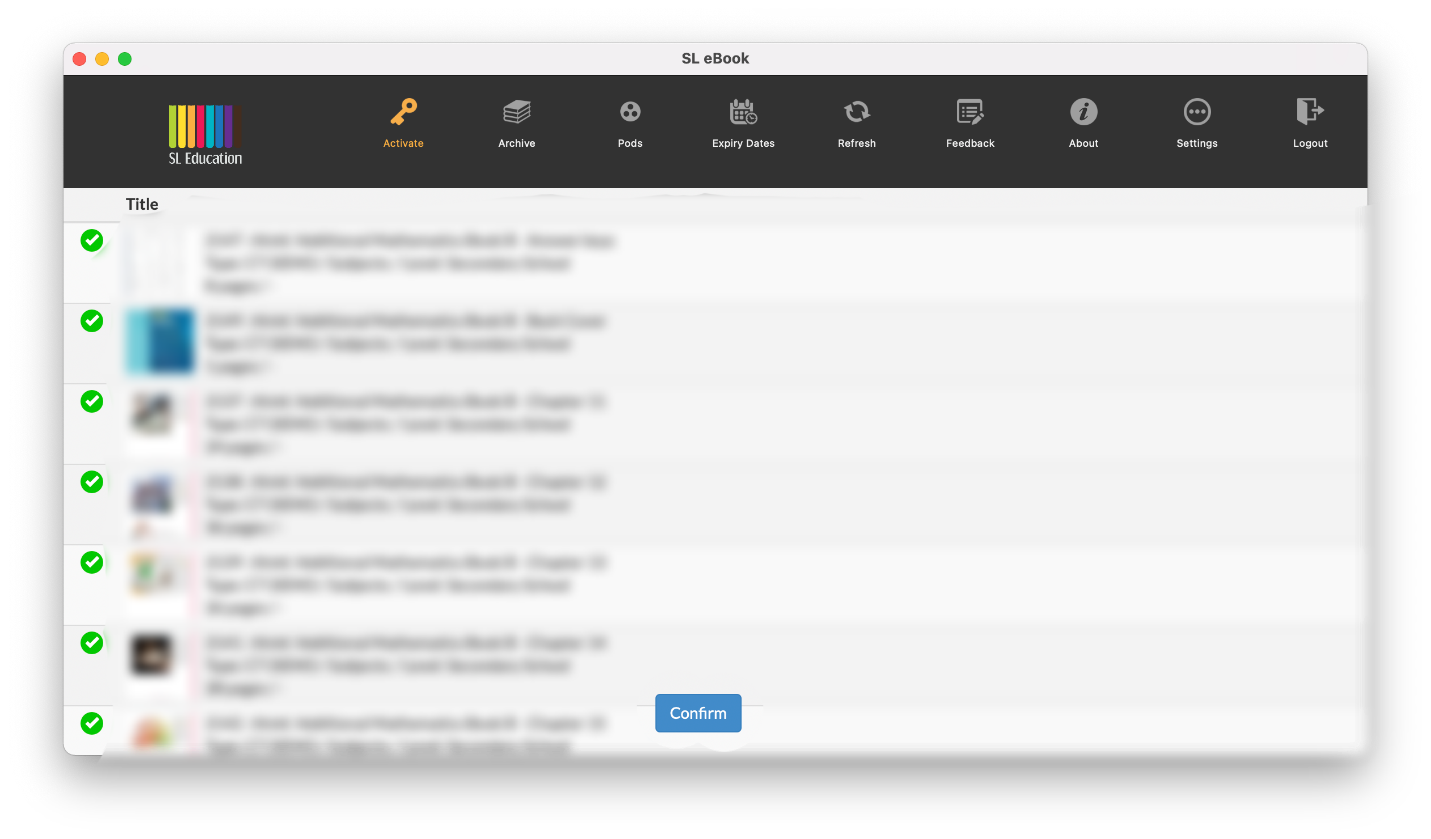
If your code is correct and valid, you will be brought to the next page with all the books you are going to activate.
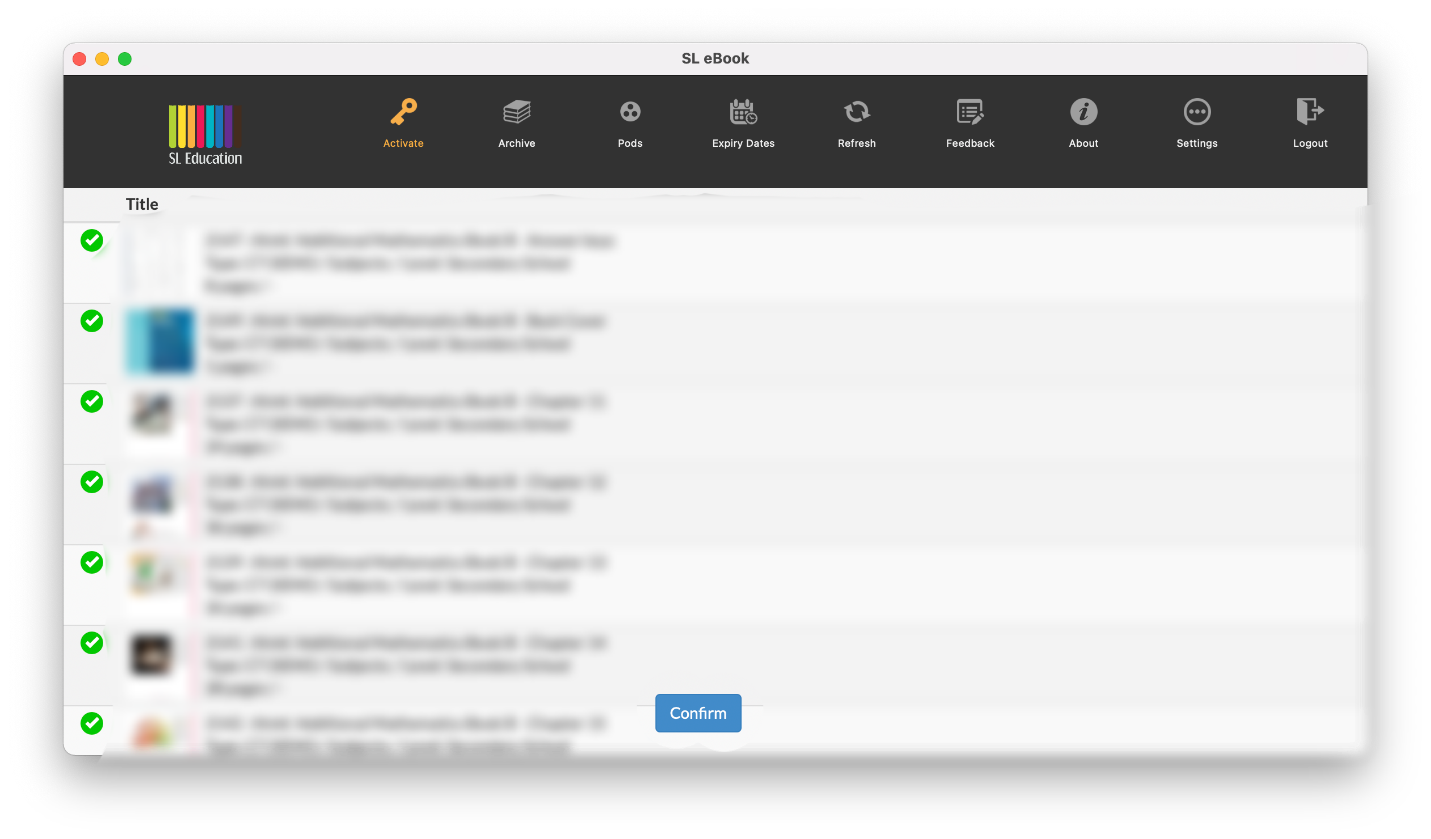
Scroll to the bottom and click on Confirm to activate your books.
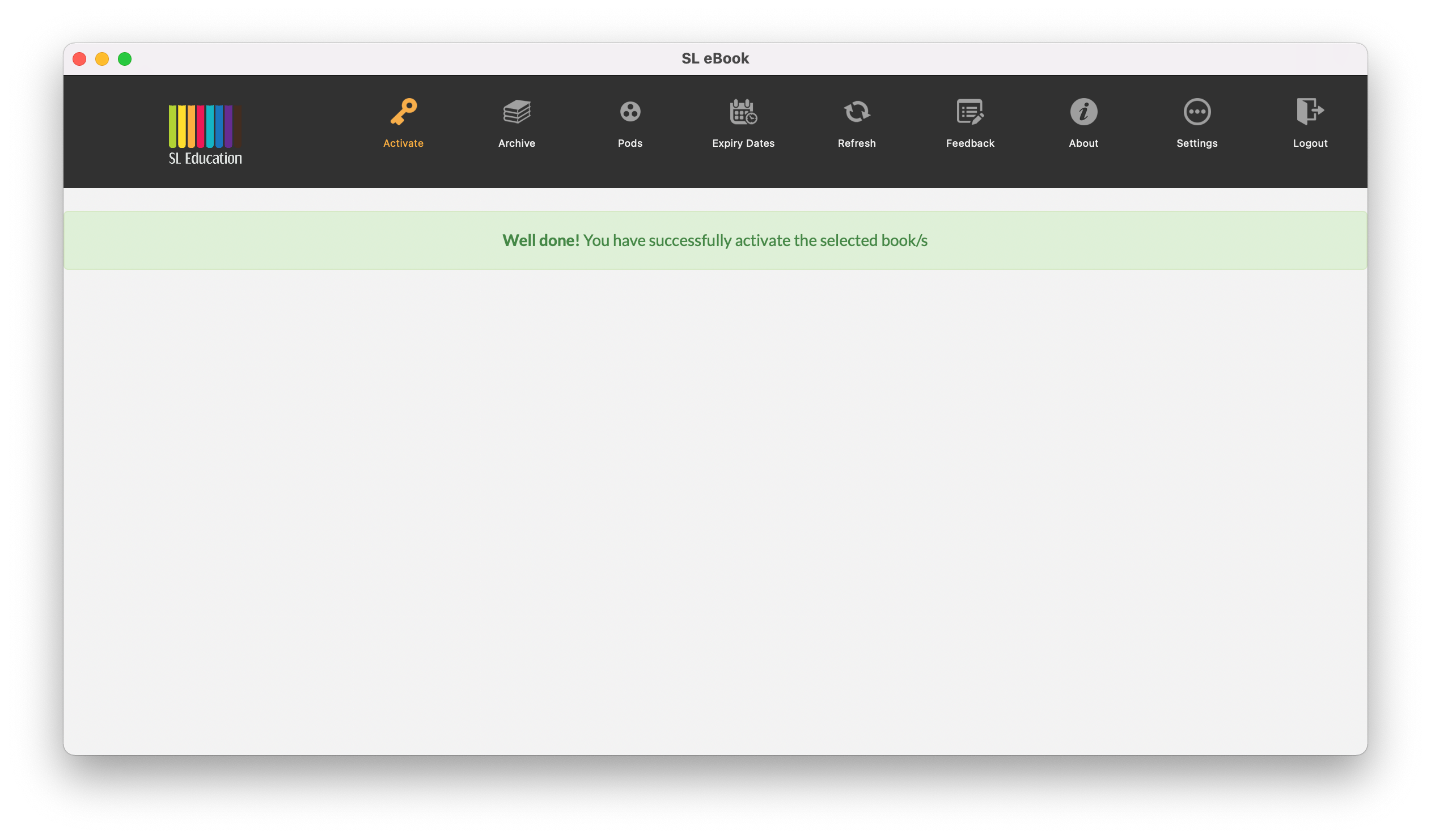
Upon successful activation, you will be prompted with a green bar at the top:
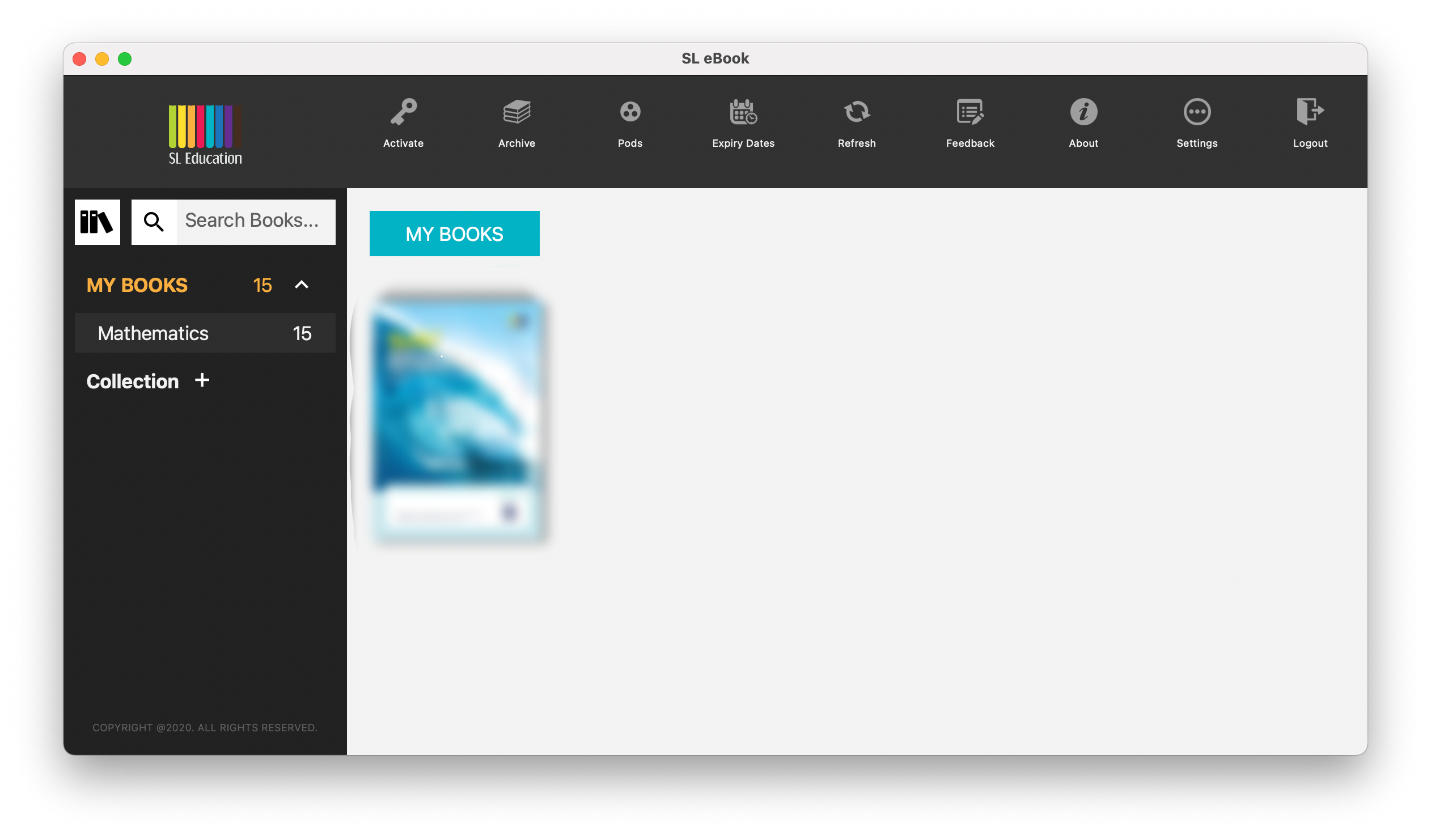
Go to ‘My Books’ to access your books. All newly activated books will be shown
To access the chapters, click on the desired book(s) to download a copy to your device for offline reading. Alternatively, you can right click on the desired book to access the various options available.
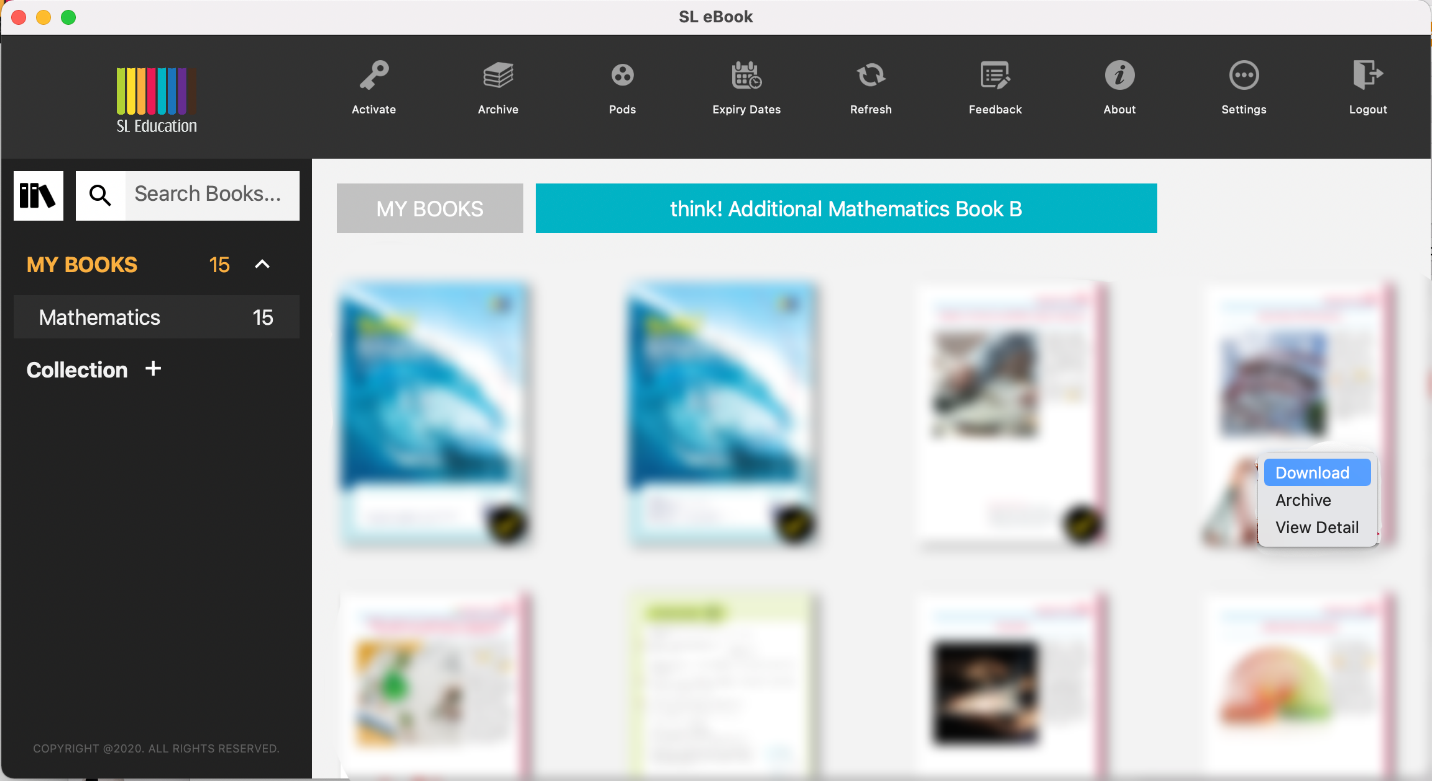
Note: You are only allowed to download 3 books at any one time
An icon with a tick at the bottom right-hand corner of a book denotes that the book has been downloaded.
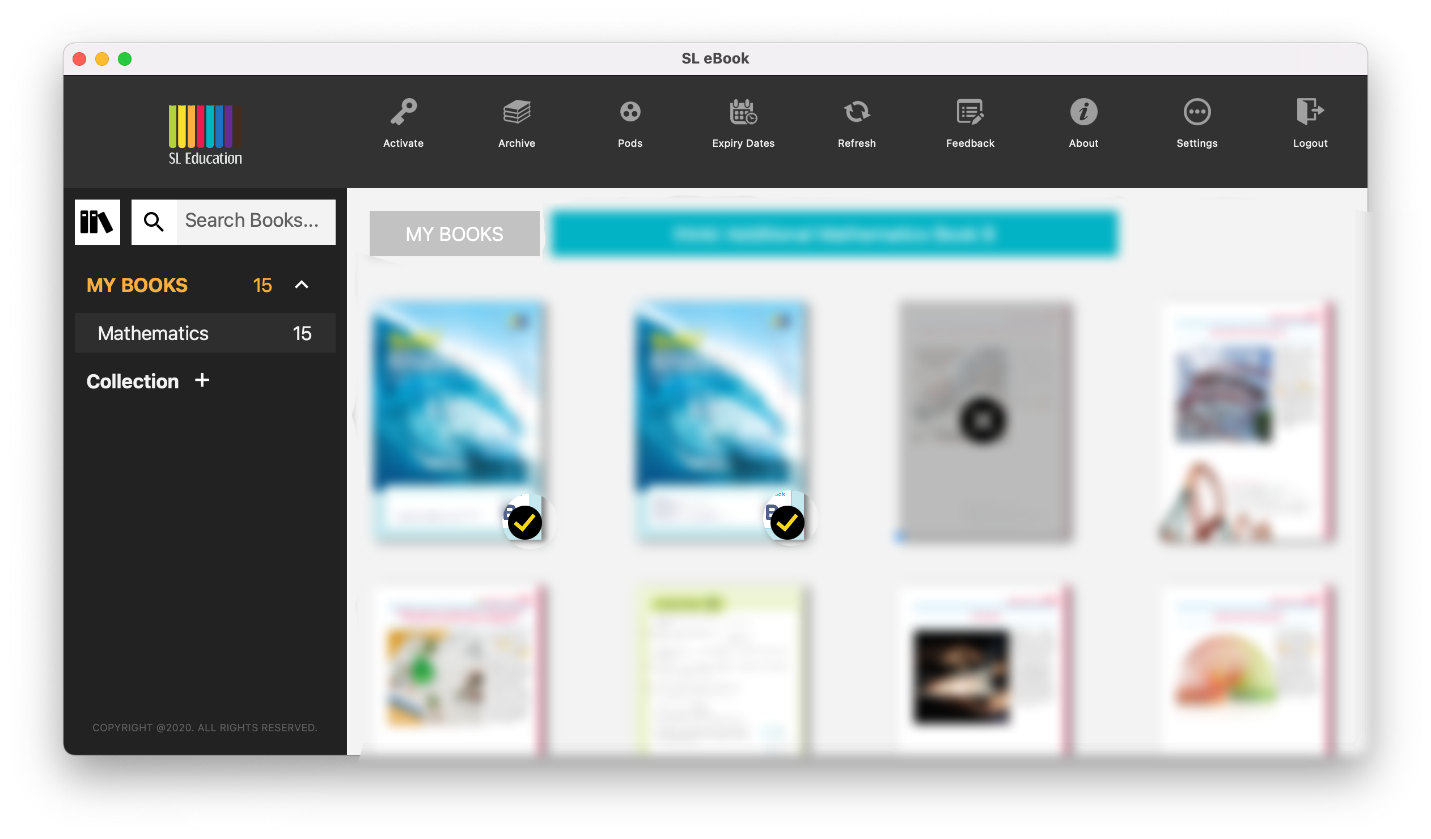
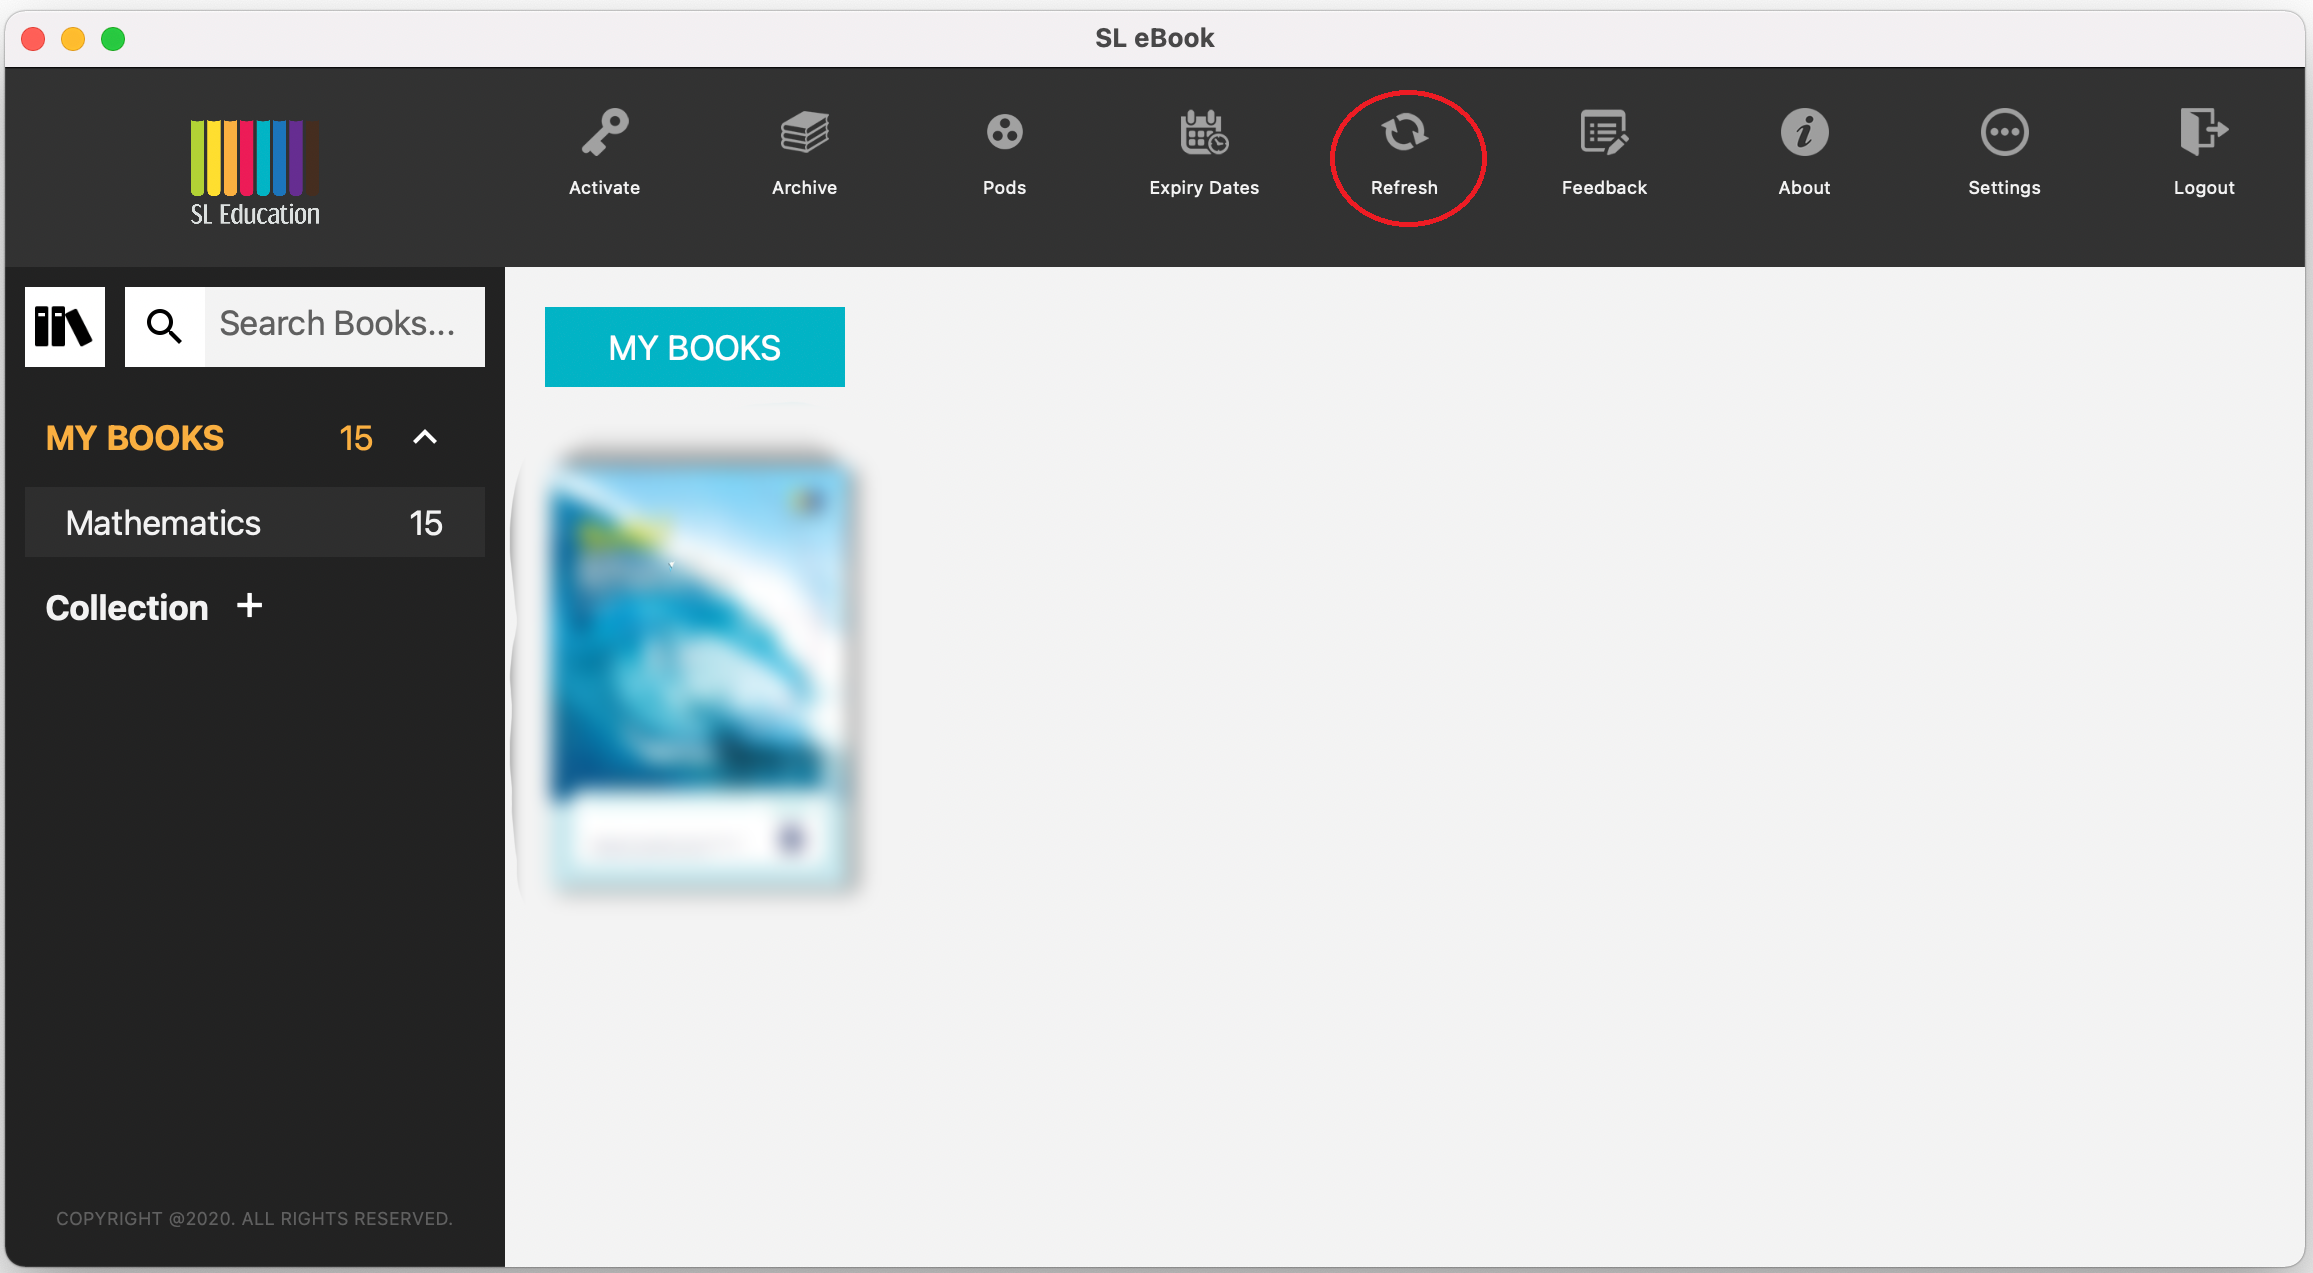
Click on Refresh from top menu to refresh the page.
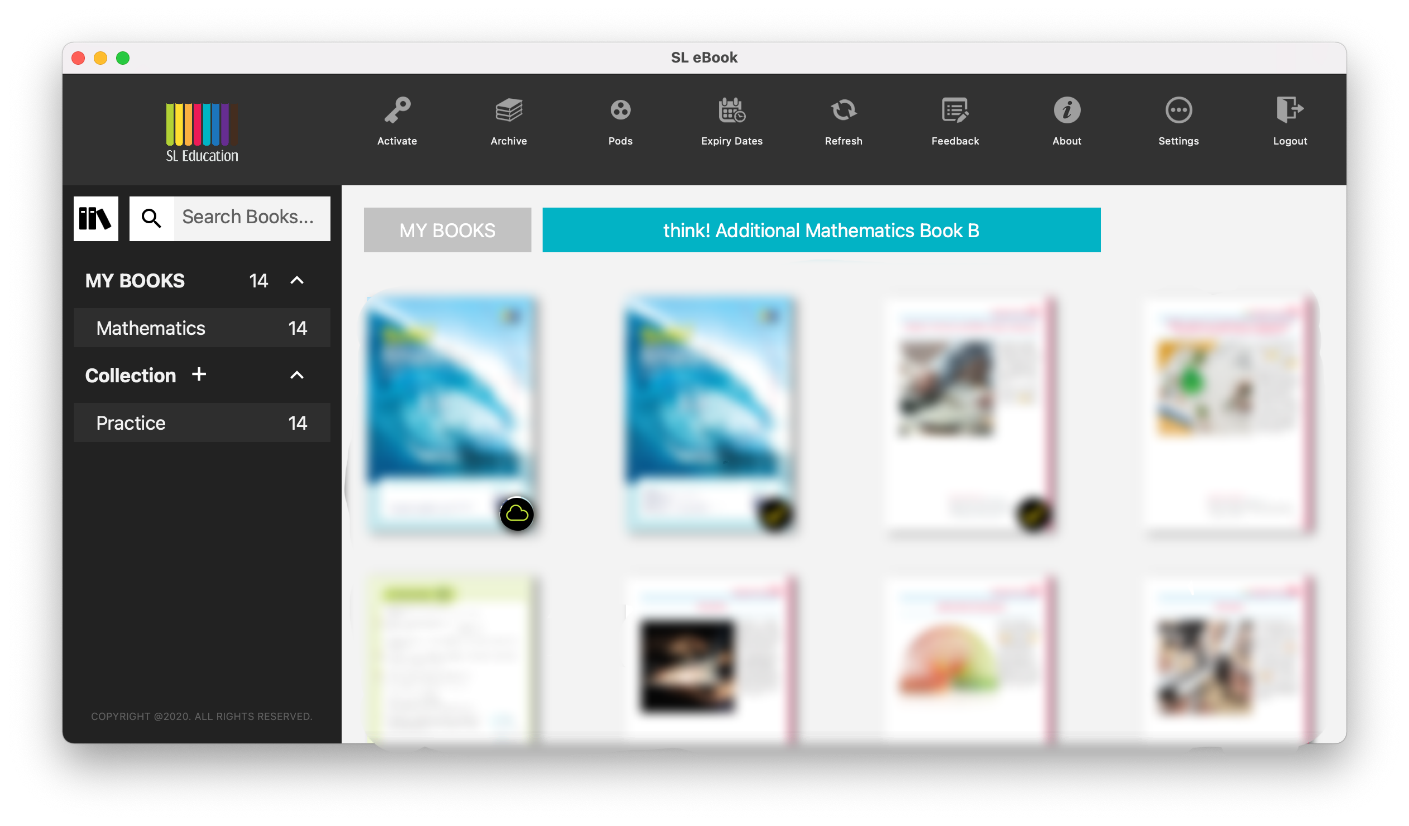
If a specific book needs an update, the specific book will have a cloud icon at the bottom right-hand corner.
Click on the specific book to download the updated book. If you do not have internet access but would like to read the book, you may right click on the book to access the ‘Read’ menu. You may resume the update when you have internet access.
Right click to and choose 'Delete' to delete a specific book to save your device’s disk space.
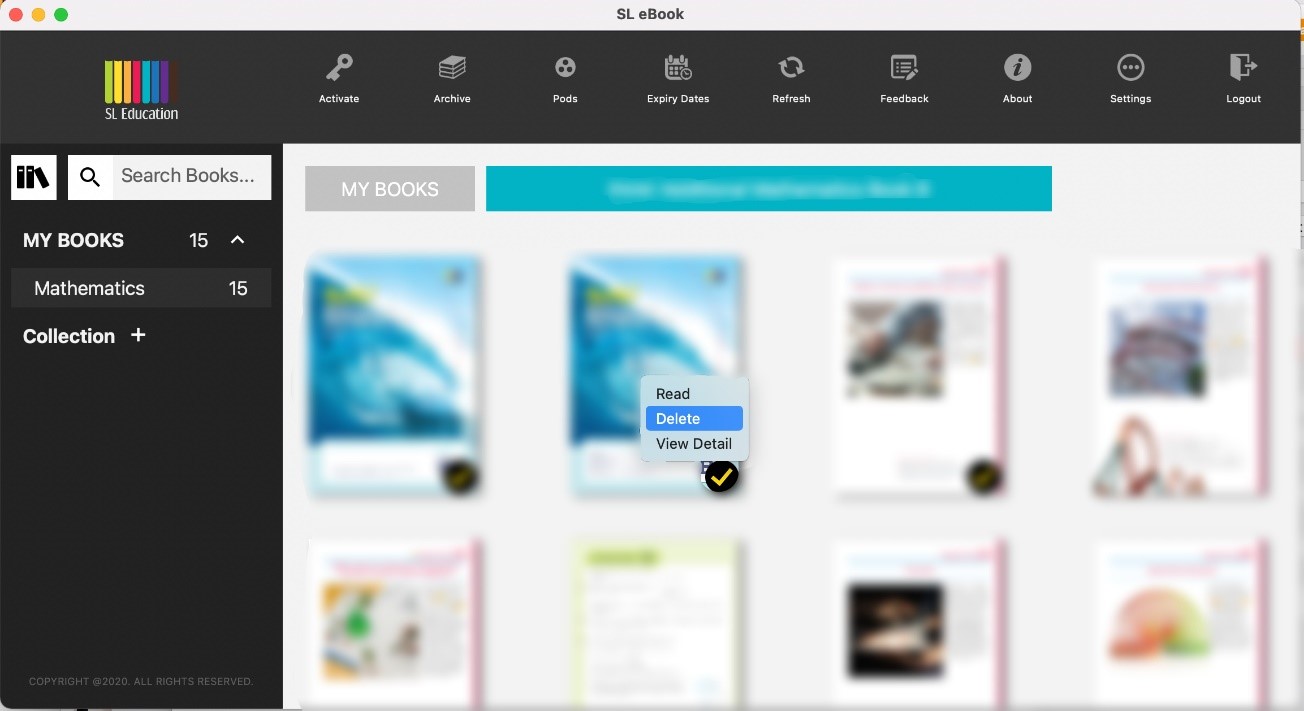
Note: Deleting a book will not deactivate the validity of the book. It will only delete the hard copy on your device. You may still download the book again under “My Books”
You may archive a book so that it will not appear under 'My Books'. Doing so will not deactivate the validity of the book.
The book has to be deleted before you have the option to archive, thus, please refer to deleting a book for more information. Upon deletion of a specific book, right click and select ‘Archive Book’ to archive the specific book.
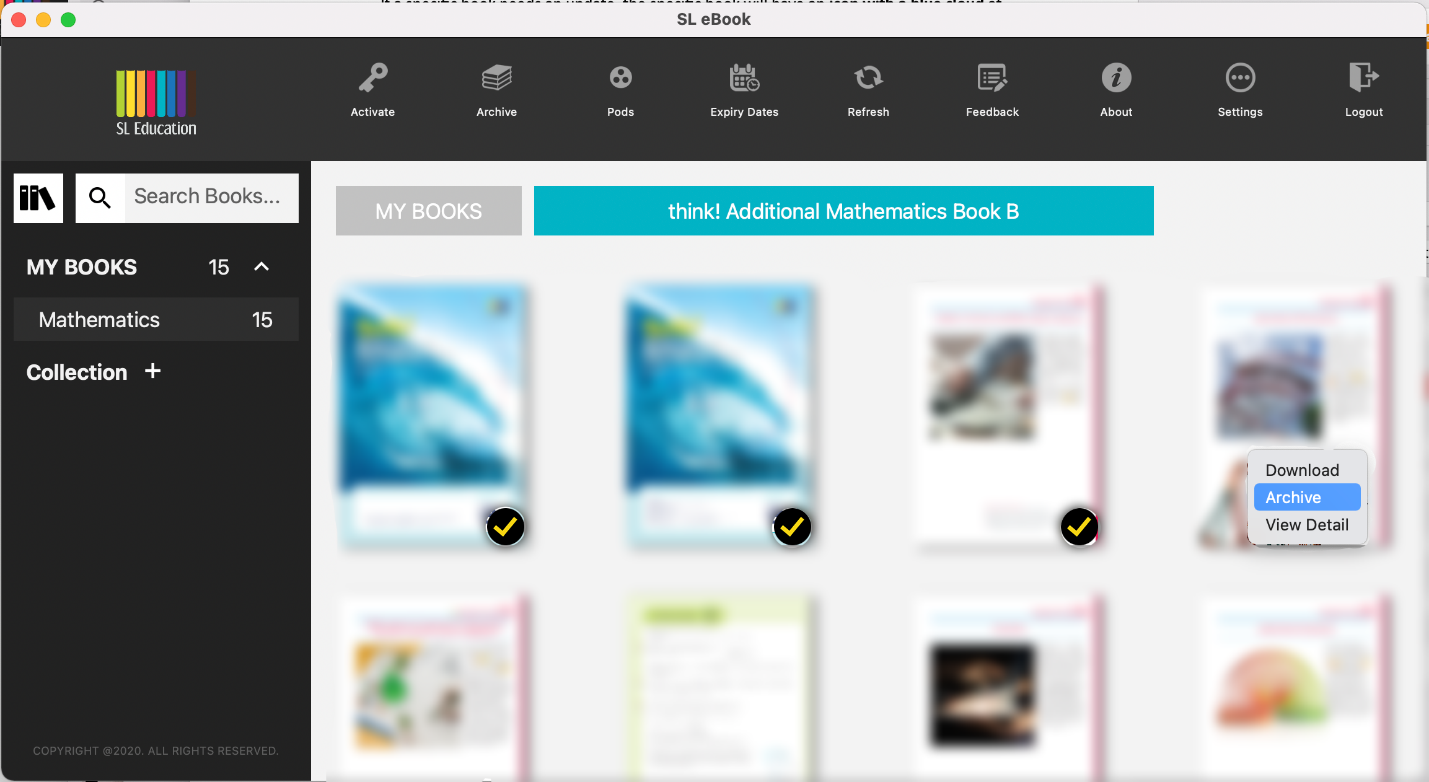
Note: You will not be able to archive a book if your device has the hard copy of the book or if there is a cloud icon with green tick at the bottom left-hand corner of the book. If you choose to archive entire book without deleting the chapters within, the books might still take up a lot of space in your device.
Upon archiving, you will be able to see the archived books under ‘Archive’ from top menu.
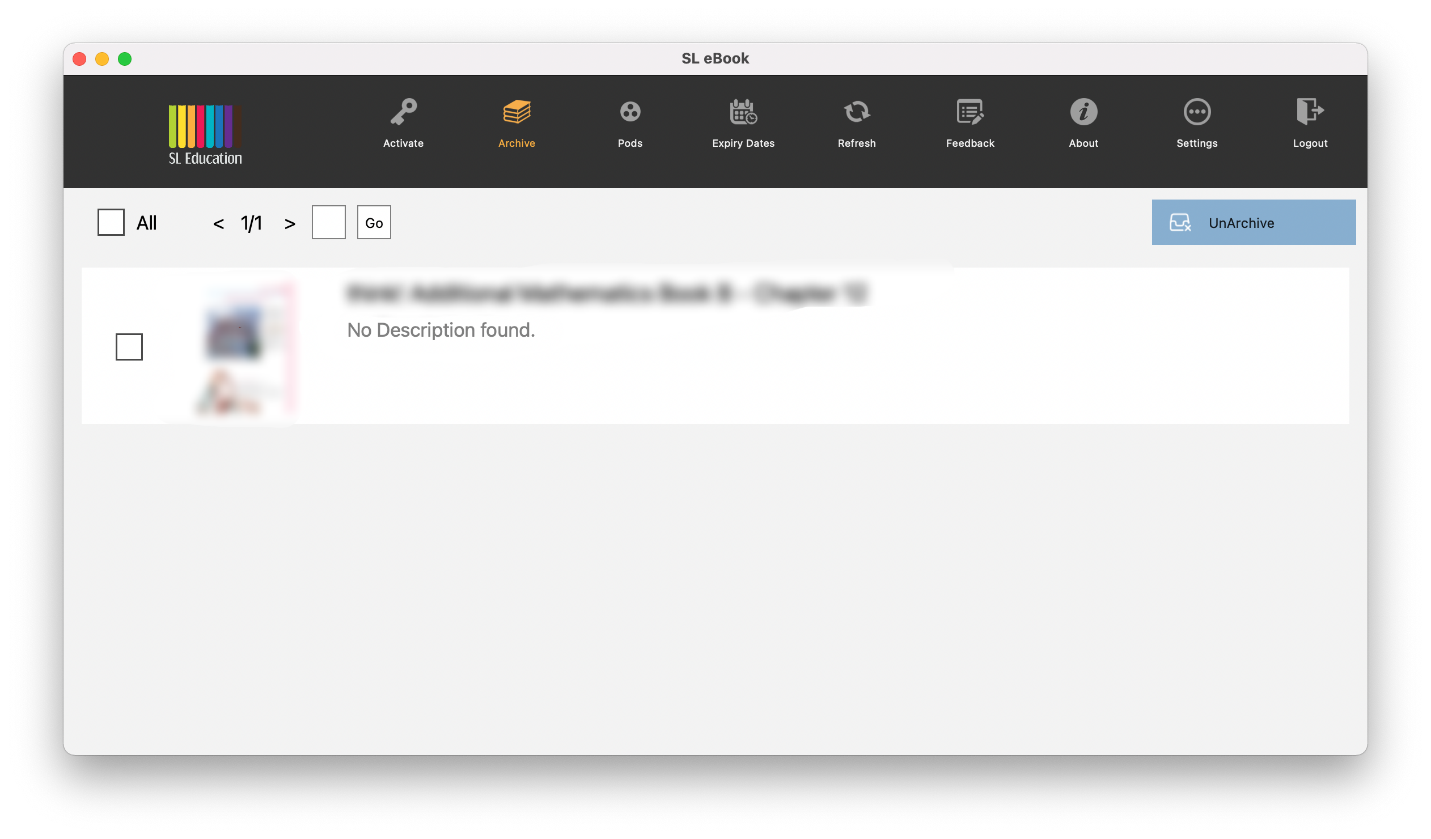
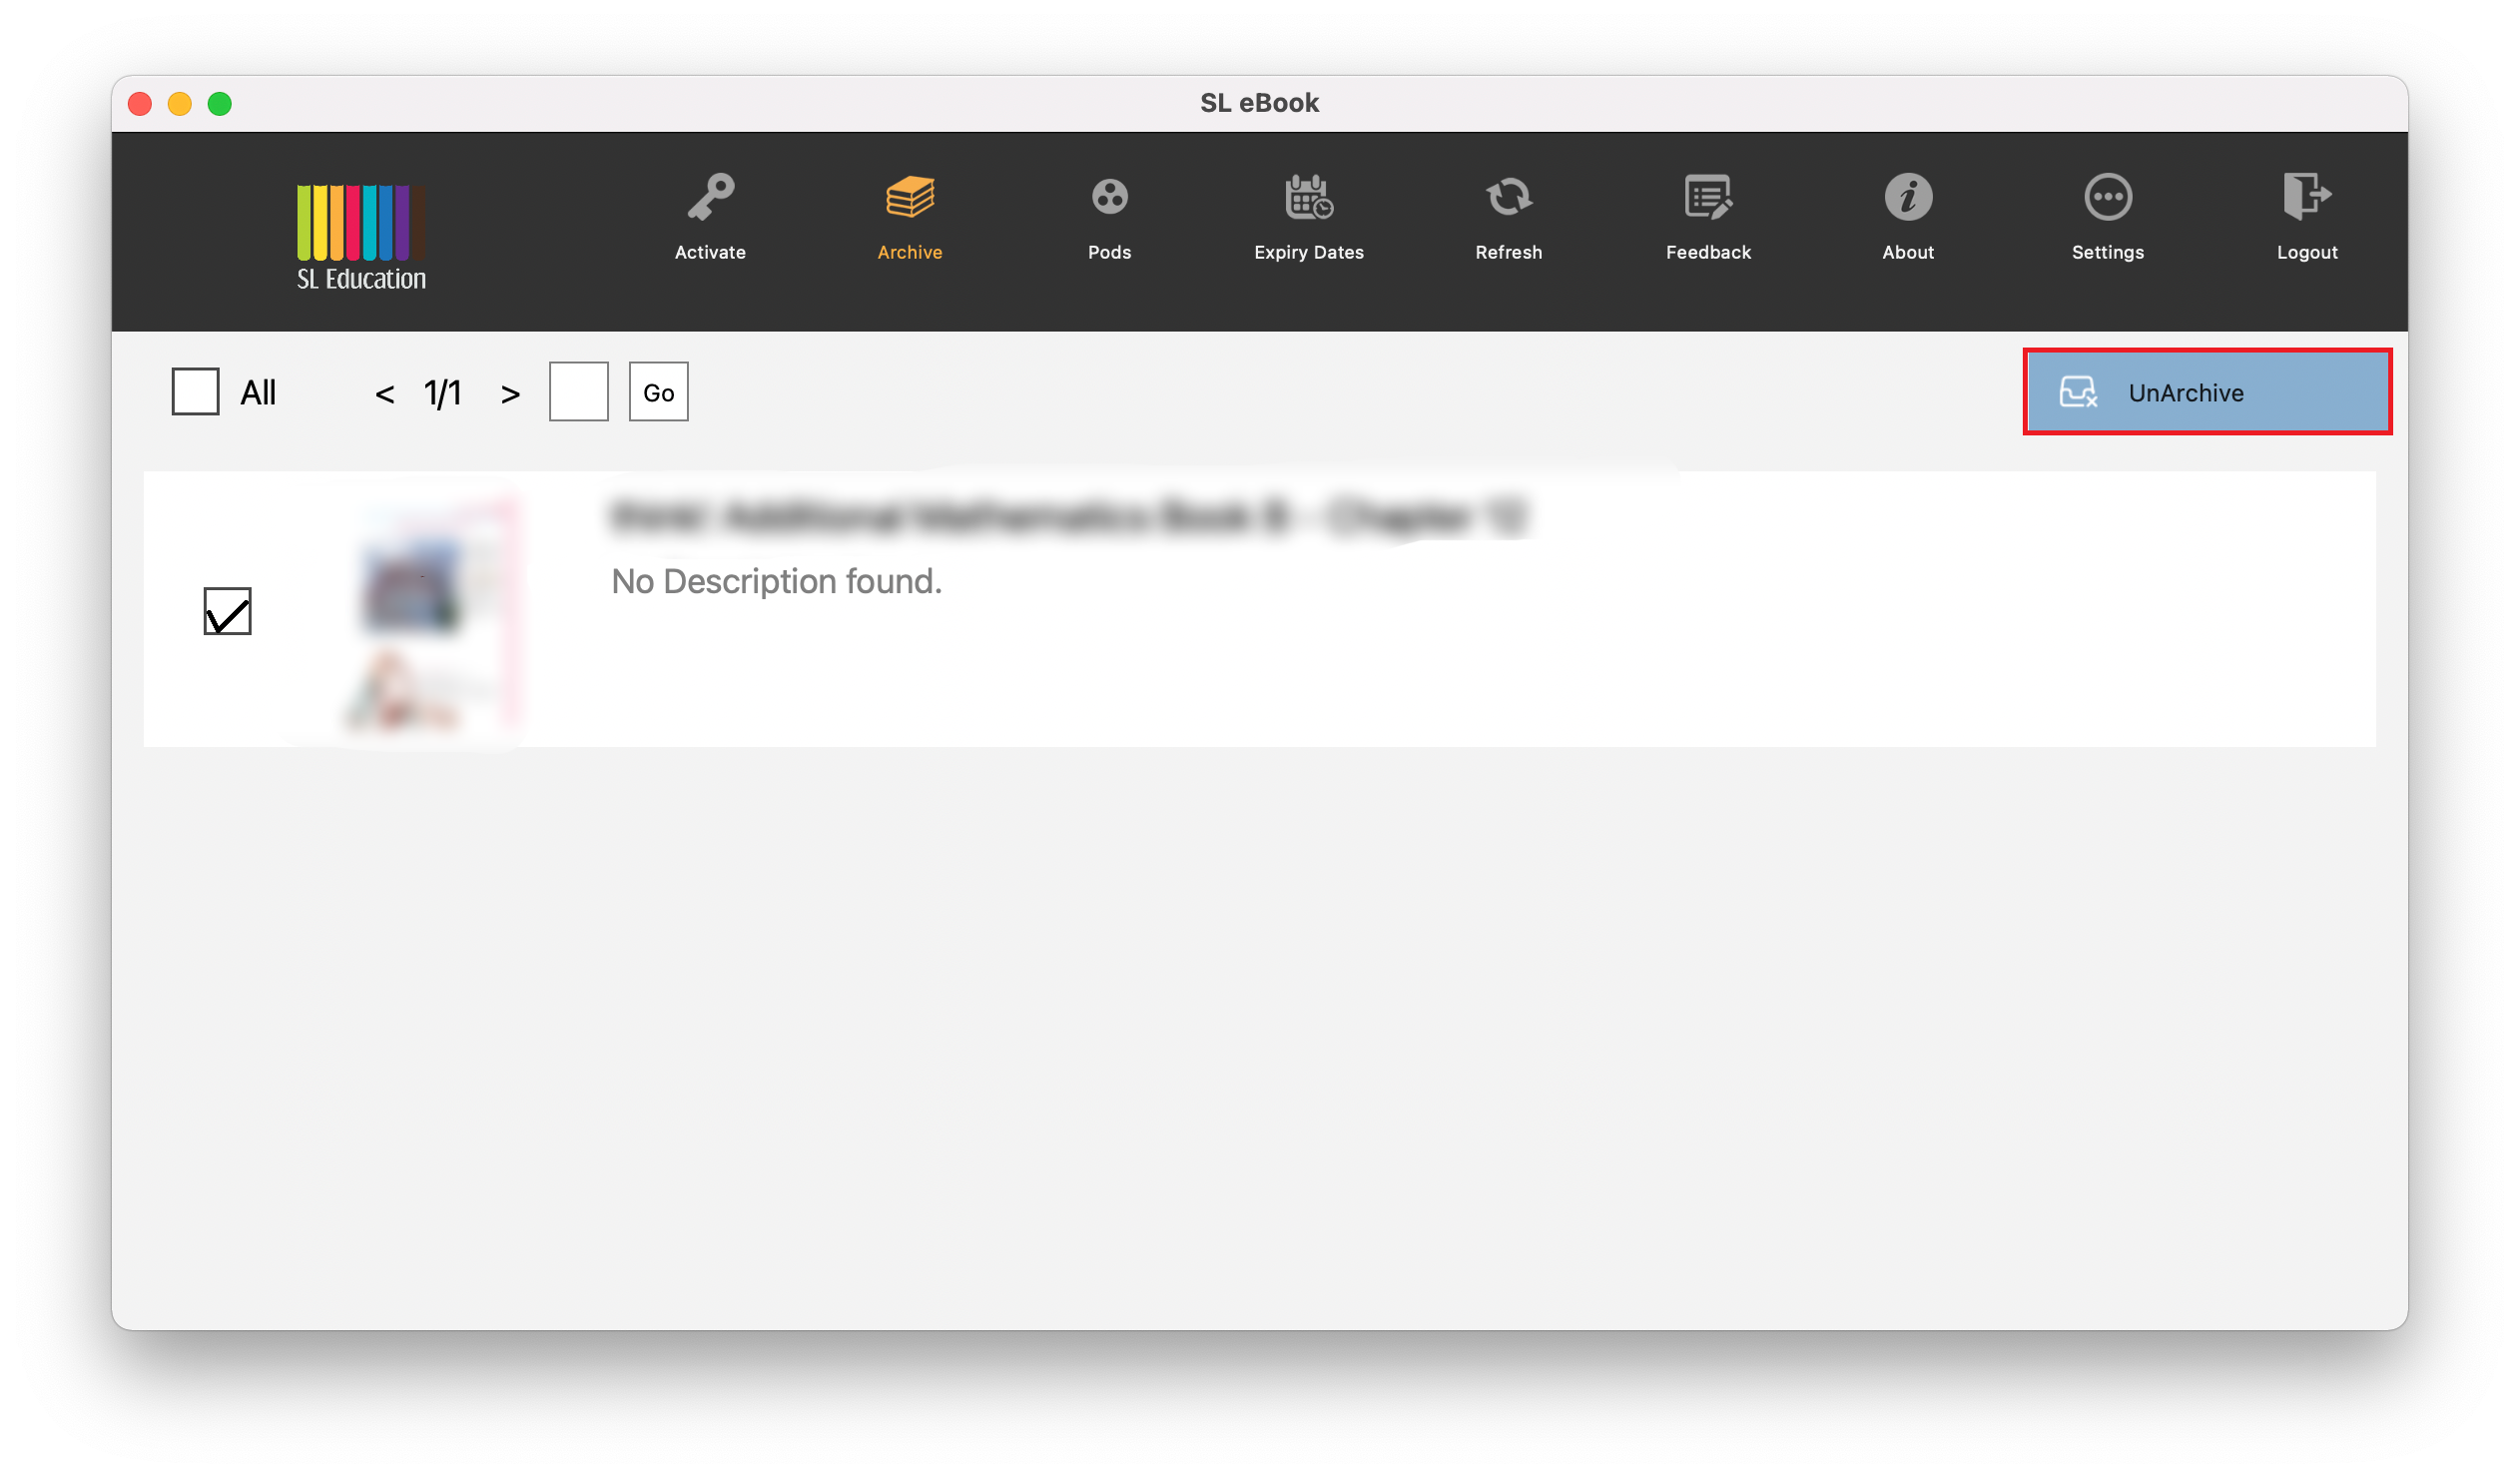
To move the book back to “My Books”, right click on the specific book under ‘Archive’ menu, click on ‘Unarchive’.
You may also create a customised folder for certain books/chapters. Go to ‘Collection +’ on left menu, click on ‘+’ to create and name your folder according to your preference and press to save.
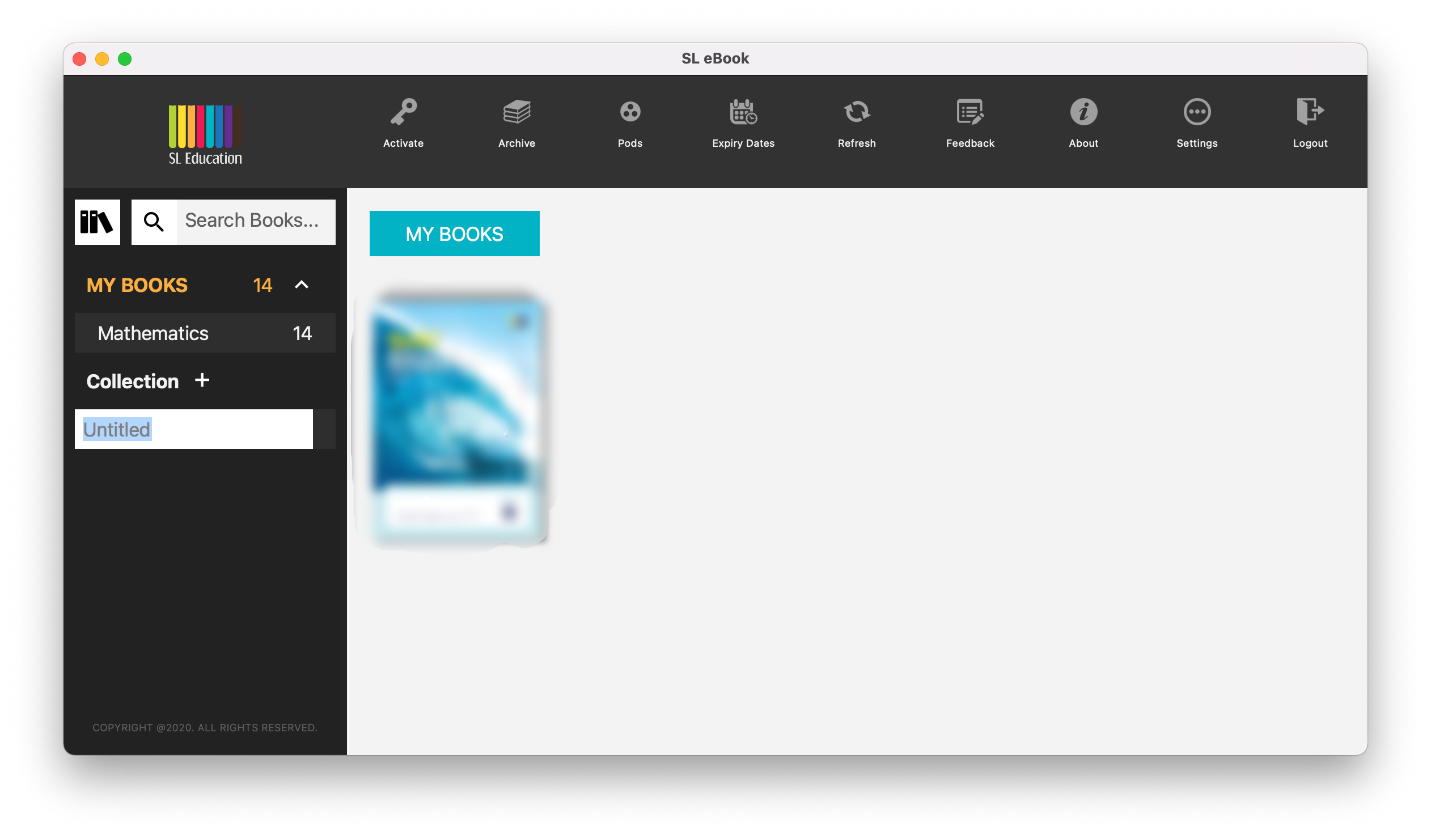
You will see the created collection on the left menu upon successful creation of a collection.
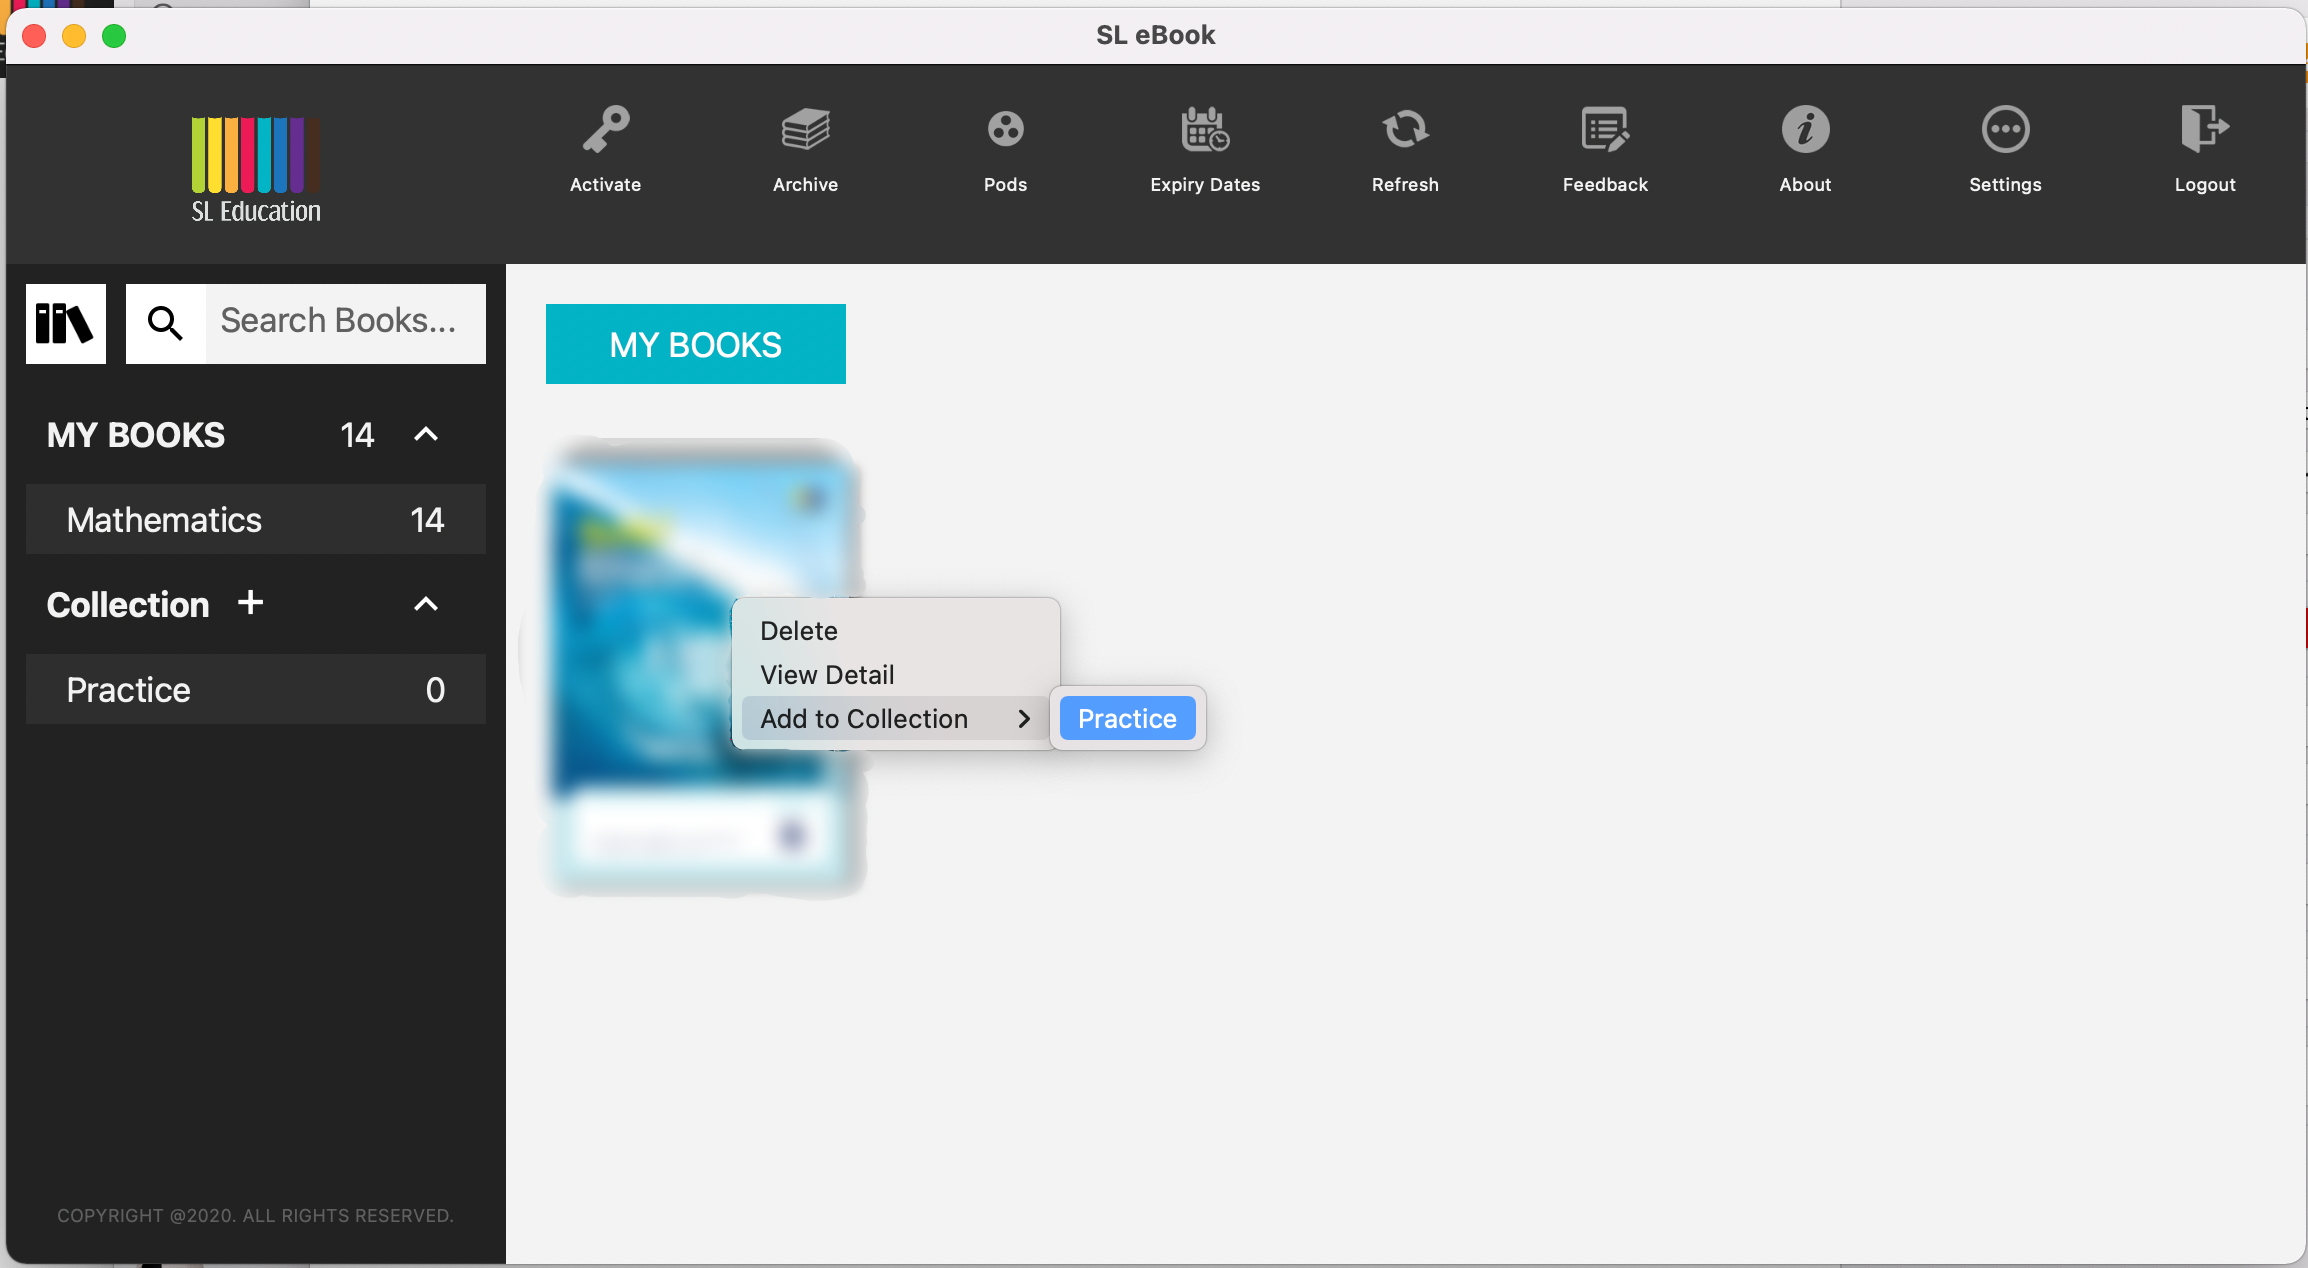
Right click on the specific book and select ‘Add to Collection’ to add the book to the collection.
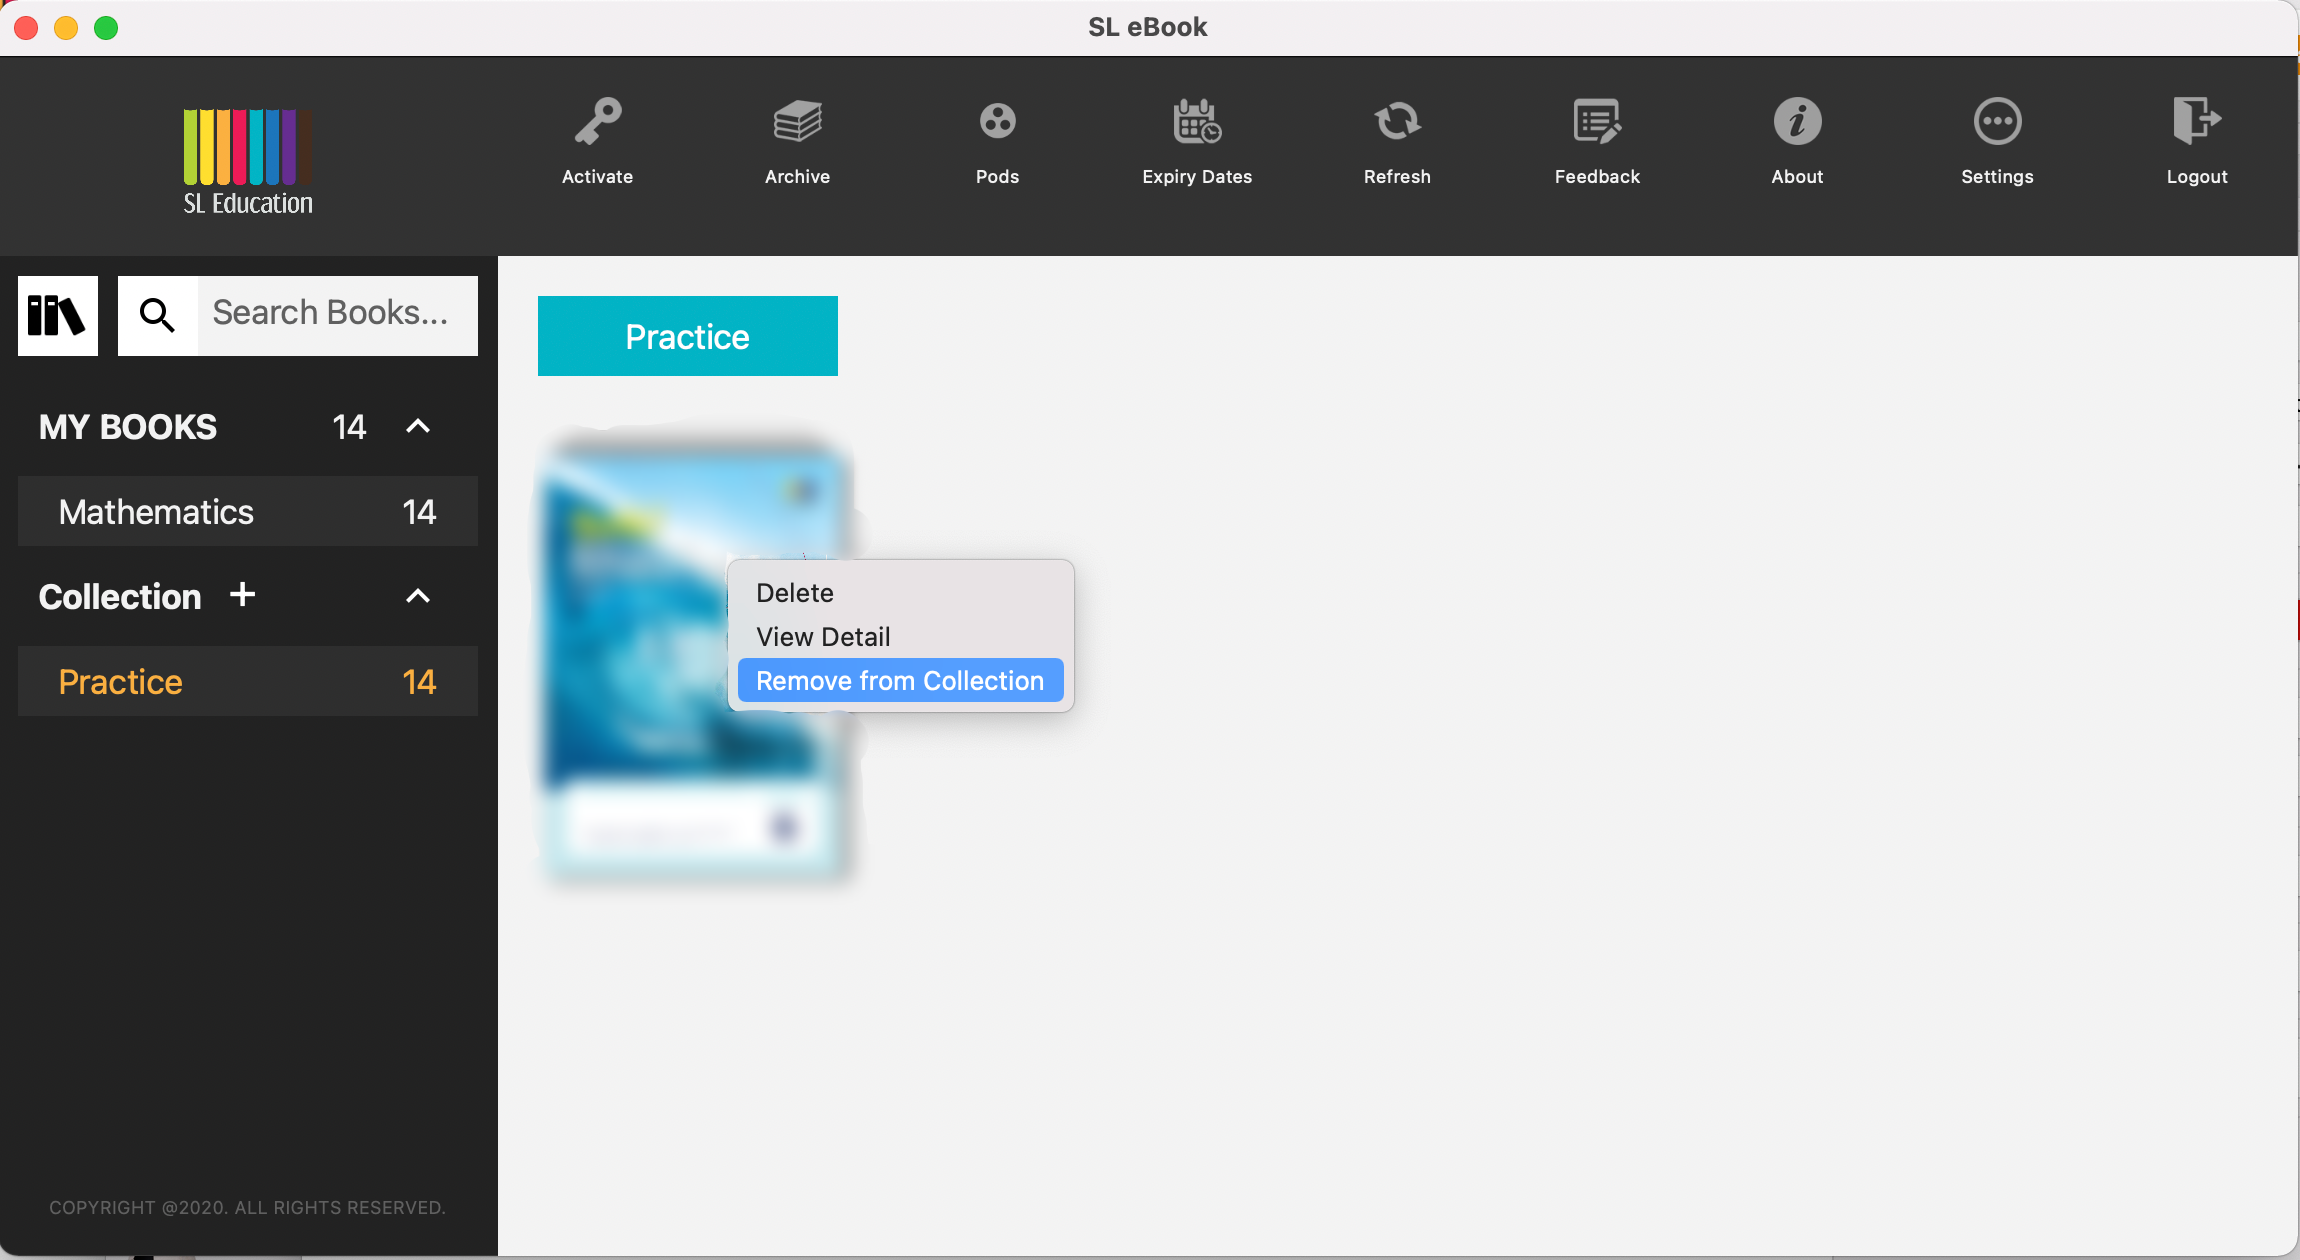
Similar to adding of books, in the desired collection, right click the specific book and select ‘Remove from Collection’.
To search for a specific book, you may type in your search keyword into the text box located at the left menu.
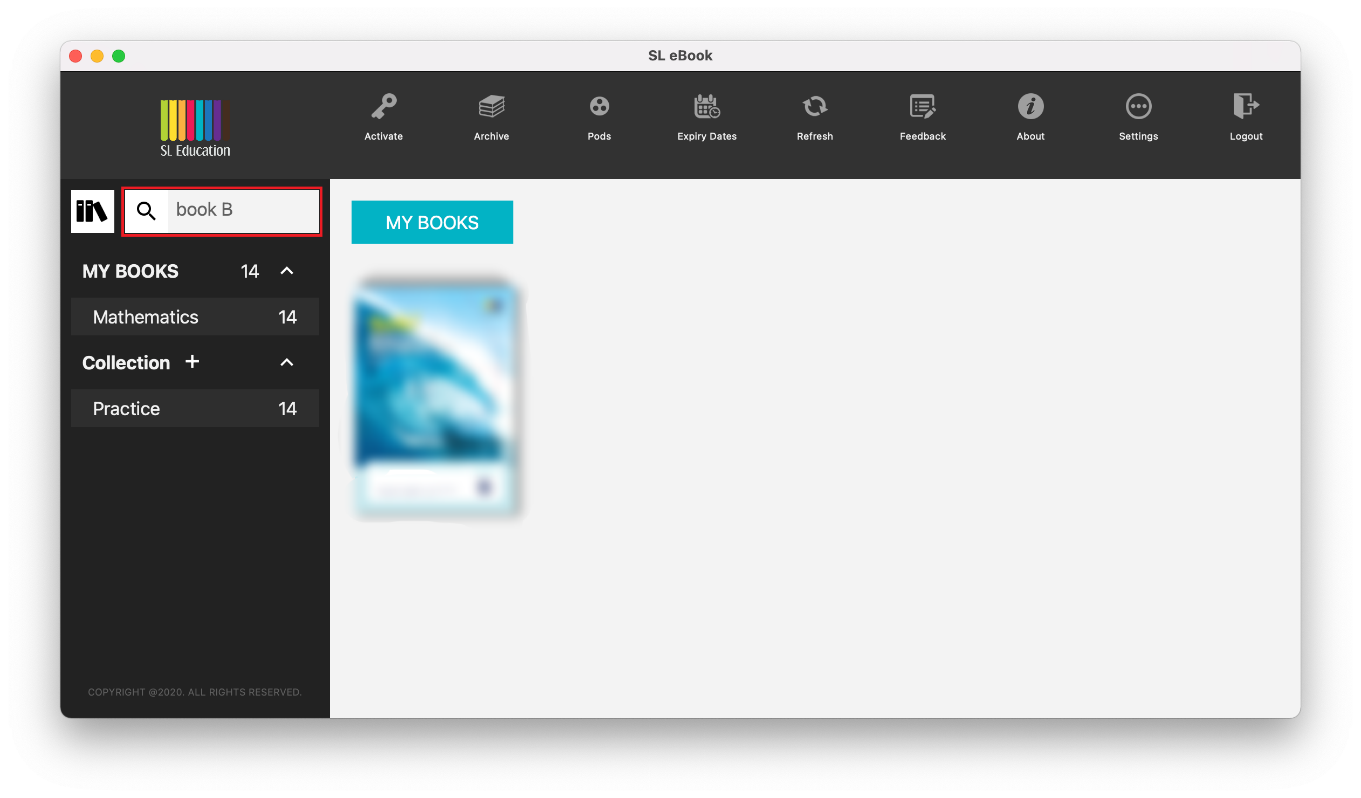
Note: System will only search the page you are in. If you would like to search for chapters, please click on the book you would like to perform the search on.
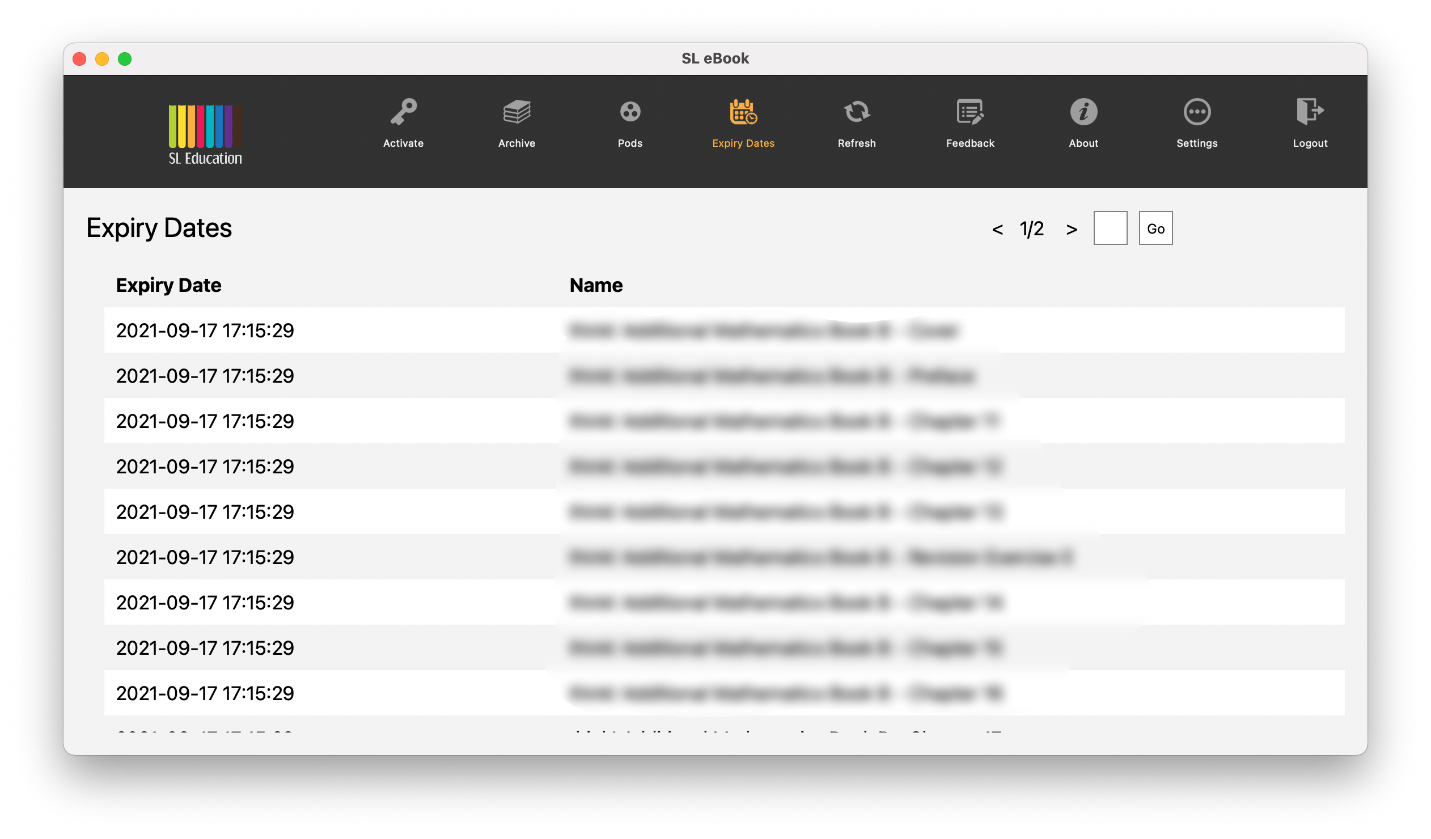
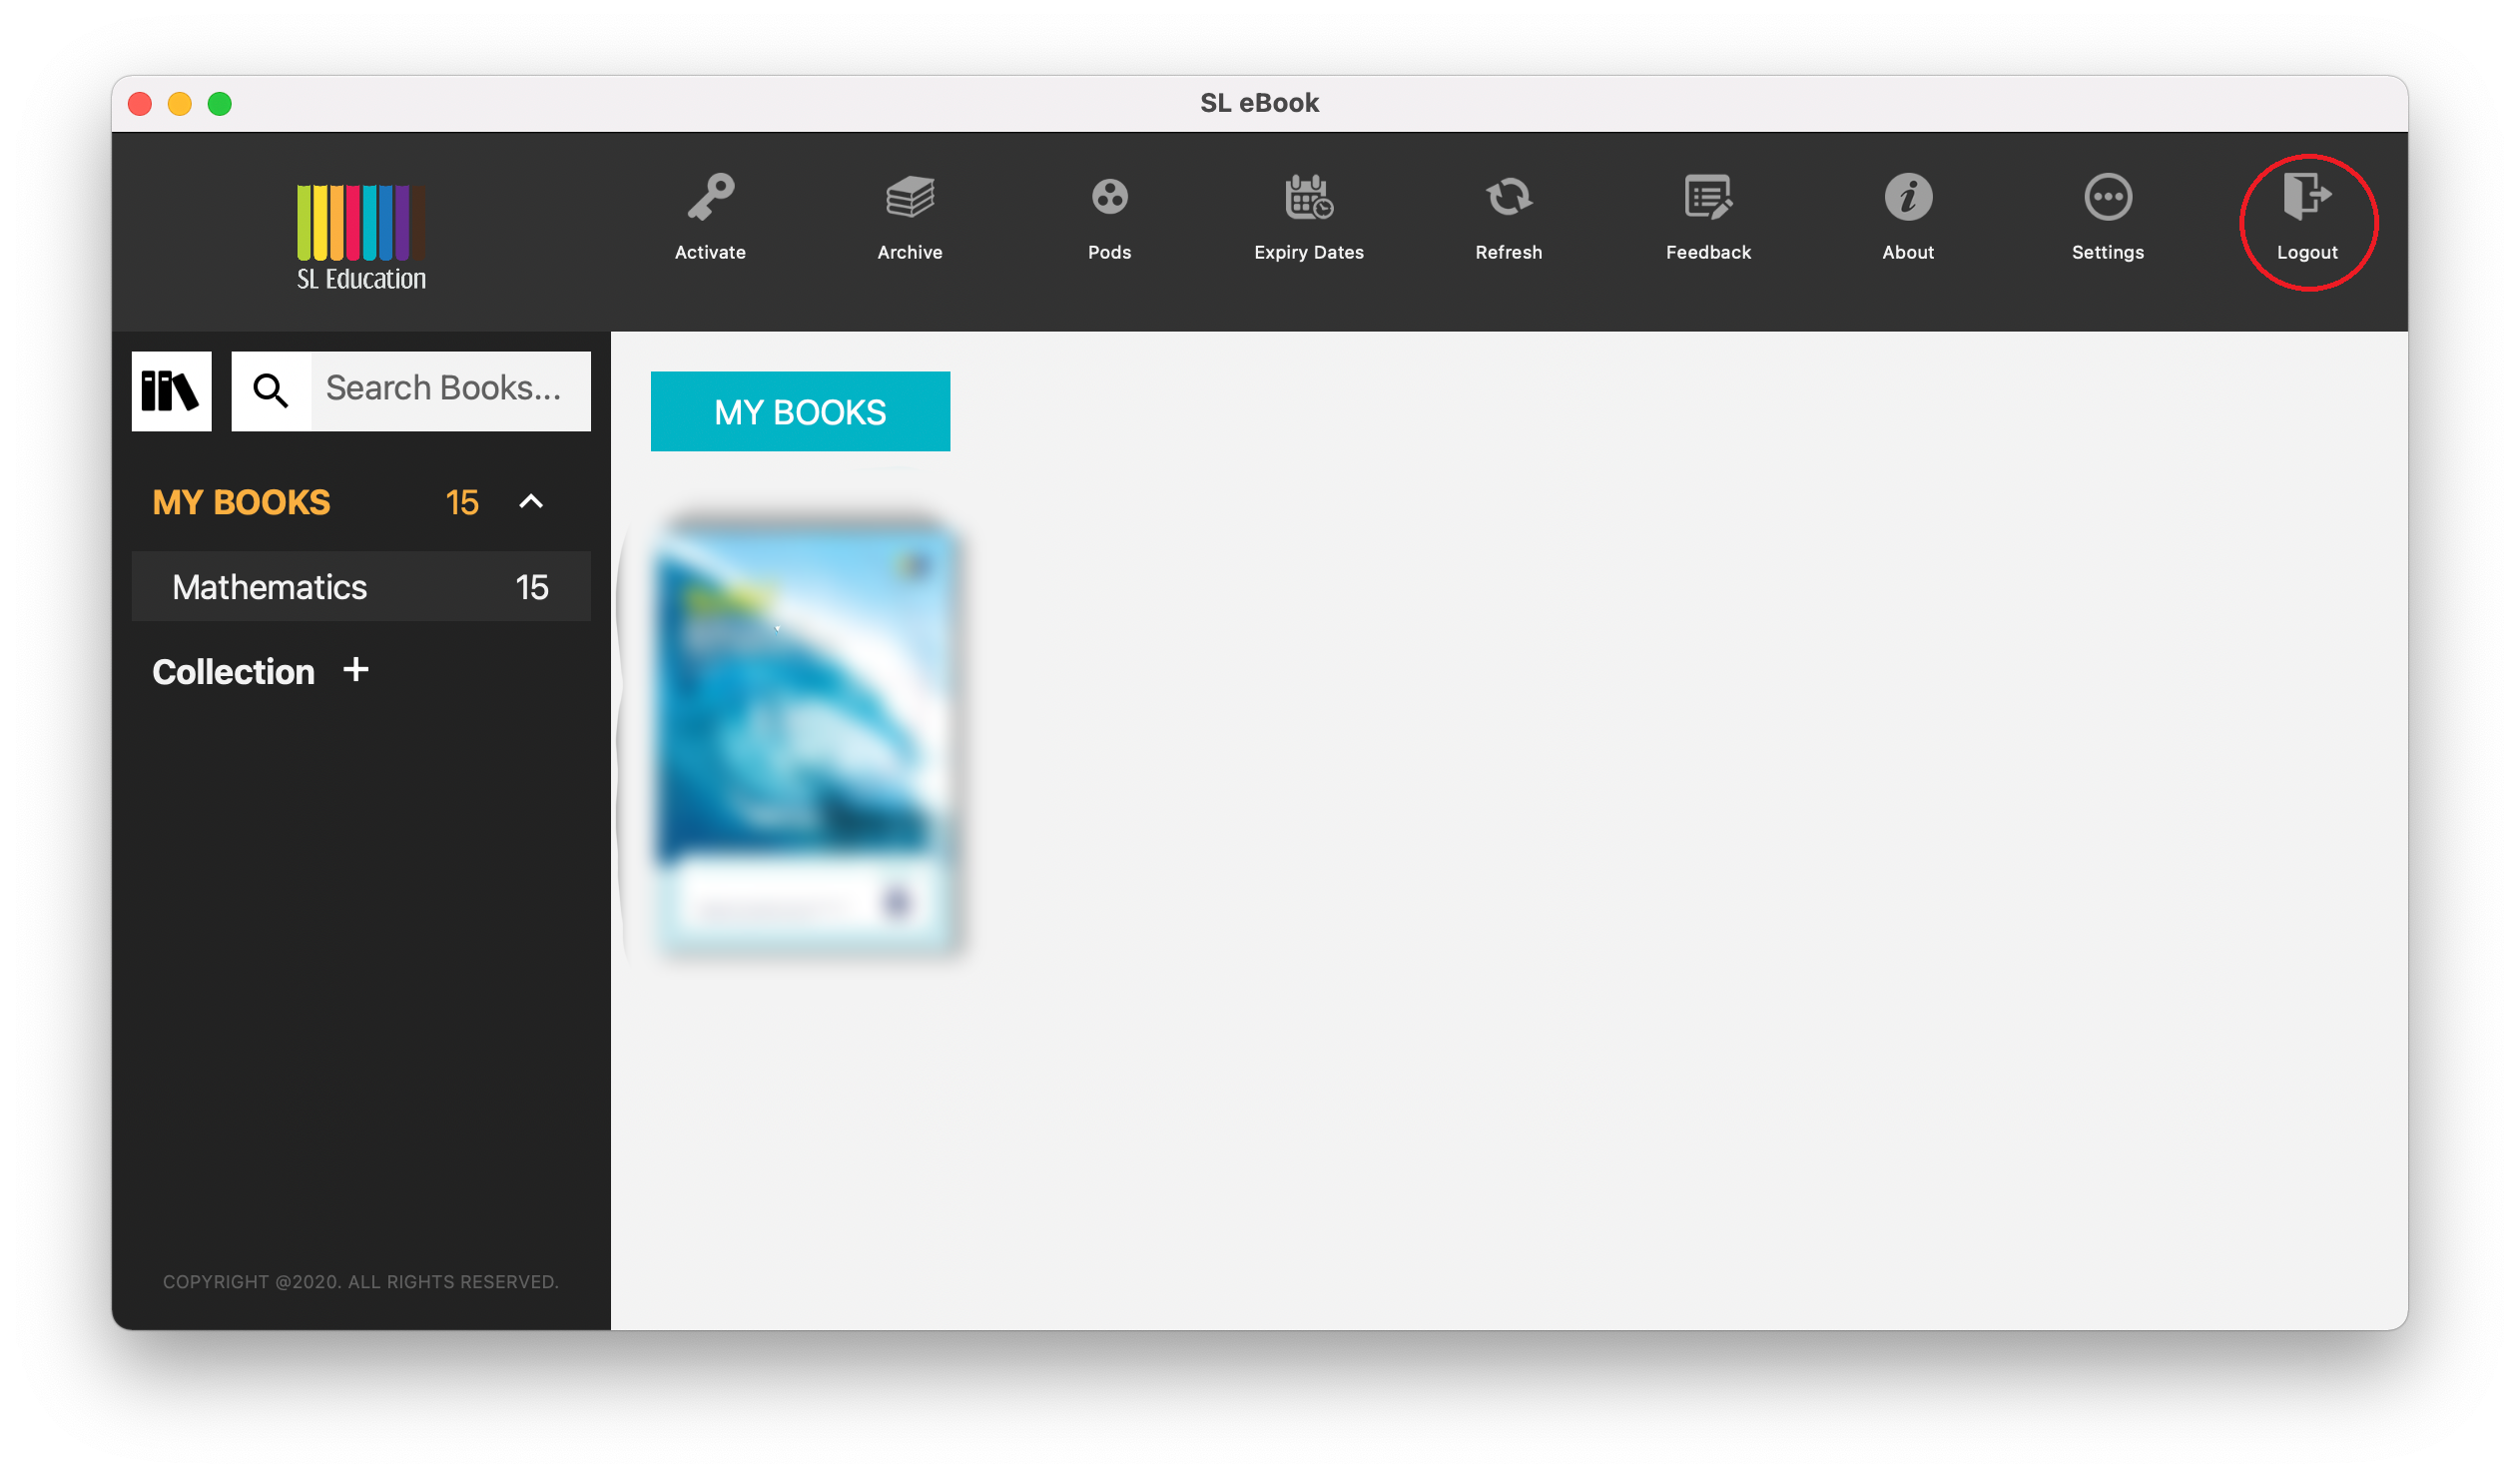
You may check the expiry dates of all books under ‘Expiry Dates’from top menu.
You are encouraged to log out of the application if your device is a shared device to prevent discrepancies. Click on ‘Log out’ from top menu.
To read a book, simply click on the downloaded book to launch it. Alternatively, you may access the Read menu by right click on to the specific book.
Tap on the arrow ‘<’ which denotes previous page or ‘>’ which denotes next page.
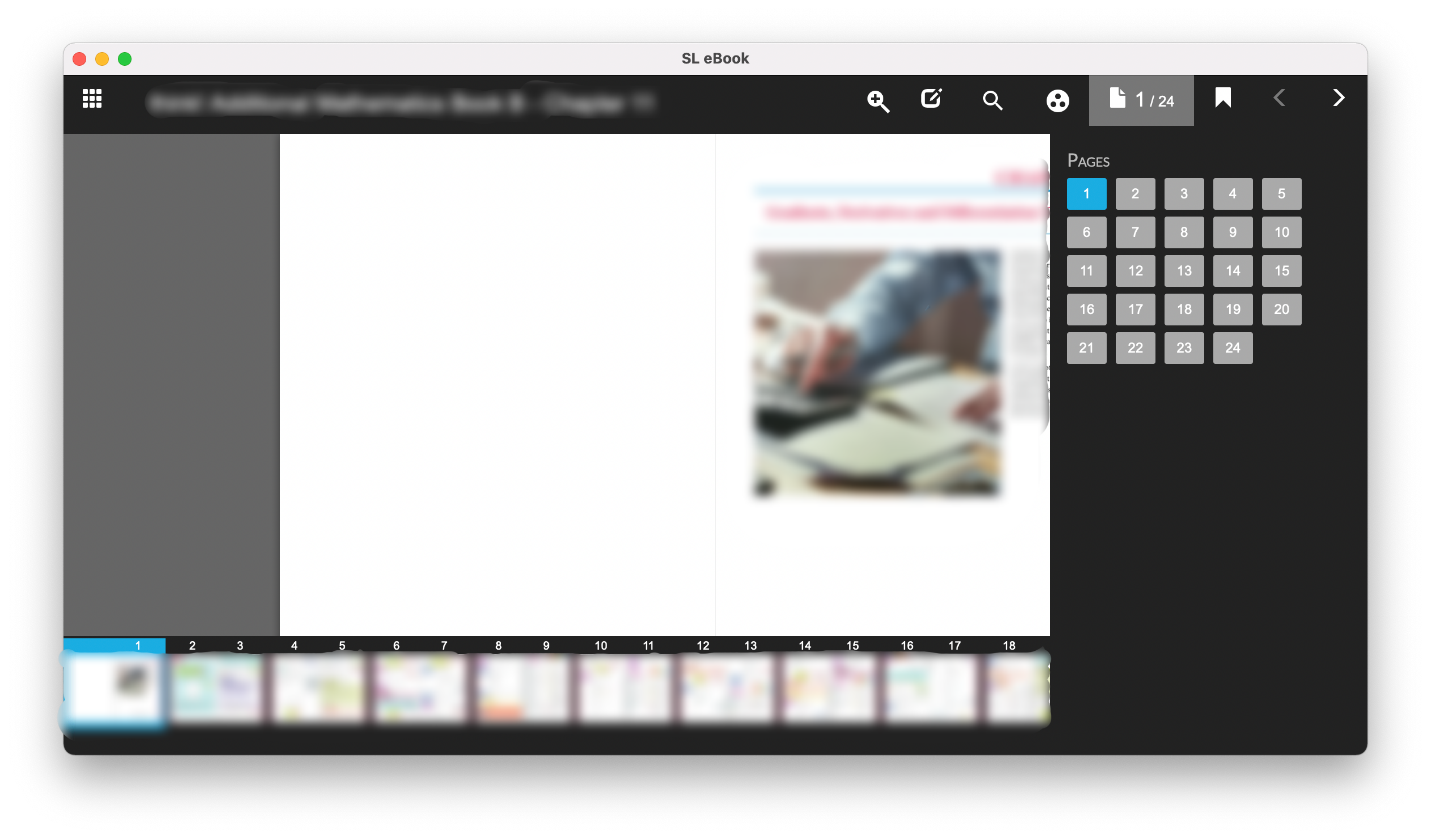
You can also access any of the pages directly by clicking on the ![]() icon, and tap on the page you wish to access.
icon, and tap on the page you wish to access.
Some pages come with a Table of Contents.
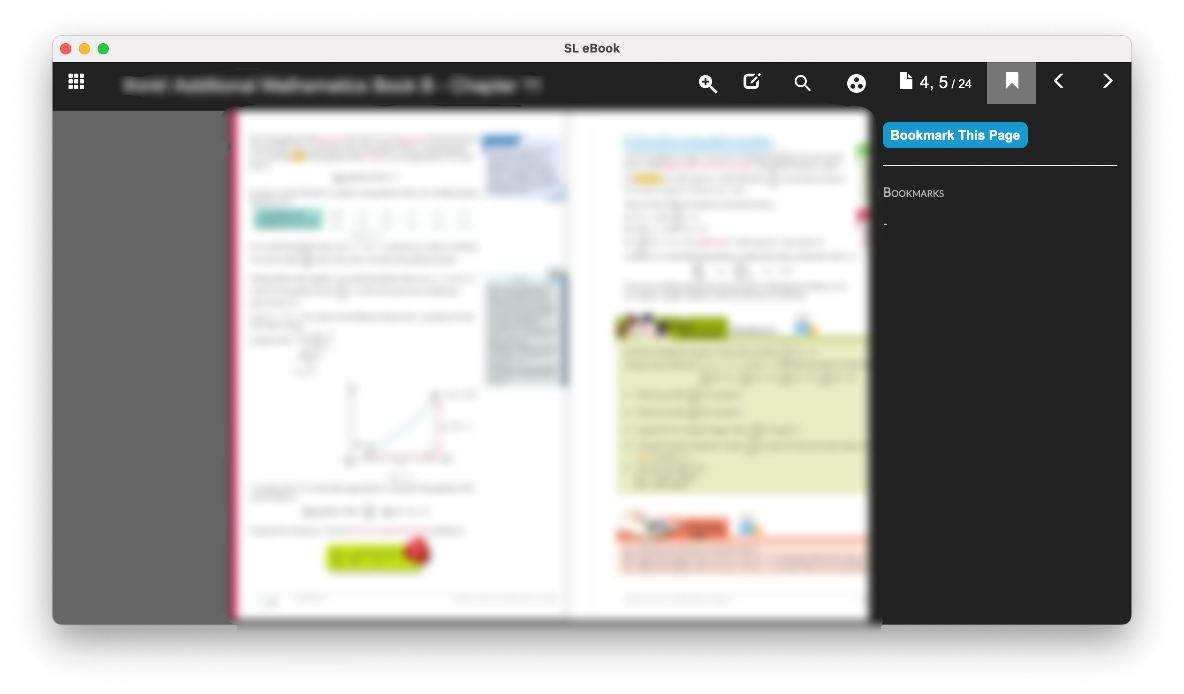
You are able to bookmark a page by clicking on the ![]() icon and tap on ‘Bookmark this page’ to save a bookmark.
icon and tap on ‘Bookmark this page’ to save a bookmark.
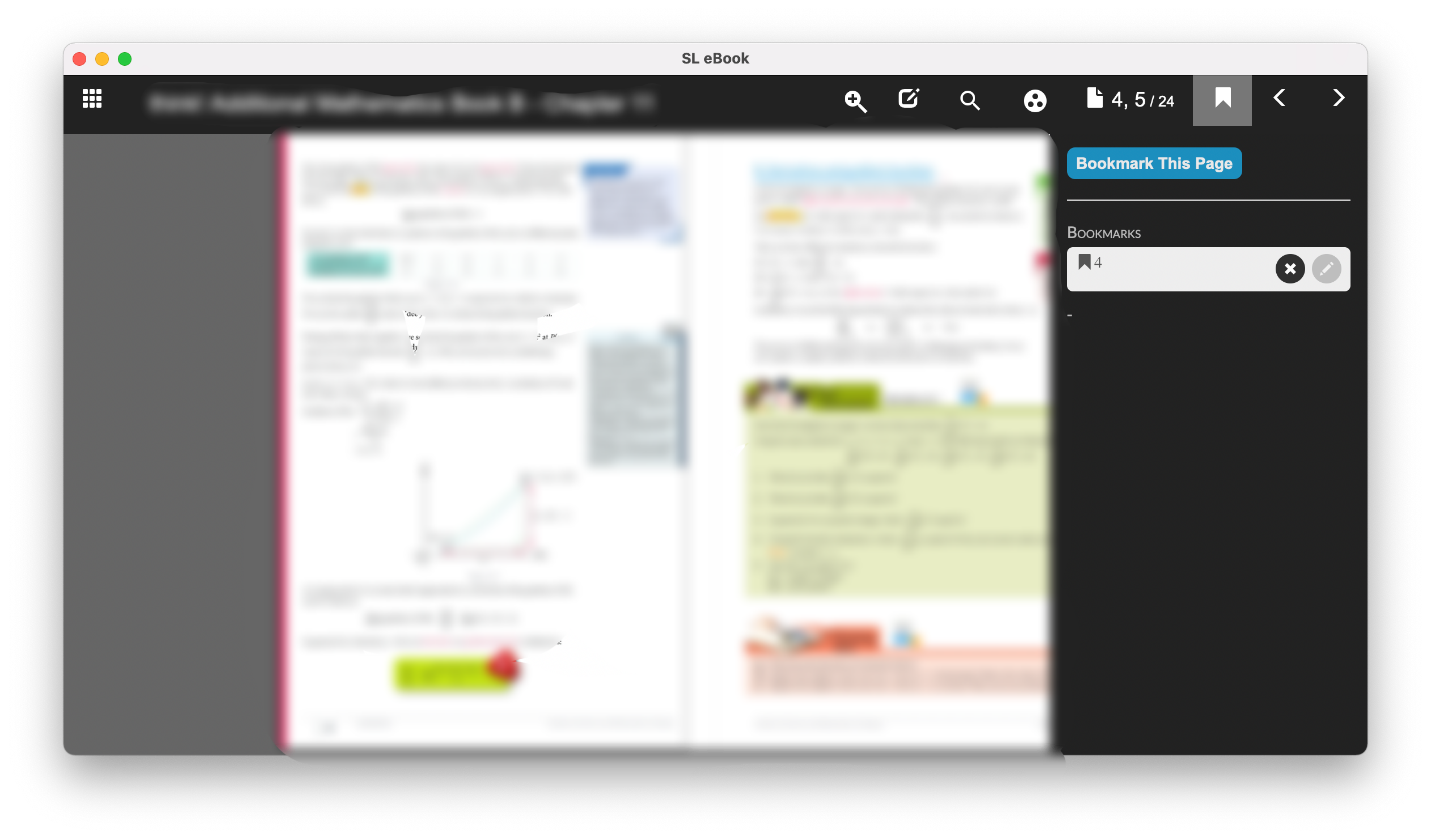
You are also able to save customised notes into the Table of Contents, click on the ‘Pencil’ icon to input your notes, click on it again to modify and ‘X’ to remove the entire bookmark.
Input the desired notes and click on ‘OK’ to save.
You will be able to doodle, highlight a word/phrase and even put a sticky note on the page which will then be saved locally upon usage.
To doodle, click on the ![]() icon and select the
icon and select the ![]() icon to start doodling. You may also change the colour of the doodle by clicking on the
icon to start doodling. You may also change the colour of the doodle by clicking on the ![]() icon again. You will be prompted with a selection of different colour pencils at the top left-hand corner, select the desired colour and start doodling.
icon again. You will be prompted with a selection of different colour pencils at the top left-hand corner, select the desired colour and start doodling.

To highlight a word, select the ![]() icon. Likewise, click on the
icon. Likewise, click on the ![]() icon again to change the colour of the highlighter. Select the desired colour and click, hold and drag over the word/phrase/sentence you wish to highlight.
icon again to change the colour of the highlighter. Select the desired colour and click, hold and drag over the word/phrase/sentence you wish to highlight.

To add a sticky note, select the ![]() icon and click anywhere on the page you would like to have your sticky note placed at. To change the background colour of the sticky note, click on the sticky note, and select the desired background color from the list. To delete a sticky note, click on the sticky note you wish to delete and click on ‘Delete’ button.
icon and click anywhere on the page you would like to have your sticky note placed at. To change the background colour of the sticky note, click on the sticky note, and select the desired background color from the list. To delete a sticky note, click on the sticky note you wish to delete and click on ‘Delete’ button.

To remove parts of a doodle or highlighted words, click on the ![]() icon and click to remove the desired portion.
icon and click to remove the desired portion.
To remove all doodles and highlights, click on the ![]() icon to clear them.
icon to clear them.
You will be able to go back to the main screen where ‘My Books’ is located by tapping on the ![]() icon located at the top left-hand corner.
icon located at the top left-hand corner.